DIY Fashion · Nails & Beauty
Beginner nail art fails for one reason: designs that need a professional's brush control. The designs in this guide are built from the three moves a beginner's hand can genuinely make — dots from a tool, stripes from tape, and color blocked in straight lines — combined into art that looks deliberate. Practice on a nail wheel or on press-ons, and your mistakes cost nothing.

01 — The Toolkit
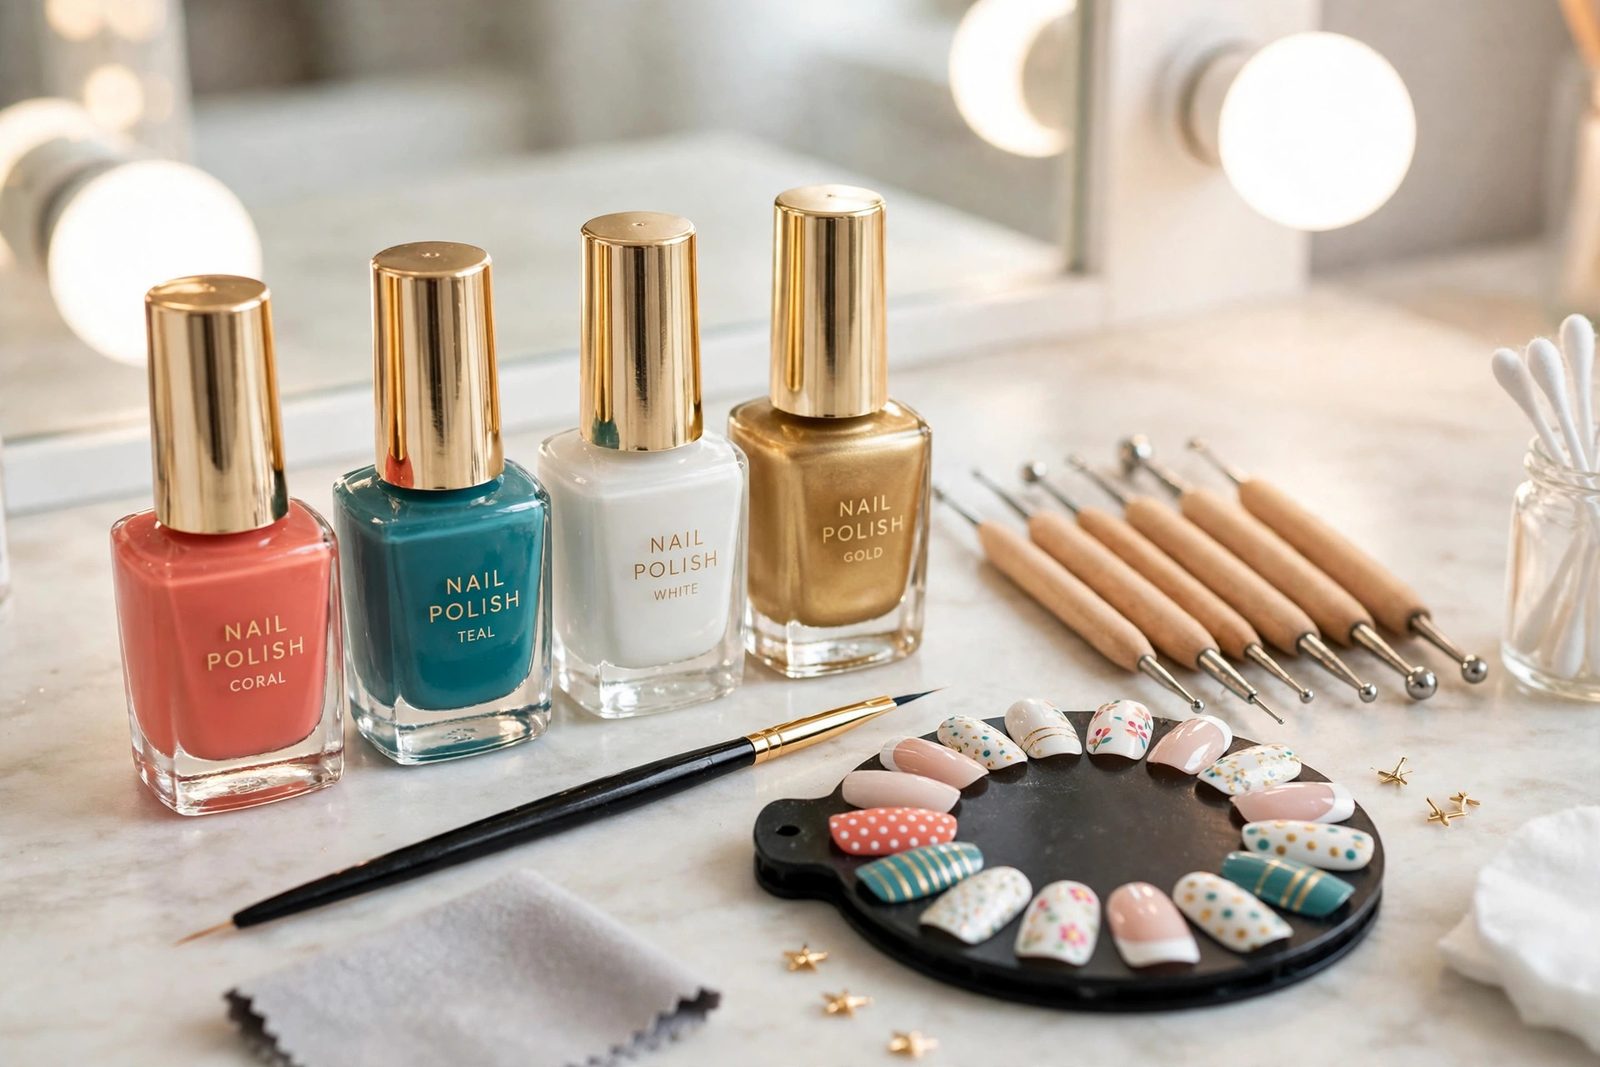
Resist the giant kits. Beginner nail art runs on a dotting tool (double-ended metal balls in graded sizes), a striping brush (long, hair-thin) or striping tape, ordinary tape for masking straight edges, and the discipline of base coat and top coat — base coat keeps strong colors from staining the nail and gives art a smooth canvas; top coat seals the design and supplies the professional gloss that forgives small sins. Polish choice matters more than quantity: one opaque white, one color you love, and one metallic or black will produce most of this guide. The nail polish guide explains the finishes — cremes for clean color blocks, jellies for layered dots, glitters for instant texture with no skill required at all.
02 — First Skill
The dotting tool makes the circle for you — that is its entire genius. Dip the ball end into a drop of polish placed on a card (never work from the bottle neck, where polish is half-dried), touch it lightly to the nail, and lift straight up. Practice the variables once on paper: more polish and more pressure makes a bigger dot; a barely-loaded tool makes a pinpoint. From that one move come the core designs — a dotted trail shrinking toward the tip, dot flowers (five dots in a ring around a contrasting center dot), polka fields in staggered rows, and the dotted French (a line of dots following the smile line). Keep dots in a single layer of polish, let them dry fully before top coat, and drag will never smear them.
03 — Straight Lines
Freehand stripes are a professional skill; taped stripes are a beginner's right. For color-block stripes: paint the base color and let it dry completely, lay tape strips where the lines should be (press the edges down firmly — polish under the edge is the only failure mode), paint the second color over the whole nail, and peel the tape while that coat is still wet for a razor edge. The same trick modernizes the French tip: a strip of tape set at a diagonal gives the angled French; a reinforcement-label sticker (the paper rings for binder holes) curves the classic smile line. A striping brush freehanded in one confident stroke is worth practicing on the wheel — but tape is not cheating, it is how most of the internet's crisp nail art is actually done.
04 — Putting It Together
Now combine: a daisy manicure is dot flowers scattered on a bare or pastel nail; confetti is random dots in three sizes and three colors, denser at the tip; the side stripe is one taped vertical line in metallic over a creme base — two minutes, unmistakably deliberate. Work one accent nail per hand if ten patterned nails feel like a lot; the ring-finger accent is a design decision, not a compromise. And remember the practice loop: designs rehearsed on a wheel or on a press-on set can be adjusted, color-tested against your wardrobe, and applied when perfect — which is how beginners produce nail art that nobody believes was done at home. Underneath it all, keep the natural nail healthy with the basics in our nail care tips: art lasts longer on a nail that is not peeling.
Common Questions
A dotting tool set (a few dollars, five sizes), a thin striping brush or striping tape, painter's or washi tape for masking, a base coat and a top coat, and two or three polishes that contrast well. A practice nail wheel or a set of plain press-on nails to rehearse on is the beginner's secret weapon — designs can be perfected, photographed and even worn later, with zero removal between attempts.
Usually one of three things: layers applied before the previous one dried (colors bleed and dots drag), too much polish on the tool (dots become blobs — touch the tool to paper first), or no top coat, which is the great unifier — a glossy top coat levels tiny irregularities and makes separate steps read as one design. Thin coats, full drying, sealed with top coat: that sequence fixes most 'messy' art.
Mostly, you don't have to: paint the design hand first while your good hand is fresh, brace both hands on the table with wrists down, and move the finger being painted rather than the brush for stripes. Or sidestep entirely — decorate press-on nails on a stand, where both sets are painted by your dominant hand and applied afterward. Many home nail artists do exactly this, which is why press-ons and nail art have risen together.
Keep Going
Nail art builds on polish knowledge and nail care — the beauty section's pages are the foundation, and press-ons are the perfect canvas.
Search Apparel Search