DIY Fashion · Nails & Beauty
Press-ons have quietly become the skilled DIYer's manicure: no salon appointment, no drying time, and a set you can customize on a table before it ever touches your hands. The difference between a set that pops off by lunch and one that lasts ten days is almost entirely preparation — this guide is mostly about that, on purpose.

01 — Sizing
Every press-on failure story starts with sizing. A nail that is too small leaves the edges of your natural nail exposed and lifts; too large overlaps the skin and pops. Lay the set out and match each nail to each finger individually — left and right hands are rarely mirror images, and most sets are numbered on the underside so you can record your sizes (thumbs through pinkies, both hands) for every future set from that brand. The right size covers the nail plate edge to edge without pressing on the skin; when between sizes, choose the larger and file its sides down — a filed nail fits, a stretched one never does. Keep the spares: they are replacements for the one nail every set eventually loses. For polish and finish background before you shop, the nail polish guide covers what the sets are coated with.
02 — Preparation
Remove old polish, wash hands with soap, and let nails dry completely — then wait a few minutes more. Water absorbed by the nail plate is the invisible reason sets let go early.
Gently push cuticles back with a cuticle stick so the press-on can sit flush to the nail's base. Skin under the edge of the nail is a lift waiting to happen.
Lightly buff the nail plate's surface until the shine is gone. Glue grips a matte surface; a glossy nail plate is a slide. Lightly is the word — you are removing shine, not nail.
Wipe each nail with rubbing alcohol or the prep pad from the kit. No lotion, no cuticle oil before application — oils go on after the set is on, around the skin, never under the nail.
03 — Application
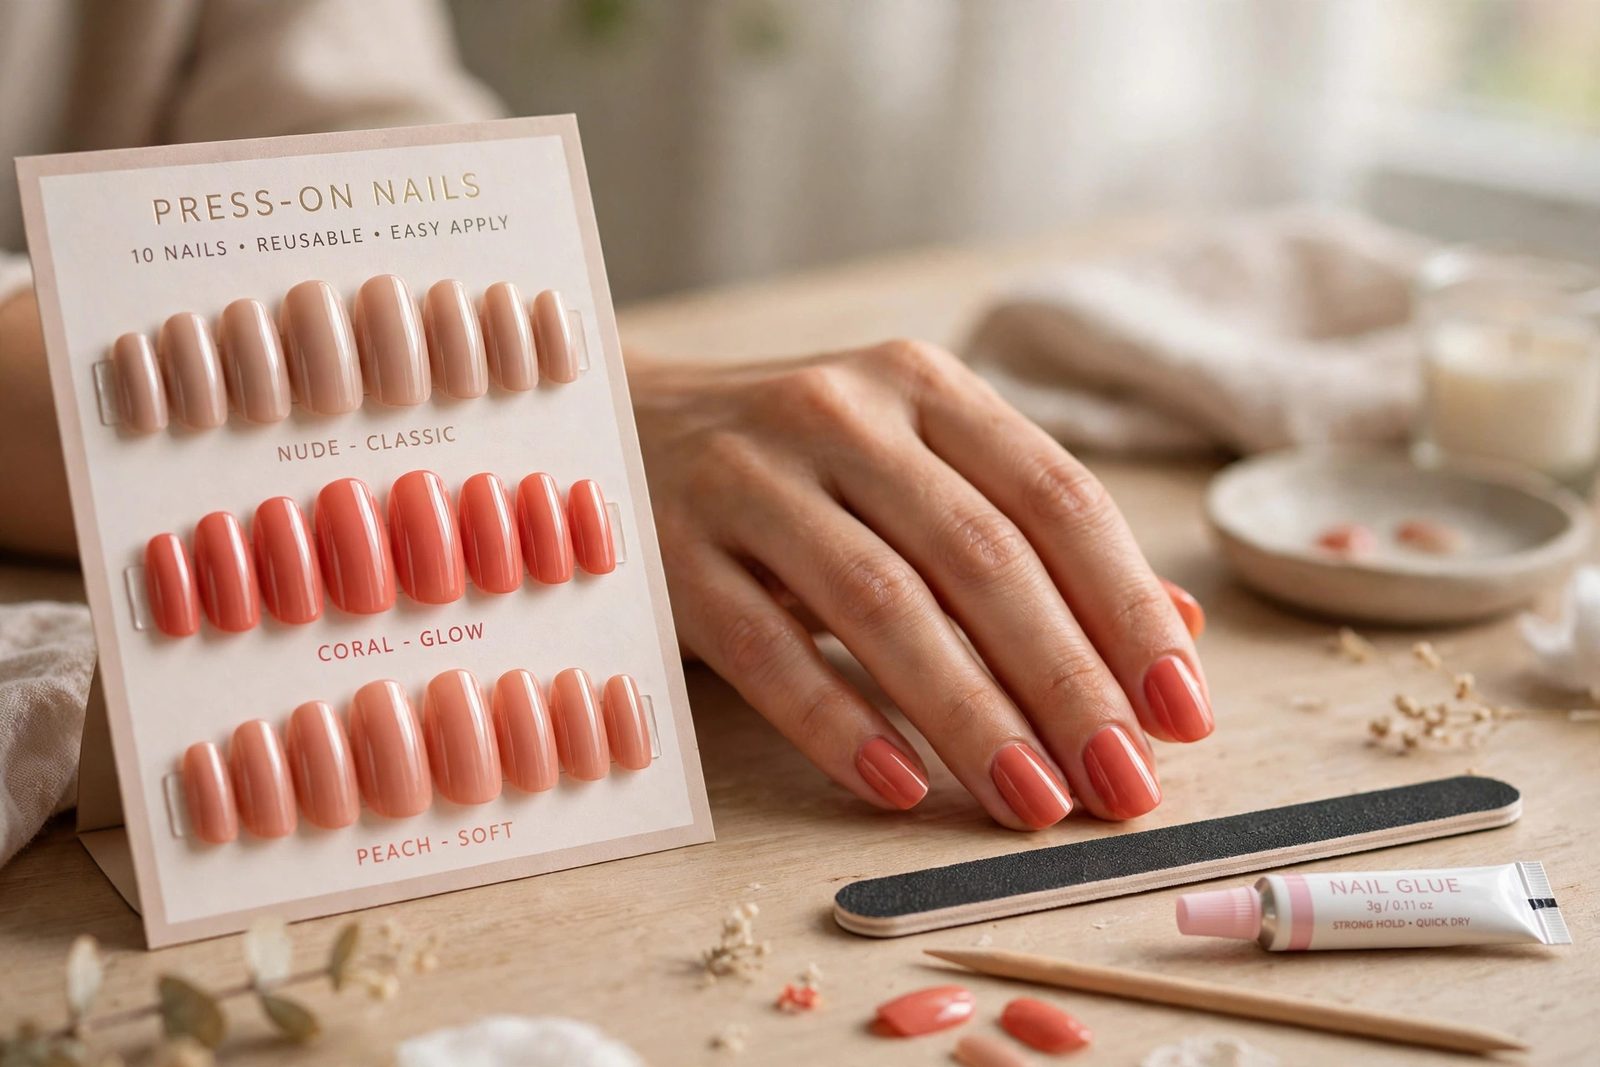
Glue gives the long wear: a drop spread over the natural nail (and a thin film inside the press-on for maximum hold), then place the nail at a slight angle starting at the cuticle, lay it down toward the tip, and press firmly for 20–30 seconds without rocking it. Work pinky to thumb and do your dominant hand's thumb last, when everything else is set. Adhesive tabs are the gentle, short-wear option: press a tab sized to the nail onto the plate, peel the backing, and press the nail on — removal is a soak and a lift, and the natural nail is untouched, which is why tabs are the choice for a single event or for nails that need a rest from glue. Either way, keep the finished set out of water for the first hour while the bond fully sets. The creative freedom of press-ons is that decoration happens before application: plain sets can be filed to any shape — almond, square, coffin — and painted or given nail art on a stand or a strip of tape, with your non-dominant hand never involved.
04 — Removal
Removal is a soak, never a pry. Fill a bowl with warm water, a good squirt of liquid soap and a teaspoon of any kitchen or cuticle oil; soak for 10–15 minutes, working a cuticle stick gently at the edges as the adhesive softens. Nails that resist go back in the bowl, not under force. Acetone-based removers work faster on glued sets but dry the natural nail and ruin the press-ons for reuse; the soapy soak is the method that preserves both. Afterward, buff away any residue, wash, and moisturize — the care routine in our finger nail care tips is built for exactly this post-set moment. Cleaned, dried and stored in order, a good set goes back on its tray ready for its next wearing.
Common Questions
With full prep and glue, most people get 7–14 days; adhesive tabs trade longevity for gentleness at about 3–5 days, which suits a weekend event. The variables are prep (dry, oil-free nail plates are everything), sizing (a nail slightly too small lifts at the edges), and water — long soaks and washing-up without gloves are what shorten a set's life fastest.
Properly applied and properly removed, they are among the gentlest enhancements: the damage stories come from prying nails off, which tears layers of the natural nail with them. Soak sets off in warm soapy water (with a little oil worked at the edges for glued sets), slide them free with a cuticle stick when they loosen, and never force one. If your nails feel thin afterward, a few days of cuticle oil and a break before the next set is the whole remedy.
Yes — quality sets are made to be reused, which is part of their value. After removal, soak off residue, gently buff old glue from the underside, wash the nails in soapy water, dry them fully and store them in their tray in order. Painting and decorating sets off the hand, as this guide suggests, makes reuse easier still: a set becomes a small wardrobe, not a disposable.
Keep Going
Press-ons sit inside the site's nail care coverage — these are the companion pages for the natural nail underneath the set.
Beauty
Nail Polish Guide
Polish types, finishes and color — the same polishes decorate your press-on sets.
Beauty
Finger Nail Care Tips
Care for the natural nail: the foundation every enhancement depends on.
Next Project
DIY Nail Art for Beginners
Dots, stripes and simple designs — decorate your sets before you apply them.
Search Apparel Search