The fashion industry & clothing guide

DIY Fashion · Jewelry Making

DIY Earrings

Earrings are the fastest finished jewelry you can make: a beaded drop takes ten minutes once your hands know the loop. This guide teaches that loop, then shows how the same parts become hoops and threaders — and explains resin earrings honestly, so you know what that project actually involves before buying supplies.

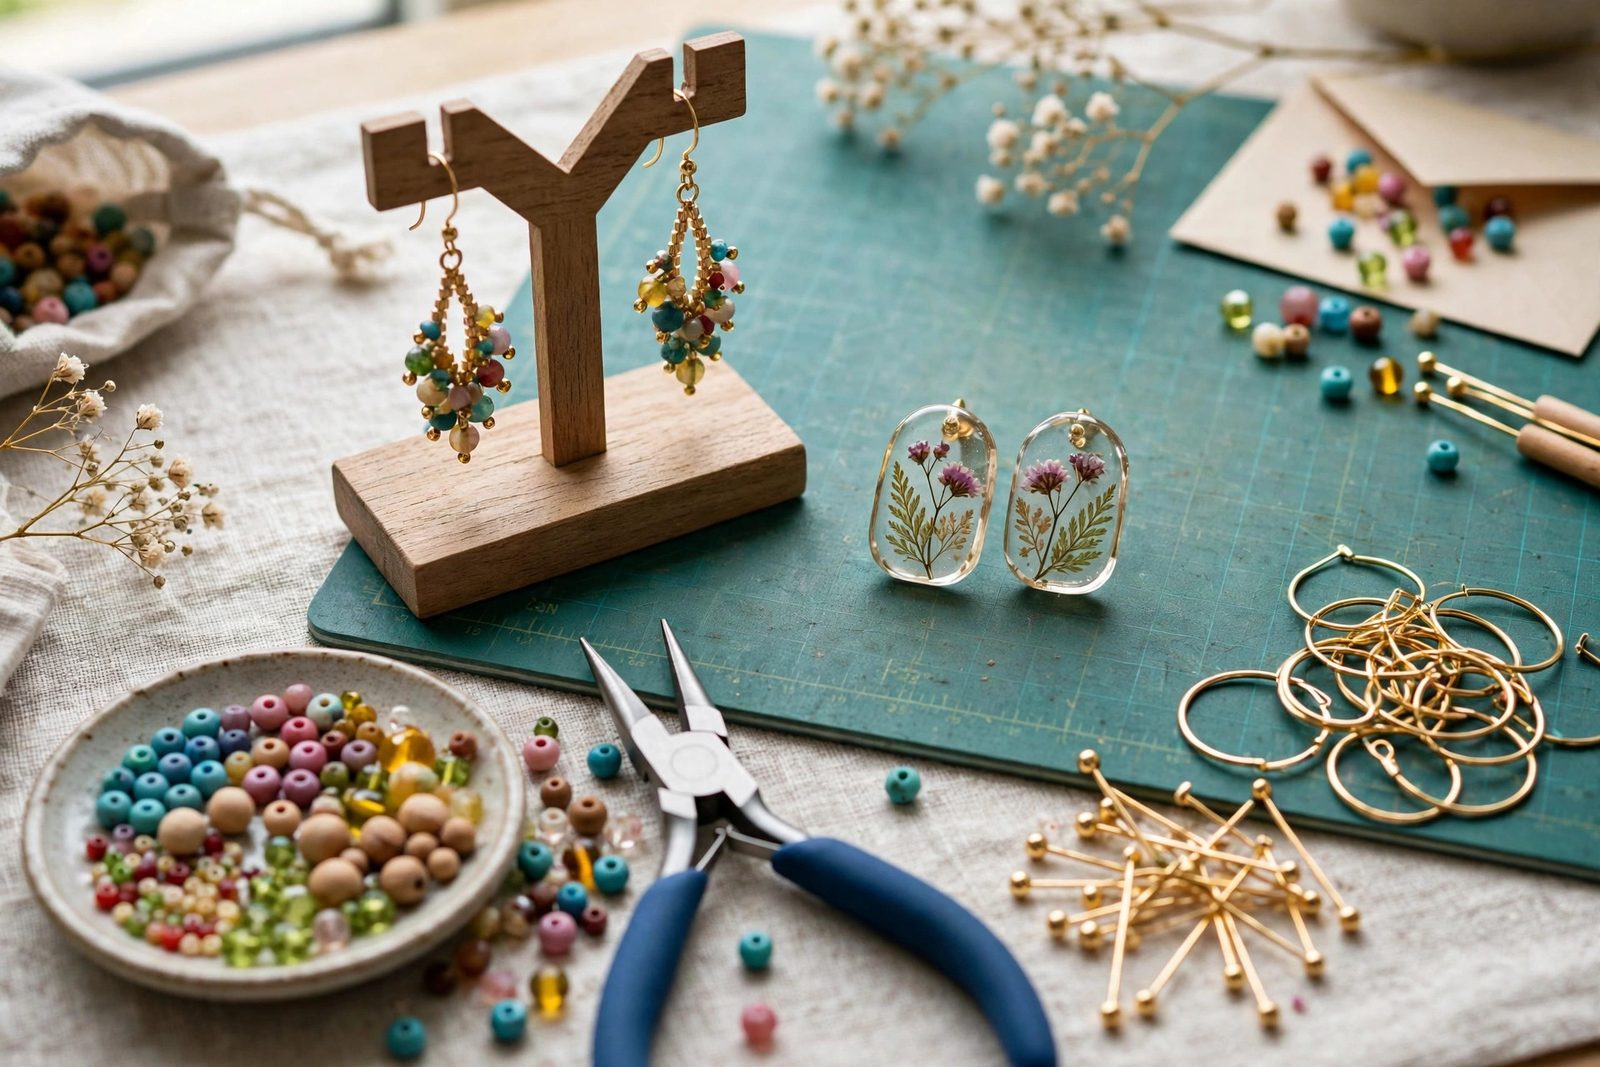
Handmade beaded drop earrings on a stand with ear wires, head pins, beads and pliers on a craft mat
One skill — the wrapped loop on a head pin — makes most beginner earrings.
On this pageThe Beaded DropHoops & ThreadersResin EarringsEar-Friendly MetalsCommon Questions

01 — The Core Skill

The Beaded Drop, Step by Step

  1. String the pin

    Slide your beads onto a head pin, smallest detail bead first against the pin's head. Leave at least 8–10 mm of bare pin above the top bead — that tail becomes the loop.

  2. Bend at a right angle

    Grip the pin with flat-nose pliers directly above the top bead and bend the tail over at 90 degrees. A sharp bend here is what makes the loop sit straight over the beads instead of leaning.

  3. Roll the loop

    Grip the end of the tail with round-nose pliers and roll the pin away from you, wrapping it around the jaw into a round loop. Mark your jaw position with a pen so the second earring's loop matches.

  4. Attach the ear wire

    Open the loop on the ear wire sideways (the same twist as a jump ring), slip on your drop, and close it. Repeat in parallel for the second earring — both pins strung first, both loops bent at the same mark.

That four-step sequence, with different beads, is nearly every dangle earring in any craft fair: a single gemstone for restraint, a cluster of small beads for movement, a long stack for drama. The earrings guide shows the full range of styles the technique serves.

02 — No-Loop Variations

Hoops and Threaders: Assembly Earrings

Two popular styles skip the loop entirely. Beaded hoops start from ready-made hoop findings with a removable end: slide beads directly onto the hoop wire, add a charm at the bottom center if you like, and close. Keep beads light and stop a few millimeters short of the closure so it can still fasten. Threader earrings — the fine chain that threads through the ear — take a charm or beaded drop on one end (attach with a jump ring) and nothing else; they are five-minute earrings with a high finished look. Both styles reward restraint: the finding is already the design, so one beautiful bead or charm per ear beats a crowded wire.

03 — The Step Up

Resin Earrings, Explained Honestly

Resin earrings — the clear or colored pieces with dried flowers, glitter or tiny objects inside — are a casting project, not an assembly one. The beginner route is UV resin in open-backed bezel settings or silicone molds: place your inclusions, fill in thin layers, and cure each layer under a UV lamp. The honest cautions: resin is a chemical system — work ventilated, wear gloves, keep uncured resin off skin, and follow your product's safety sheet; it is not a project for young children. Buy a small kit first rather than bulk supplies, because the craft divides people — some love the glassy precision, others find the process fiddly. Finished resin drops attach to ear wires with the same jump rings you already know, and the findings discipline from the rest of this lane applies unchanged.
04 — Findings & Comfort

Ear-Friendly Metals and Weight

An earring is worn in the body, so its metal matters more than any other jewelry part. The hierarchy for ear wires: niobium and titanium are the most inert; sterling silver and gold-filled are the reliable classics; anything labeled nickel-free fashion metal is fine for most ears; unmarked base metal is the gamble that makes ears itch. Weight is the second comfort rule — a dangle that feels fine at minute one can ache by evening, so keep everyday pairs light (one medium bead or a short cluster) and save the long chandeliers for occasions. If you are making gifts, hypoallergenic wires and a note of the metal on the card are the thoughtful maker's signatures. Ready for a matched set? DIY necklaces uses the same loops and findings at necklace scale.

Common Questions

Common Questions

What do I need to start making earrings?

Round-nose pliers, flat-nose pliers, flush cutters, a packet of head pins, ear wires, and beads with holes big enough for the pins. That kit makes every drop and dangle in this guide. Hoops need only pre-made hoop findings and beads or charms; resin needs its own supplies and is a separate step up.

Why do my earring pairs not match?

Because each was made by eye, separately. Work in parallel instead: string both head pins first, bend both at the same marked point on the round-nose pliers (a pen mark on the jaw helps), and wrap both loops before attaching either to its ear wire. Matching is a process, not a talent — production jewelers work in parallel for exactly this reason.

Are handmade earrings safe to wear?

They are as safe as their ear wires. Nickel allergy is the common problem — choose ear wires labeled nickel-free, or sterling silver, gold-filled or niobium if your ears are sensitive, and keep fashion-metal hooks for short wear until you know how your ears respond. Stop wearing any pair that makes your ears itch or redden, and let piercings heal fully before wearing heavier handmade styles.

Keep Going

More to Explore

For styles to aim at and how each type is worn, the earrings guide in the jewelry section is the companion to this project page.

Search Apparel Search