DIY Fashion · Jewelry Making
Nearly all beginner jewelry is built from three skills — stringing, knotting and opening a jump ring well. This guide lays out the small toolkit that covers them, explains the findings (the clasps, rings and wires that finish a piece) in plain language, and points you to the first projects that teach each skill in the right order.

01 — The Toolkit
Jewelry making looks tool-heavy from the outside, but beginner work runs on a short list. Two pliers come first: flat-nose pliers (you will use two at once to open jump rings without twisting them out of round) and round-nose pliers, whose tapered jaws form the smooth loops that turn a beaded pin into an earring dangle. Add flush cutters for wire and cord, a bead board for laying out designs to length, and a pair of bead stoppers or simple clips to keep strung beads from sliding off a loose end.
Everything else is consumable: beads, stringing material and findings. Buy findings in mixed starter packs — clasps, jump rings, crimps, ear wires — in one finish you like, so every early piece matches while you learn. Save the specialty tools (crimping pliers, bead spinners, loom) for the day a specific project asks for them; each is a small purchase, and none is needed for the projects below.
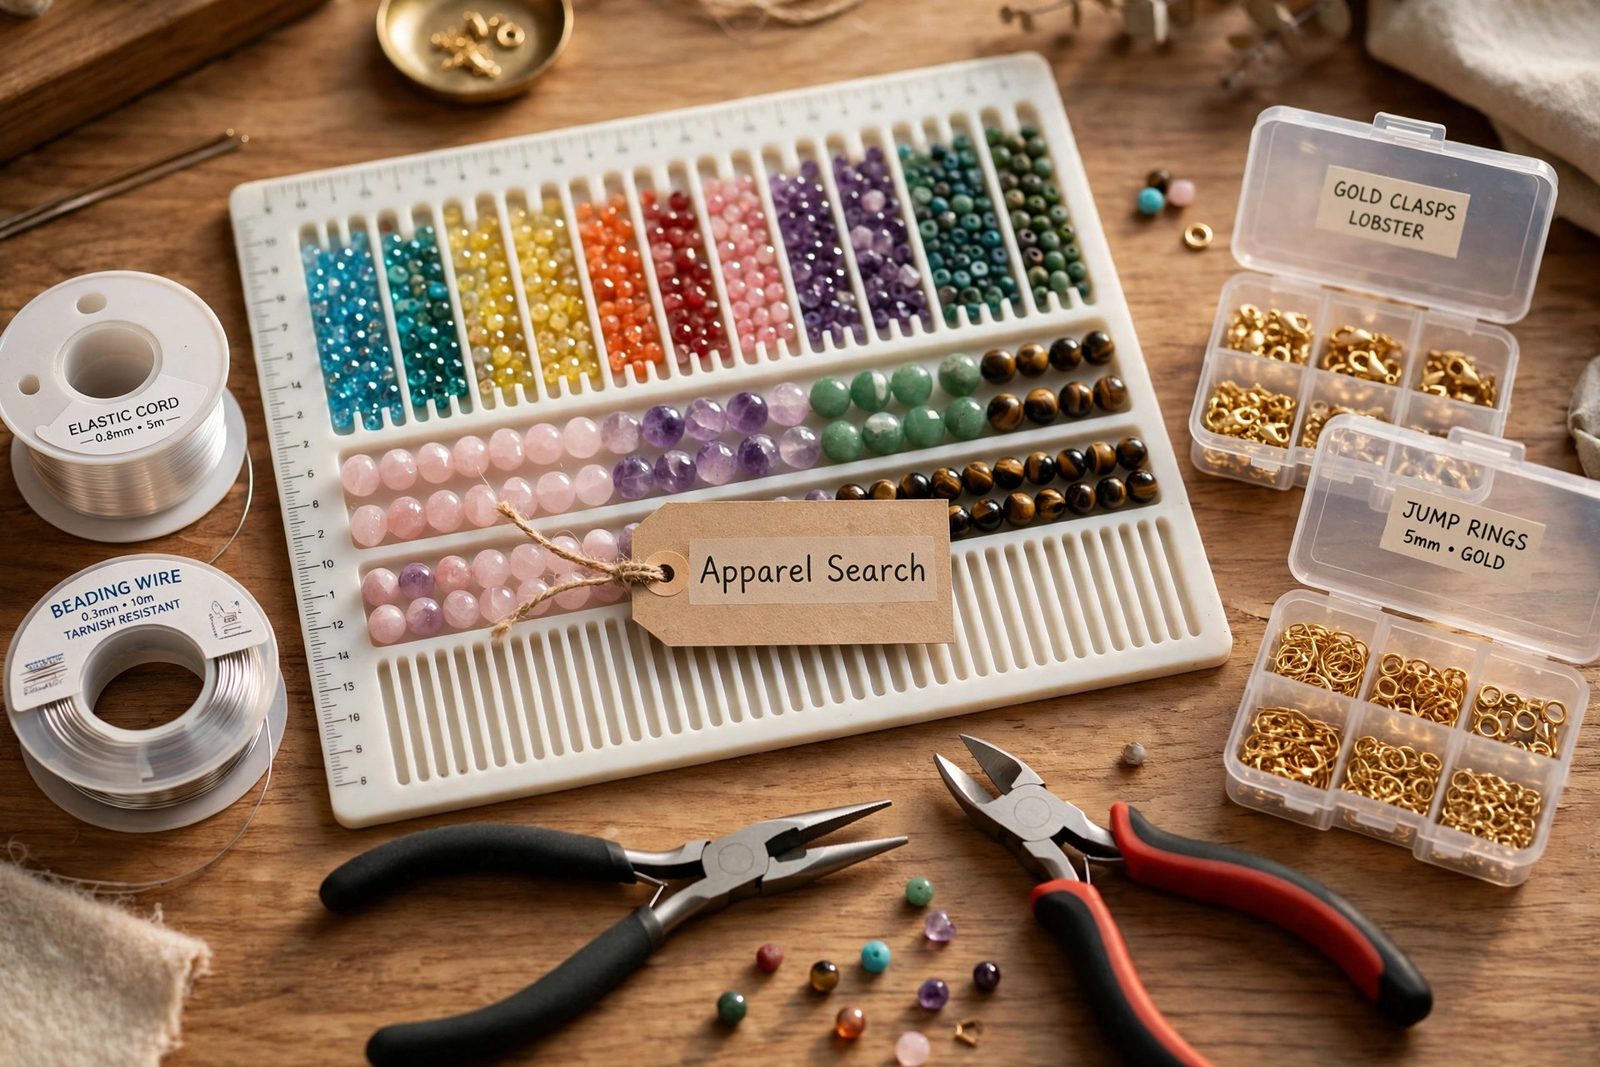
02 — Findings Explained
Findings confuse beginners because the names are trade names, not descriptions. The five you will use constantly:
Finishes matter for skin as much as looks: nickel is the common allergy trigger, so for earrings and anything worn daily, choose findings labeled nickel-free, and step up to sterling silver or gold-filled ear wires if ears react. Our jewelry section's guides describe the bracelet styles and materials these parts are used in.
03 — Stringing Materials
What beads are strung on decides how a piece drapes, how strong it is and whether it needs a clasp. Elastic cord (0.7–1 mm for most bead sizes) makes clasp-free stretch bracelets and is the forgiving first material. Beading wire — fine steel strands in a nylon coat, sold by strand count (49-strand drapes best) — is the strong, professional choice for necklaces and clasped bracelets, finished with crimps. Waxed cotton or nylon cord knots beautifully and suits knotted, macramé and friendship styles. Chain, bought by the foot with a clasp and two jump rings, turns any pendant into a necklace in minutes.
Match the material to the bead: heavy gemstone beads wear through elastic faster and belong on wire; light wood, acrylic and glass beads are happy on almost anything. Whatever you choose, leave a tail to work with — the last inch of any project is where knots and crimps happen, and a too-short tail is the one mistake no tool can fix.
04 — First Projects
Each project in this lane teaches one core skill, and they build on each other:
Project 1 · Stringing
Elastic stretch bracelets and knotted stone bracelets — sizing, bead order and the knot that holds.
Start the project →Project 2 · Knotting
Embroidery-floss knots that build into candy stripes and chevrons — no tools but tape and scissors.
Start the project →Project 3 · Jump Rings
Chain, charms and the two-plier jump-ring technique every other project depends on.
Start the project →Next Step · Loops
Beaded drops and simple wire loops on ear wires — the round-nose pliers earn their keep.
Start the project →Next Step · Crimps
A pendant on chain in minutes, then a fully strung beaded necklace finished with crimps and a clasp.
Start the project →Learning the styles while you learn the skills: the Apparel Search jewelry guide covers how each kind of piece is worn, sized and stacked — useful reading when you are deciding what to make next, and its jewelry product guides show the finished styles makers aim for.
Common Questions
Start with elastic cord and a tube of beads: a stretch bracelet needs no tools, no clasp and no findings, and it teaches bead order and sizing. Add two flat-nose pliers and a packet of jump rings next, and charm bracelets and pendant necklaces open up. A basic working kit — pliers set, bead board, elastic, beading wire, and a mixed findings pack — costs less than most single finished bracelets in a store.
Not strictly, but it is the highest-value tool in the craft. The board's channels hold beads in order and its ruler lets you lay out a bracelet or necklace to length before you commit to stringing, which prevents the two classic beginner problems: pieces that come out the wrong size and patterns that scramble while you work.
Findings are the functional metal parts that finish a piece: clasps that close it, jump rings that connect parts, crimp beads that lock wire ends, ear wires that turn a dangle into an earring, and bails that hang a pendant from a chain. They are hardware, not decoration — although they are sold in finishes from silver plate to gold fill, so they still shape how a piece looks.
Keep Going
Made your first pieces? These Apparel Search sections cover the styles you are making — how they are worn, sized and cared for.
Jewelry Guide
The Jewelry Guide
The full jewelry section: bracelet, necklace, earring and ring guides by style and material.
Bracelets
Bracelets Guide
Every bracelet style in the guide, from bangles and cuffs to beaded and charm bracelets.
DIY Fashion
More DIY Projects
Back to the DIY Fashion hub for sewing, upcycling, nails and customization projects.
Search Apparel Search