DIY Fashion · Jewelry Making
There are two honest ways to make a necklace. The first takes five minutes — a pendant, a jump ring, a ready chain. The second is real stringing: beads on beading wire, finished with crimp beads and a clasp, and it is the technique behind nearly every beaded necklace you have ever admired. This guide does both, plus the lengths that decide where a necklace sits.

01 — The Five-Minute Version
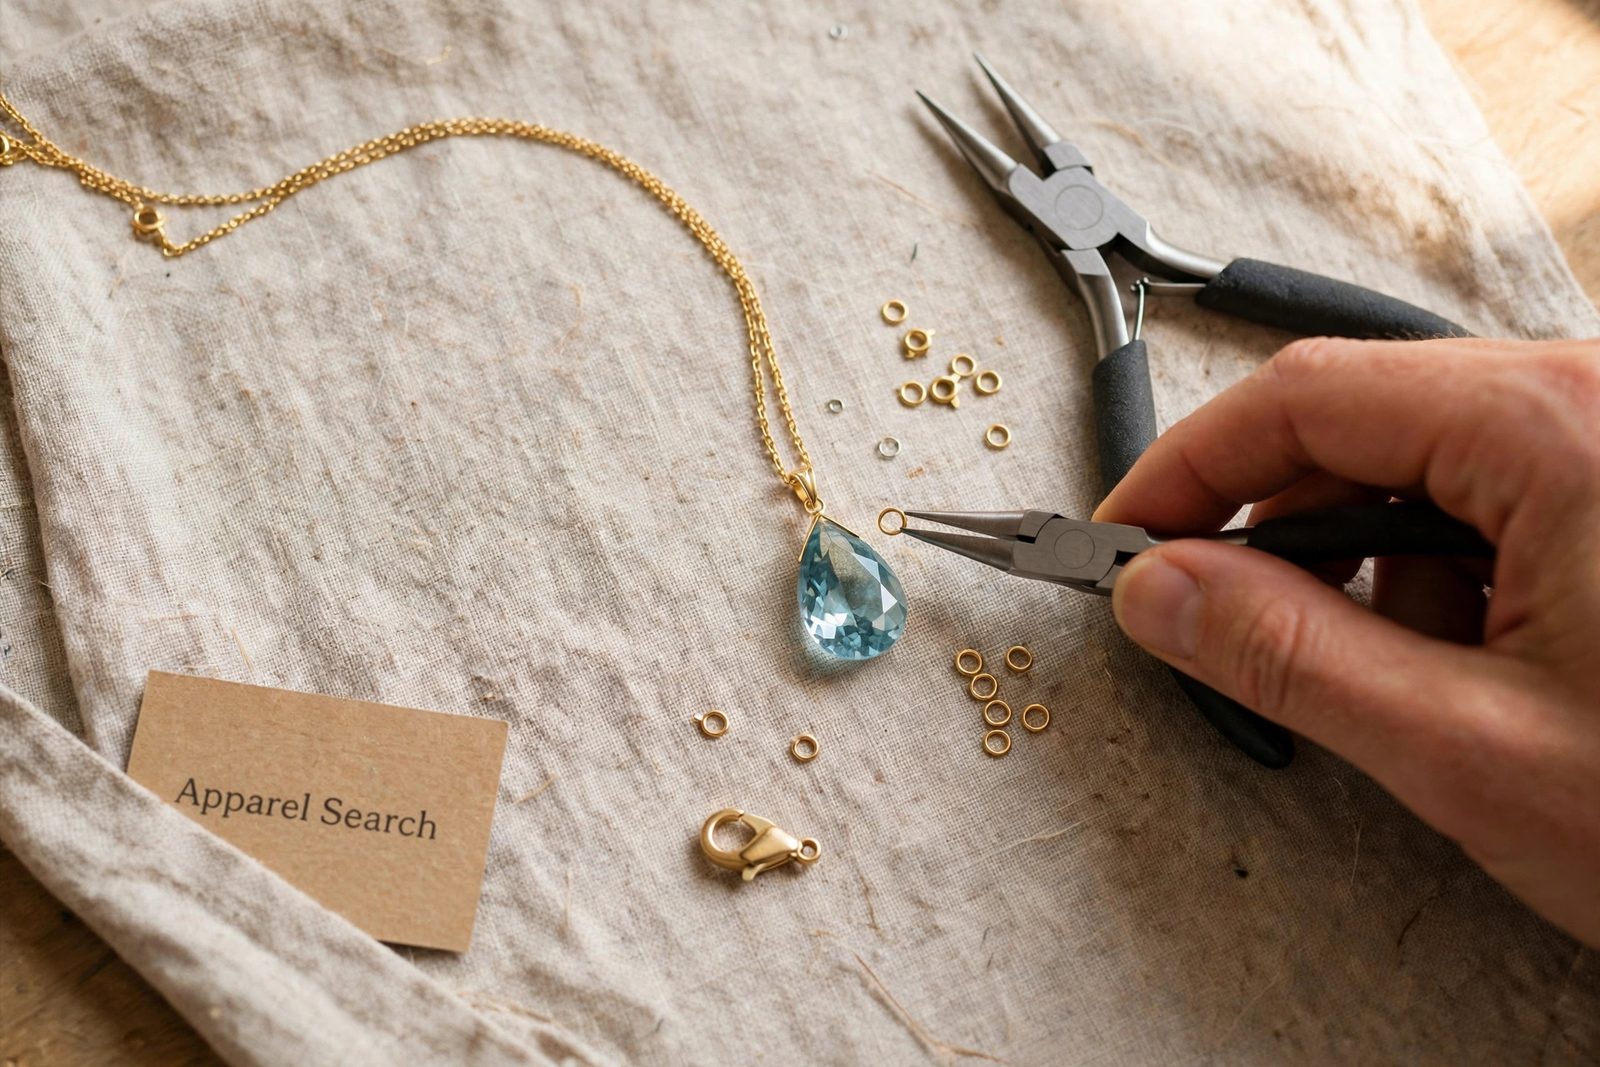
Pass the chain — including its clasp, the thickest part — through the pendant's bail or ring. If it will not pass, connect the pendant with a jump ring instead, which also lets it hang and swing more freely.
Open the ring sideways with two pliers (never pull it apart), load the pendant and one chain link's worth of position, and close until the ends click flush.
Fasten the necklace and check in a mirror: the pendant should sit where you intended — collarbone for 18-inch chain on most wearers. Adjust now; chain is cheap and length is the whole design.
That is the entire project, and it is genuinely how many boutique pendant necklaces are made. The craft version of the same idea — wiring a loose stone or a beach-glass find into a pendant with a simple wire wrap — uses the round-nose loop from our earrings project at slightly larger scale.
02 — Before You String
Length decides where a necklace lives on the body, and the same beads make three different necklaces at three lengths. Choker lengths (14–16 inches) sit at the throat and suit open necklines; the 18-inch princess length lands at the collarbone and is the default for a reason; 20–24 inches falls over clothing and carries heavier pendants well; long strands of 28 inches and beyond are strung for layering or doubling. If you plan to layer, read how the lengths combine in our necklace layering guide before fixing your stringing length — layers need planned separation, usually about two inches between strands. Always measure a strung design in the bead board's channel with the clasp allowance added, not by the beads alone.
03 — The Real Technique
Arrange every bead in the board's channel to your chosen length. Necklaces are seen all at once in a mirror — check the center front is deliberate: a focal bead, a symmetry point, or a gradient that peaks at center.
Cut beading wire about 6 inches longer than the design. The tails are not waste; they are what the crimping steps hold.
Thread on a crimp bead, then the clasp's ring, then pass the wire back through the crimp, leaving a small loop around the clasp ring. Squash the crimp flat and firm. Thread the tail back through the first few beads and trim.
String all beads, sliding them down to the finished end. Repeat the crimp with the other half of the clasp — but before squashing, let the necklace hang and settle: beads should sit snug with no gaps of bare wire, yet the strand must still curve without stiffness. Adjust the loop, then crimp, thread back, trim.
Pull each end firmly. A crimped end that survives a hard tug at the bench is finished; one that slips gets cut off and redone now, not after a failure on someone's neck.
04 — Finishing Well
Three small habits separate homemade-looking from handmade-looking. Crimp covers — tiny C-shaped shells that fold over a squashed crimp — make the mechanical part look like a bead. Wire guardians route the wire over a smooth metal curve where it meets the clasp, removing the sharp bend where strands eventually fray. And a two-inch extender chain at the clasp end makes the necklace adjustable across necklines, which is why so many good makers add one as standard. Store strung necklaces flat or hanging, never balled — beading wire takes a set, and a kinked strand never quite straightens. With stringing mastered, you hold the complete beginner skill set — and the necklaces guide in the jewelry section shows the styles, from strands to lariats, that the technique can grow into.
Common Questions
The common ready-made lengths are 16 inches (choker length, sits at the base of the throat on most women), 18 inches (the classic princess length, falls at the collarbone — the safest gift and first-project choice), 20 inches (matinee, below the collarbone) and 24 inches and up (opera territory, or single long strands). When stringing your own, remember the clasp and cones add about half an inch to the beaded length.
A bail is the connector at the top of a pendant — the loop or decorative fitting the chain passes through. Some pendants have a built-in bail; loose stones and charms often have only a top hole or ring, so you add a pinch bail or a simple jump ring. The bail must be big enough for your chain to pass through, including its clasp end — test before you assemble the necklace.
The crimp is the usual failure point: it was squeezed with plain pliers into a sharp-edged fold that cut the wire coating, or a single crimp was asked to hold a heavy strand alone. Use two crimps at each end on anything with weight, squash them flat and firm with even pressure, and give the finished end a genuine tug test before wearing — a crimp that survives a hard pull at the bench will survive the neck.
Keep Going
Necklace lengths and layering are a styling subject of their own — the jewelry section's necklace guides cover both.
Jewelry Guide
Necklaces Guide
Necklace styles and constructions in the Apparel Search jewelry guide.
Styling
Necklace Layering Guide
How lengths combine when necklaces are layered — useful before you fix a length.
Jewelry Making
DIY Jewelry Making
Findings and tools for this project: crimps, clasps, wire and pliers.
Search Apparel Search