The fashion industry & clothing guide

DIY Fashion · Jewelry Making

How to Make a Charm Bracelet

A charm bracelet is an assembly project, not a sculpting one: a length of chain, a clasp, and charms attached one jump ring at a time. The craft is in the choices — chain weight against charm weight, spacing that keeps the bracelet balanced — and in one small technique, opening a jump ring without ruining it.
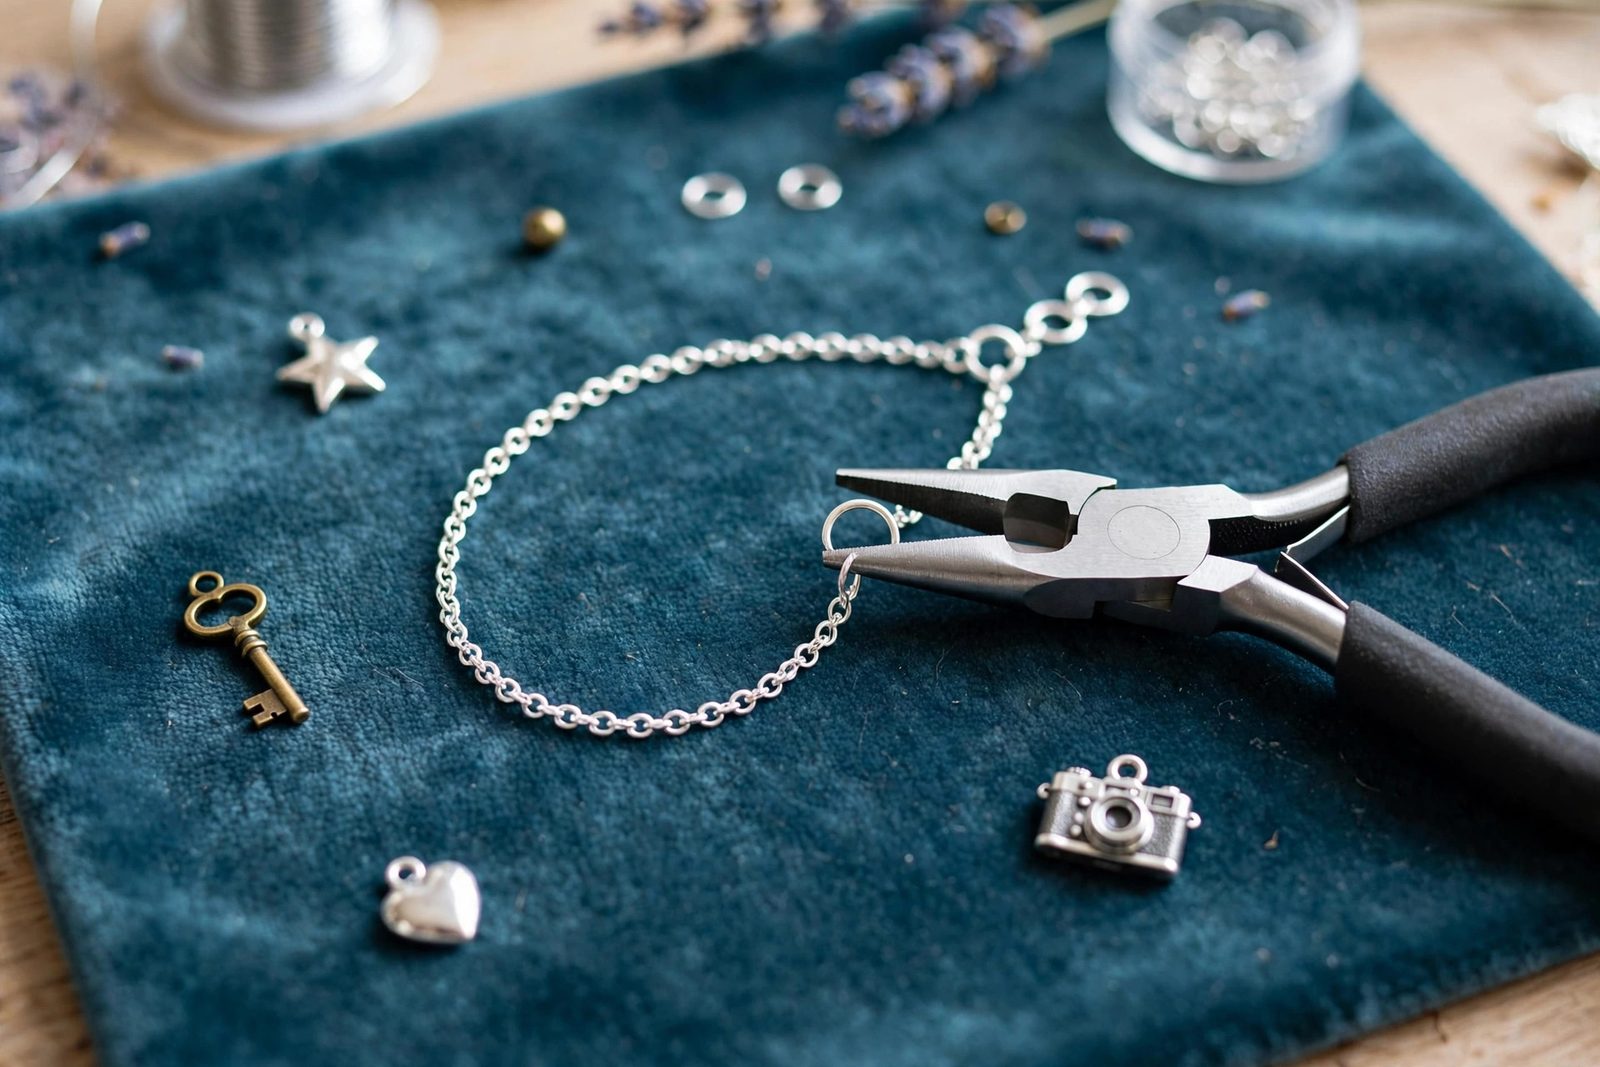
Charm bracelet being assembled with loose charms, chain and two jewelry pliers on a velvet mat
Chain, charms and two pliers — the charm bracelet is jewelry making at its most direct.
On this pageChain & CharmsThe Jump Ring SkillSpacing & BalanceClasp & FitCommon Questions

01 — Chain & Charms

Choose the Chain for the Charms You Own

Start from the charms, not the chain. Gather the charms you intend to hang — most charm loops need a jump ring of 5–6 mm to connect them to the chain — and weigh the style: dainty enamel charms suit a finer chain; chunky travel charms and coins need chain with presence or they look like they are dragging it down. Buy chain by the foot (one foot is plenty; an adult bracelet uses 7–8 inches) or salvage a plain chain bracelet as your base. Charms themselves come from craft findings sections, vintage markets and keepsake drawers — a single meaningful charm bracelet often mixes all three, which is rather the point of the form. Our charm bracelets guide walks through the classic themes, from travel souvenirs to milestone markers.

02 — The Jump Ring Skill

Open a Jump Ring Sideways, Always

  1. Grip both sides of the opening

    Hold the jump ring with flat-nose pliers on one side of the split and a second pair (or chain-nose pliers) on the other side, fingertips' worth of pressure — enough to control it, not crush it.

  2. Twist, don't pull

    Move one pair toward you and the other away, so the ring opens like a tiny spiral gate. Never pull the ends apart in line with the circle: that bends the ring out of round and it will never close flush again.

  3. Load the ring

    Slide on the charm's loop and the chain link while the ring is open. Keep the ring in the pliers the whole time — a loaded ring set down is a ring that rolls away.

  4. Close until it clicks

    Reverse the twist, wiggling the ends minutely past each other until you feel the faint click of the ends meeting flush. Look along the join: light showing through means a gap a charm loop can find.

03 — Spacing & Balance

Lay It Out Before You Commit

Attach nothing until the order is decided. Lay the chain in a line, arrange the charms beneath it in wearing order, and think in thirds: the largest or most meaningful charm usually sits at the center front of the wrist, with the design stepping down in size or balancing in pairs toward the clasp. Space charms one to three links apart — packed shoulder-to-shoulder they clump and hide each other; too sparse and the bracelet reads as unfinished rather than minimal (unless minimal is the intent: three charms spaced wide is a legitimate, modern look). Alternate heavy and light charms so no one stretch of chain carries all the weight, and keep the two links nearest the clasp empty — that is where fingers work, and where charms get in the way of fastening.

04 — Clasp & Fit

Finish: Clasp, Fit and Growing Room

Cut the chain to wrist size plus about half an inch of ease, remembering the clasp adds length of its own — a lobster clasp and its ring add roughly half an inch. Attach the clasp with jump rings at both ends (one end gets the clasp, the other a plain ring or a short extender chain of three to five links, which makes the bracelet adjustable and leaves room to grow the collection). Try it on and let gravity vote: charms should settle along the front and sides of the wrist without all sliding to one point under the wrist — if they pool, the bracelet is a touch too loose. Care is simple: charm bracelets tangle in jewelry boxes, so store them clasped, flat or hanging. From here, the jump-ring skill transfers directly to pendant necklaces and the beaded drops in DIY earrings.

Common Questions

Common Questions

How many charms go on a charm bracelet?

A classic full look carries a charm every one to two chain links along the front of the wrist — roughly 10 to 20 charms on an adult bracelet — but there is no required count. Many makers start with three to five meaningful charms and add one at a time for birthdays, trips and milestones; the bracelet is designed to grow. Leave even gaps for planned additions if you are building it as a keepsake.

Why do my jump rings keep opening and losing charms?

The ring was probably opened by pulling it apart front-to-back, which bends the circle into a spiral that never fully closes, or it was not closed with the ends meeting flush. Open jump rings sideways instead — twist one end toward you and the other away — and close until you hear or feel a faint click as the ends pass. Work-harden the join with a gentle squeeze of the pliers, and use a ring one gauge thicker for heavy charms.

What chain is best for a charm bracelet?

A medium cable or curb chain with links large enough to take a jump ring — around 5–7 mm links — in a metal weight that matches your charms. Very fine chain twists under heavy charms and its links are too small to attach to; very chunky chain needs oversized charms to look in proportion. If you plan many charms, choose chain sold for charm bracelets: its links are soldered or thick enough not to pull open under the load.

Keep Going

More to Explore

The jewelry guide's charm bracelet page covers the tradition and styles; the getting-started guide covers the tools behind this project.

Search Apparel Search