The fashion industry & clothing guide

DIY Fashion · Jewelry Making

How to Make Friendship Bracelets

A friendship bracelet is nothing but one knot, repeated with intent. Learn the forward knot and you can make the candy stripe in an afternoon; add its mirror image and the chevron — the pattern behind the current thread-bracelet revival — is yours. All it takes is embroidery floss, tape and patience.

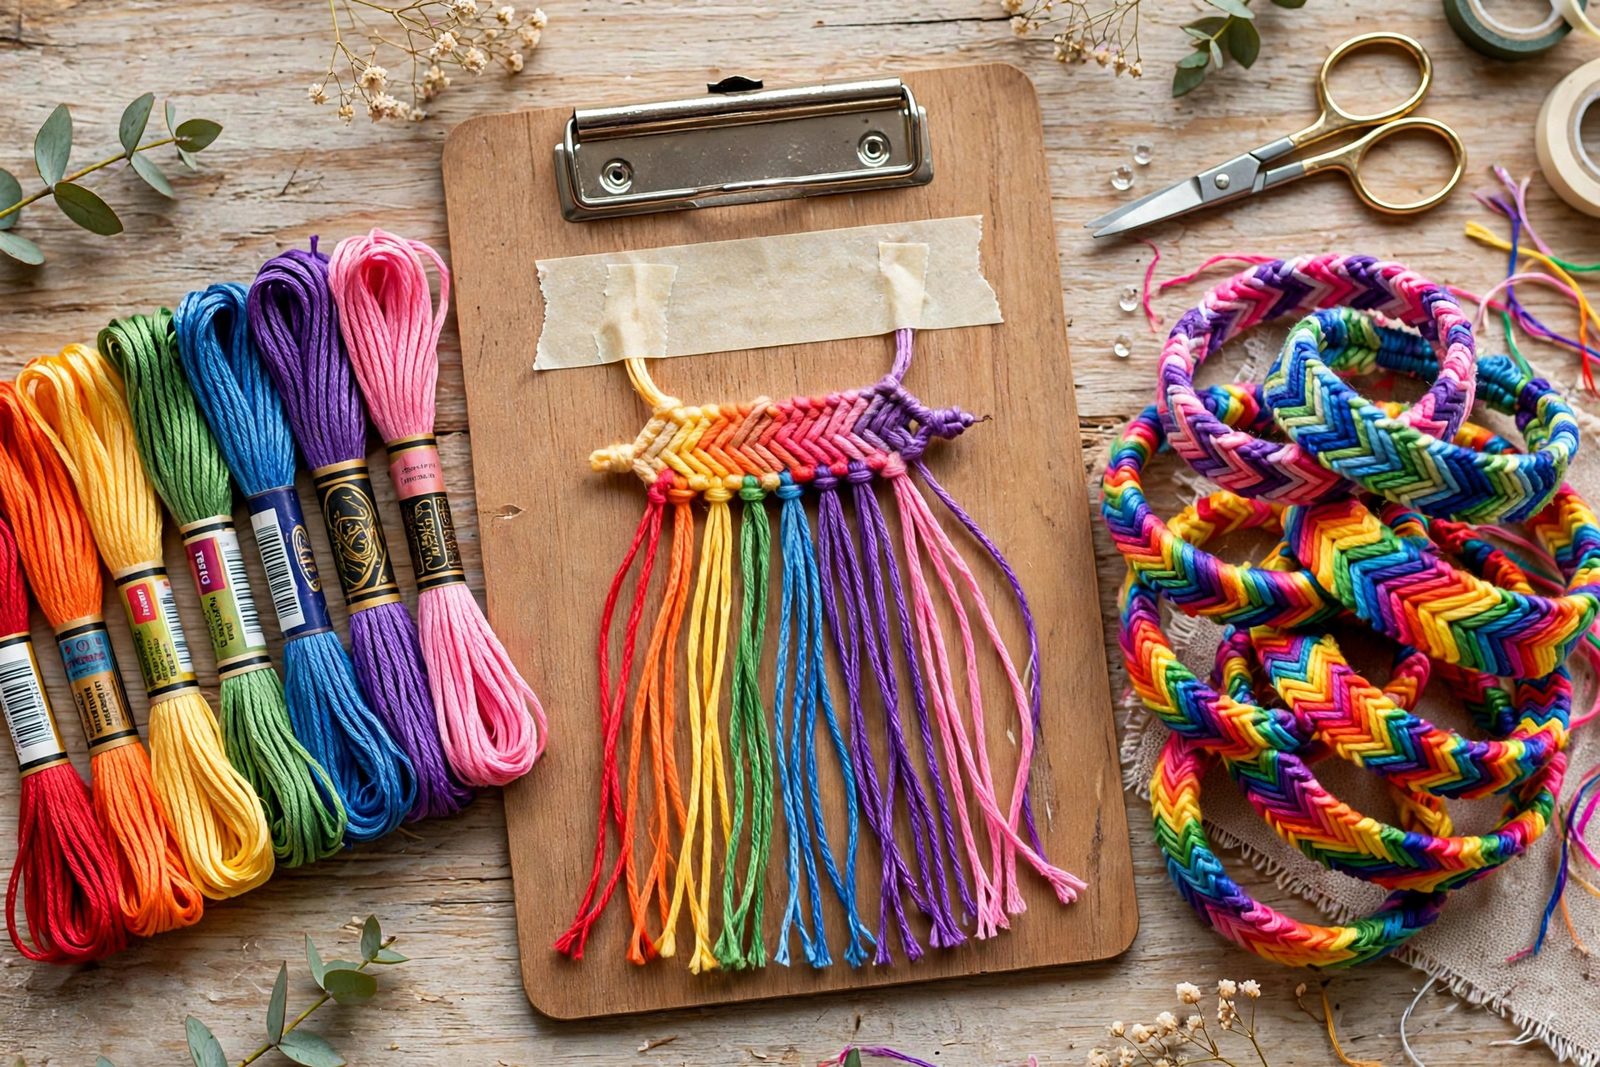
Embroidery floss skeins and a half-finished chevron friendship bracelet taped to a clipboard
Floss, a clipboard and one knot: the entire friendship bracelet toolkit.
On this pageThe One KnotCandy StripeChevronStarts & FinishesCommon Questions

01 — The One Knot

Everything Is a Forward Knot

Set up by taping or clipping your strands in a row at the top — a clipboard is the classic workstation — with the strands hanging straight down in color order. Every pattern in this guide is made with the forward knot: take the working strand, lay it over the next strand in a figure-4 shape, pass it behind that strand and up through the loop, and pull up snugly. Then do it again on the same strand — a friendship-bracelet knot is always two half-knots, and skipping the second half is what makes bracelets curl and patterns dissolve. After its two half-knots, the working strand has moved one place to the right and now covers the strand it crossed. That is the whole craft: the strand that travels paints the pattern.

Two habits separate tidy bracelets from tangled ones. Keep the strand you are knotting onto pulled straight and taut — it is the rail the knot rides on. And pull every knot to the same tension, up against the previous row, so the rows stack like brickwork instead of drifting.
02 — First Pattern

The Candy Stripe, Step by Step

  1. Cut and order your strands

    Cut 5–8 strands of embroidery floss, each 60–72 inches, in your color sequence. Knot them together at the top with an overhand knot, leaving a 3-inch tail, and tape or clip the knot down.

  2. Work the first strand across

    Take the leftmost strand and tie a forward knot (two half-knots, always) onto the second strand. Then onto the third, and so on across the whole row. Your working strand finishes at the far right, and you have painted one diagonal stripe of its color.

  3. Repeat with the new leftmost strand

    The strand now at the far left begins the next row. Work it across in the same way. Each pass adds one stripe, and the color order cycles on its own.

  4. Continue to length

    Keep going until the knotted section fits around the wrist with room to tie — about 5–6 inches for most wrists. Check against your wrist as you near the end; floss bracelets do not stretch.

03 — The Step Up

The Chevron: Mirror Knots, Pointed Rows

The chevron adds one idea: the row is worked from both sides toward the middle. Use an even number of strands arranged as a mirror — colors A B C C B A. Work the left half with forward knots to the center. Then take the rightmost strand and work it leftward with the backward knot, the figure-4 mirrored (the working strand passes over toward the left). When the two working strands meet in the middle — they are the same color, by design — tie them together with a forward knot. That center join is the point of the V. Repeat row by row and the Vs stack into the zigzag that makes chevrons the most recognizable friendship pattern there is.

Color order is the design tool: mirror two colors for a bold two-tone zigzag, run a rainbow out and back for stripes that melt, or set one dark color at the edges so every V is framed. Because outer strands travel furthest, chevron bracelets consume the edge strands fastest — cut those two a few inches longer.

04 — Starts & Finishes

Begin and End Like You Mean It

The simple finish is the beginning in reverse: an overhand knot at the end of the knotting, then braid or twist both tails and tie the bracelet onto the wrist with a square knot — the classic way, worn until it wears out. For a removable bracelet, finish both ends with a button or bead closure: form a small loop before you start knotting (fold the strands and knot below the fold) and sew or knot a bead or button onto the far end; the loop slips over the bead and the bracelet can come off at night. Keep tails trimmed and, if the floss frays, a dot of clear nail polish on the end knots keeps them tidy. When your knotting is confident, the same strands-and-knots thinking scales up — our guide to beaded bracelets adds beads between knots for the knotted-stone style, and the jewelry section's friendship bracelets guide traces where the tradition came from.

Common Questions

Common Questions

How much embroidery floss do I need for a friendship bracelet?

Cut each strand about 60–72 inches (roughly an arm's length and a half, or measure fingertip to opposite shoulder and add a handspan). Strands shrink fast — knotting uses far more thread than the finished bracelet length suggests, and the strands worked from the outside in a chevron run out quickest. Too long is a nuisance; too short is a ruined bracelet, so err long.

Why does my friendship bracelet curl or twist?

Uneven tension. Each knot is really two half-knots, and both must be pulled snug with the same force every time — a loose second half lets the bracelet spiral. Keep the holding strand taut and straight, pull each knot up to the same firmness, and the bracelet will lie flat. A gentle press under a book overnight settles a finished bracelet that still waves slightly.

How long does a chevron bracelet take?

For a beginner, a standard 6–8 strand chevron of bracelet length usually takes one to two hours of knotting; the candy stripe is quicker, around half an hour. Speed comes quickly — by the third bracelet most makers are two or three times faster than their first, because the knot becomes muscle memory.

Keep Going

More to Explore

Friendship bracelets sit inside a long handmade-bracelet tradition — the jewelry guide covers the styles, and the beaded project adds the other half of the handmade stack.

Search Apparel Search