The fashion industry & clothing guide

DIY Fashion · Jewelry Making

How to Make Beaded Bracelets

The stretch beaded bracelet is the friendliest first project in jewelry making — no clasp, no tools beyond scissors, and a finished piece in under half an hour. This guide covers sizing (the step that decides whether the bracelet is worn or abandoned), the elastic stringing method, a knotted version for heavier stone beads, and how to build stacks that look deliberate.

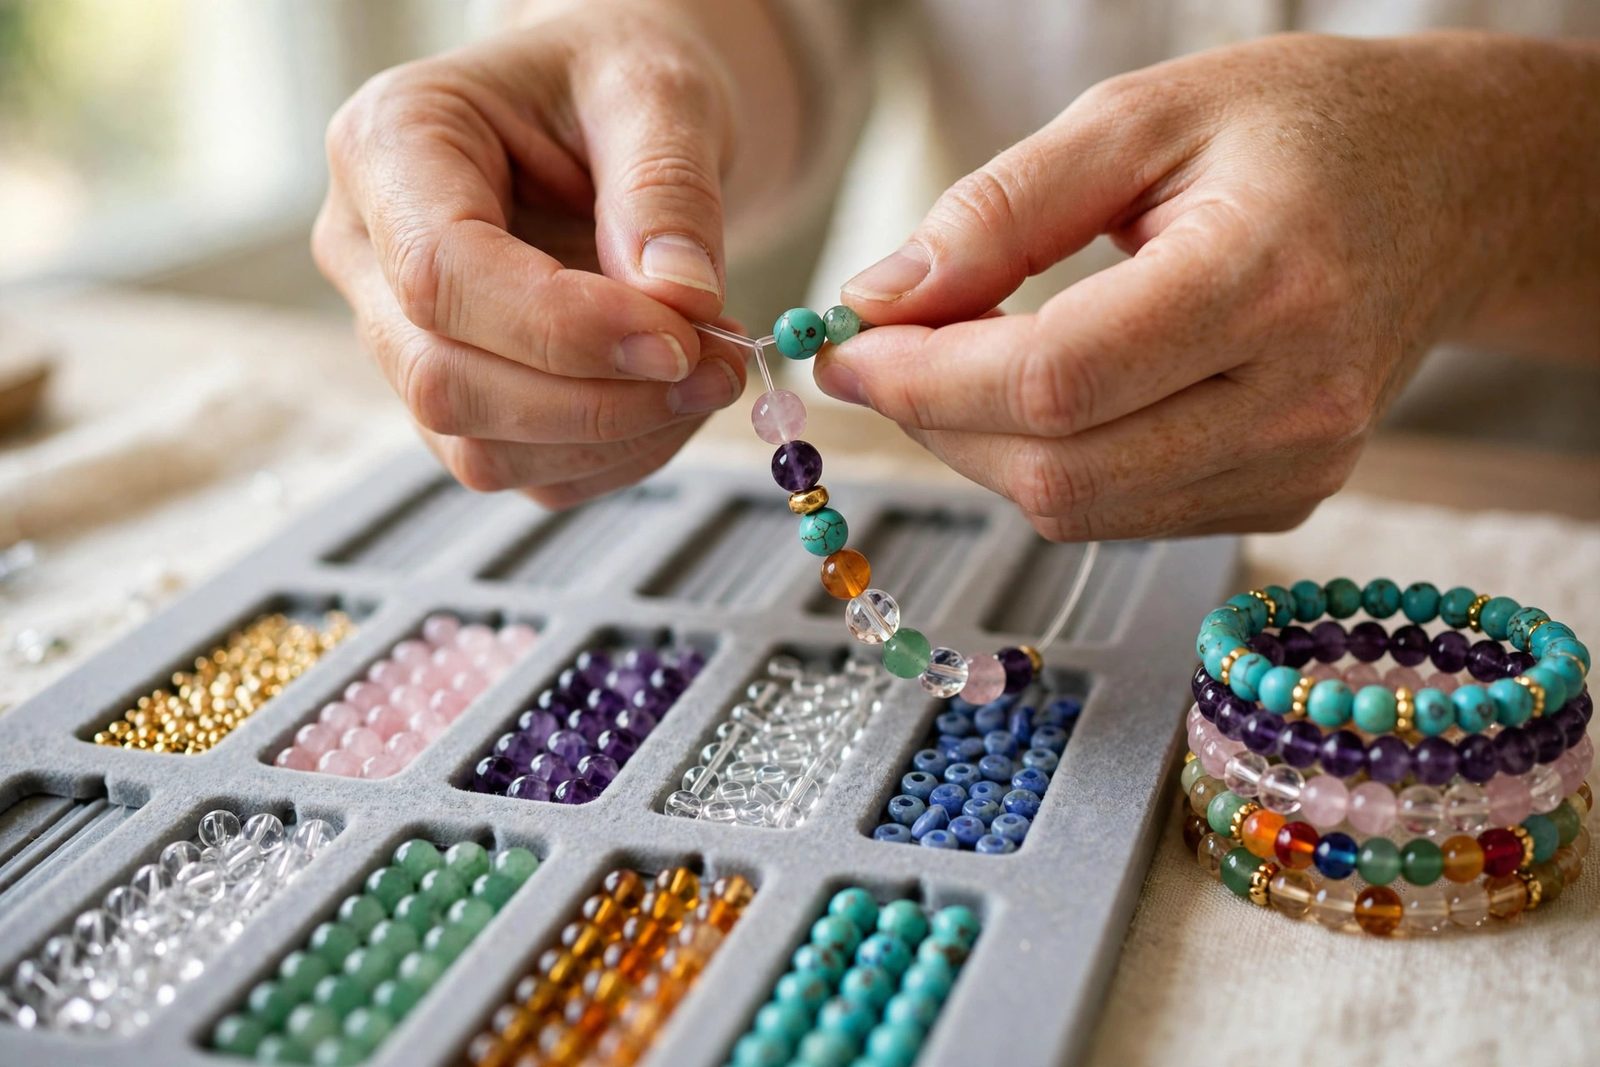
Hands stringing colorful beads onto elastic cord over a bead board, with finished beaded bracelets beside it
A bead board keeps the pattern in order and the length honest while you string.
On this pageSizing FirstThe Stretch BraceletKnotted Stone BraceletBuilding StacksCommon Questions

01 — Sizing First

Size the Wrist, Then Lay Out the Beads

Every beaded bracelet problem is a sizing problem in disguise. Measure the wrist where the bracelet will sit — snug, not tight — and add roughly half an inch for wearing ease. Large beads need a touch more: an 8 mm bead bracelet closes into a smaller inner circle than its strung length suggests, because the beads' own thickness eats into the fit. If you are making a gift and cannot measure, 7 inches is the most common women's size and 7.5–8 inches the common men's range — or use our wrist measuring guide with a strip of paper and a ruler.

Lay the design out on a bead board or in a line on a towel (a towel stops runaway beads) before stringing. Count the beads for your target length, then string one or two extra and adjust at the end — removing a bead is easy, but a bracelet that comes up half an inch short after knotting has to be restrung.
02 — The Stretch Bracelet

Stringing on Elastic, Step by Step

  1. Cut and pre-stretch the cord

    Cut elastic about 10–12 inches — far more than the bracelet — so you have tails to knot with. Give it a few firm stretches end to end; elastic that has been pre-stretched keeps its size instead of loosening on the wrist in the first week.

  2. Stop the first bead

    Clip a bead stopper, a binder clip or a piece of tape near one end, then string your layout in order. Work over the board or towel so a dropped strand stays a layout, not a scatter.

  3. Check the fit before knotting

    Bring the ends together and slip the unknotted bracelet over your hand onto the wrist. Add or remove beads now — this is the last free adjustment.

  4. Tie a surgeon's knot

    Cross the ends and tie an overhand knot, then tie a second overhand knot wrapping the cord twice before pulling tight — the double wrap is what makes it a surgeon's knot, and it grips far better than a plain knot. Pull with steady, even tension on all four strands.

  5. Hide the knot

    Add a tiny drop of jeweler's glue or clear nail polish to the knot if you like (optional, and let it dry fully), trim the tails to about 2 mm, then roll the bracelet until the knot slides inside the nearest bead's hole. A knot hidden in a bead is a knot that cannot snag or show.

03 — The Knotted Version

Knotted Stone Bracelets for Heavier Beads

Gemstone beads — onyx, tiger's eye, lava stone, rose quartz — are the most popular beaded-bracelet materials and the hardest on elastic. For a bracelet with real weight, string on waxed nylon or silk cord and knot between the beads instead: a simple overhand knot snugged against each bead as you go. Knotting does three jobs at once — it spaces the beads evenly, it gives the bracelet a supple drape elastic cannot, and if the cord ever breaks, the knots keep all but one bead from scattering. Finish with a sliding macramé closure (a short section of square knots over both cord ends) and the bracelet becomes adjustable as well. The beaded bracelets guide in our jewelry section covers the stone materials and what they feel like on the wrist.

04 — Building Stacks

Stacks That Look Deliberate

Nobody makes just one. A stack reads as designed when its bracelets share one decision: a color family (three bracelets in blues and silver), a material (all wood and stone), or a single repeated bead size with one odd one out as the accent. Mix bead sizes — 8 mm beside 6 mm beside a thin 4 mm spacer bracelet — rather than stacking identical bracelets, and break a run of stone with one metal or charm bracelet for contrast. Make the stack as a set from the start: lay all the bracelets out on the board together, because bead colors that look close in separate tubes can clash on the wrist. When you are ready for a different construction, friendship bracelets add the soft, woven texture that beaded stacks pair with best.

Common Questions

Common Questions

What size should a beaded bracelet be?

Measure the wrist snugly with a tape or a strip of paper, then add about half an inch (1–1.5 cm) for a comfortable stretch-bracelet fit — the beads themselves add bulk, so a bracelet strung to the exact wrist measurement wears tight. Most adult wrists land between 6 and 7.5 inches. Our guide to how to measure your wrist for a bracelet walks through the paper-strip method in detail.

Why did my stretch bracelet break?

Almost always the elastic, not the design. Elastic perishes with water, perfume, sunscreen and age, and a knot that was not pulled fully tight or was glued stiff will work loose. Roll stretch bracelets on and off instead of pulling them wide, keep them dry, and restring on fresh elastic when the cord starts to feel slack — the beads outlast several cords.

What elastic is best for beaded bracelets?

Clear elastic cord at 0.7 mm suits most 6–8 mm beads; go to 1 mm for larger or heavier beads if the bead holes allow it. Flat elastic ribbon is stronger still but needs bigger holes. Whatever the cord, check that it passes through every bead in your layout before you start — a few beads in every tube have smaller holes than the rest.

Keep Going

More to Explore

For the wearing side of beaded bracelets — materials, stacking and care — the jewelry section's guides are the companion reading.

Search Apparel Search