DIY Fashion · Upcycling & Customization
Embroidery is the customization that asks the least and gives the most: a needle, a few skeins of floss and one evening can put a floral sprig on a shirt pocket or a monogram on a cuff, permanently and washably. This guide covers the five stitches behind most garment designs, how to set up a real garment (not practice fabric) in a hoop, and where beginners should start.

01 — Setting Up a Garment
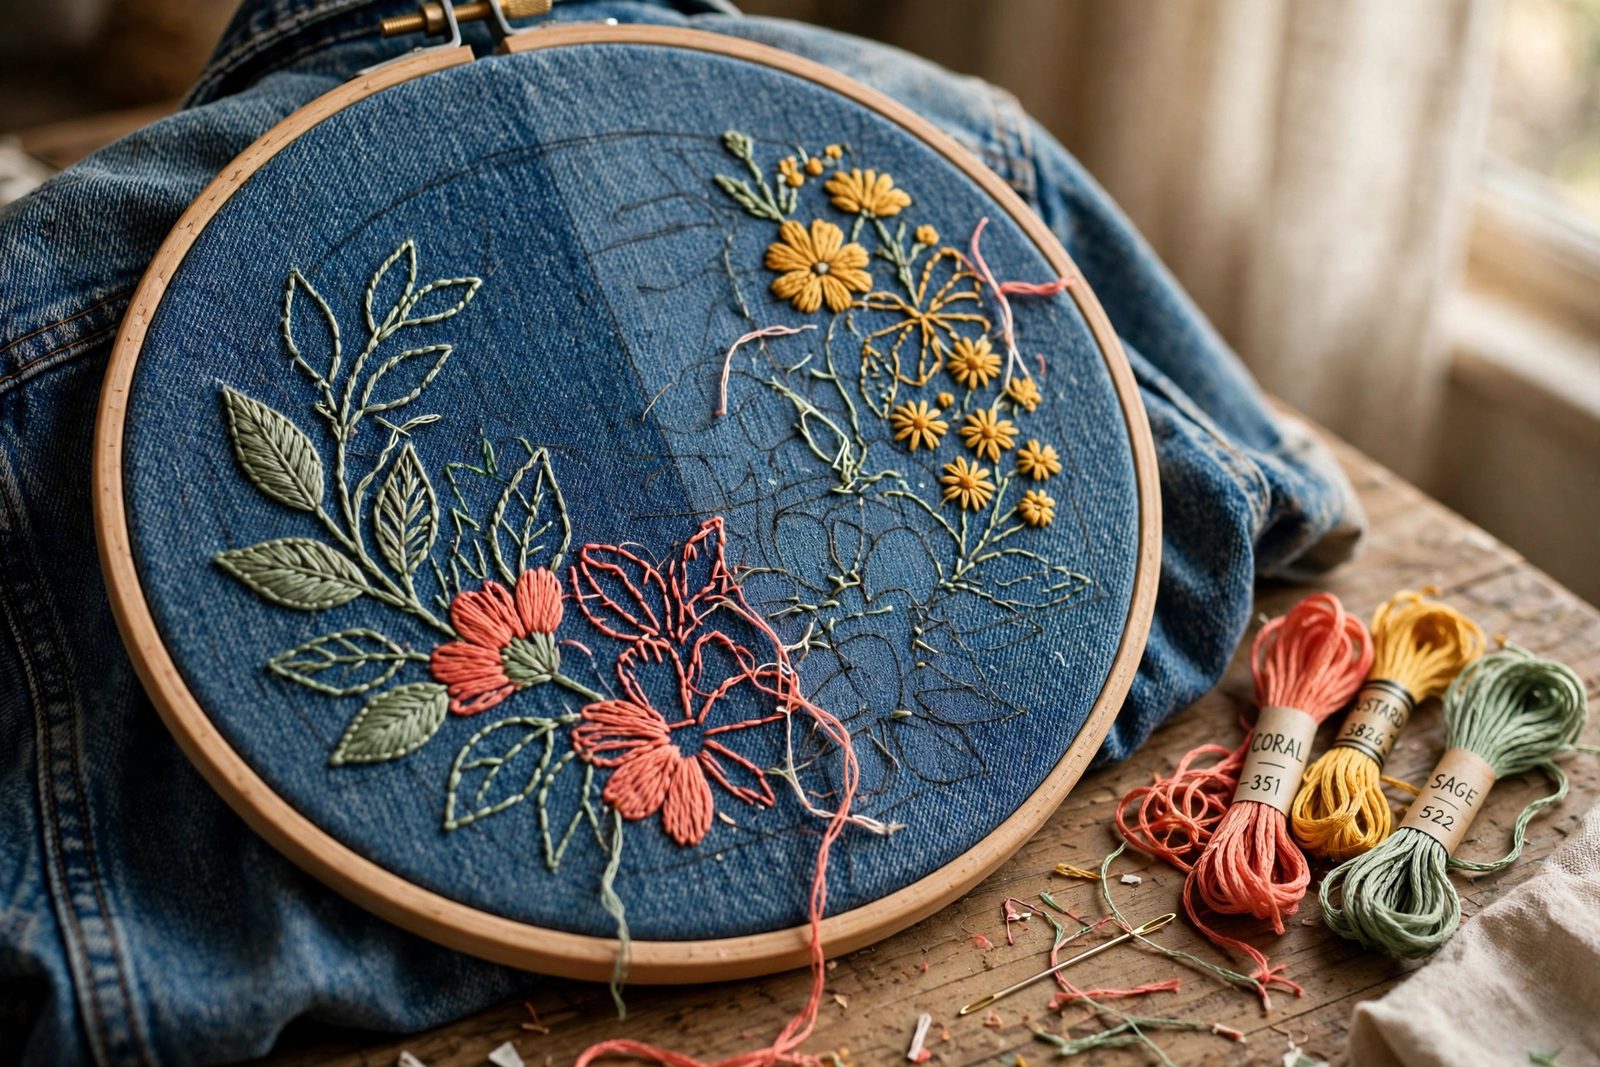
Practice fabric forgives; garments negotiate. Three setup decisions decide how stitching on a real piece of clothing goes. First, the hoop: choose one slightly larger than your design, center the fabric, and tighten until the surface is drum-taut but the weave is not distorted — on garments, hoop only the layer you are stitching, never front and back together. Second, stabilizer: knits (t-shirts, sweatshirts) and thin fabrics need fusible stabilizer ironed behind the design area, or the stitches will gather the fabric into puckers; denim, canvas and shirting can usually go without. Third, the needle and floss: an embroidery (crewel) needle has an eye big enough for floss and a sharp point for woven cloth; standard stranded cotton floss is used split — most garment work is done with two or three of its six strands, which keeps stitches fine enough for clothing.
02 — The Working Stitches
That vocabulary — line, fill, dot, petal — composes nearly every design you will see on a pocket or a jacket back. The formal stitch families and historic techniques behind them are defined in our embroidery definitions, a useful reference when a pattern names a stitch you have not met.
03 — Getting the Design On
Beginners stitch better with a line to follow. The reliable garment methods: water-soluble stabilizer film — draw or print the design on the film, stick it to the garment, stitch through it, then rinse it away; the most forgiving method and the best for dark fabrics and knits. Tailor's chalk or a water-erasable pen for light fabrics and simple shapes drawn freehand. Iron-on transfer pencils and papers give the crispest lines but are permanent, so the stitching must cover them completely. Start with a design no bigger than your palm: a sprig, an initial, a small motif from a free pattern. Scale is the beginner's friend — a finished small piece teaches more than an abandoned large one.
04 — Where to Start
Work up the ladder: a pocket sprig on a button-down shirt (backstitch and lazy daisies, one evening); initials or a date inside a cuff or collar — private embroidery, visible only to the wearer; a denim pocket or jacket panel, where the firm fabric needs no stabilizer and French-knot flowers forgive wobbly spacing; and finally a t-shirt motif with stabilizer, once your tension is even. Embroidery is also the prettiest repair: a small stitched patch of flowers covers a moth hole or a stain with intent, which is the heart of visible mending — and when a garment needs fixing before it can be decorated, the mending and repair guide covers the structural work first. Treat the first piece as tuition: choose a thrifted garment, and the lesson costs almost nothing.
Common Questions
You can for small, stable areas — a collar tip, a pocket — especially on firm fabrics like denim. But a hoop holds the fabric at even tension, and even tension is the difference between flat stitches and a puckered ring around your design. For anything bigger than a coin or on anything stretchy or thin, hoop it (or use a stabilizer) — five minutes of setup saves the whole project.
Iron a piece of fusible stabilizer onto the inside of the shirt behind the design area, hoop shirt and stabilizer together gently without stretching the knit, and use shorter stitches than you would on woven fabric. When the design is done, trim the stabilizer close. Skipping the stabilizer is the classic beginner t-shirt failure: the first wash reveals a gathered, wavy patch where the design sits.
Yes — embroidery floss is colorfast and made to be washed. Turn the garment inside out, wash on a gentle cycle in cool water, and skip high dryer heat for pieces with dense stitching. The first wash is the test: well-anchored stitches with trimmed, knotted ends survive it easily; loose tails are what unravel, so secure every end.
Keep Going
Embroidery sits between sewing and mending on this site — these sections carry the stitch library, the sewing basics and the repair techniques it grows into.
Definitions
Embroidery Definitions
The stitch and technique library: blackwork, appliqué, canvas work and more, defined.
Sewing
Sewing Guide
Apparel Search's sewing section — the hand and machine skills next door to embroidery.
Repair & Care
Mending & Repair Guide
Decorative mending is embroidery with a job to do — start with the repair basics here.
Search Apparel Search