Start Here
Why Mend at All
Clothing rarely wears out everywhere at once. It fails at a button, a hem, a zipper slider, one worn heel — a single small point — while the rest of the garment still has years in it. Mending is the habit of fixing that one point, promptly, before small damage becomes a reason to throw the whole garment away.
The economics are simple. A button costs pennies and ten minutes; its replacement garment costs real money. A hem re-stitched the evening it drops never becomes a hem trodden ragged. Mending also keeps clothes fitting and looking cared-for: a coat missing a button reads as shabby no matter how good the coat is, and the same coat with the button restored reads as well kept. Finally, every repaired garment is one fewer garment bought and one fewer sent to landfill — the quietest form of sustainable fashion there is.
This guide is the family hub. It covers the kit, the honest limits of home repair, and the decision between your own needle and a tailor’s machine. The four techniques themselves each have a dedicated how-to page, linked below, and our basic clothing mending page is the family’s general introduction, walking through five everyday repairs at a glance.
Search Apparel Search
The Toolkit
The Basic Kit: Eight Items, Almost Every Repair
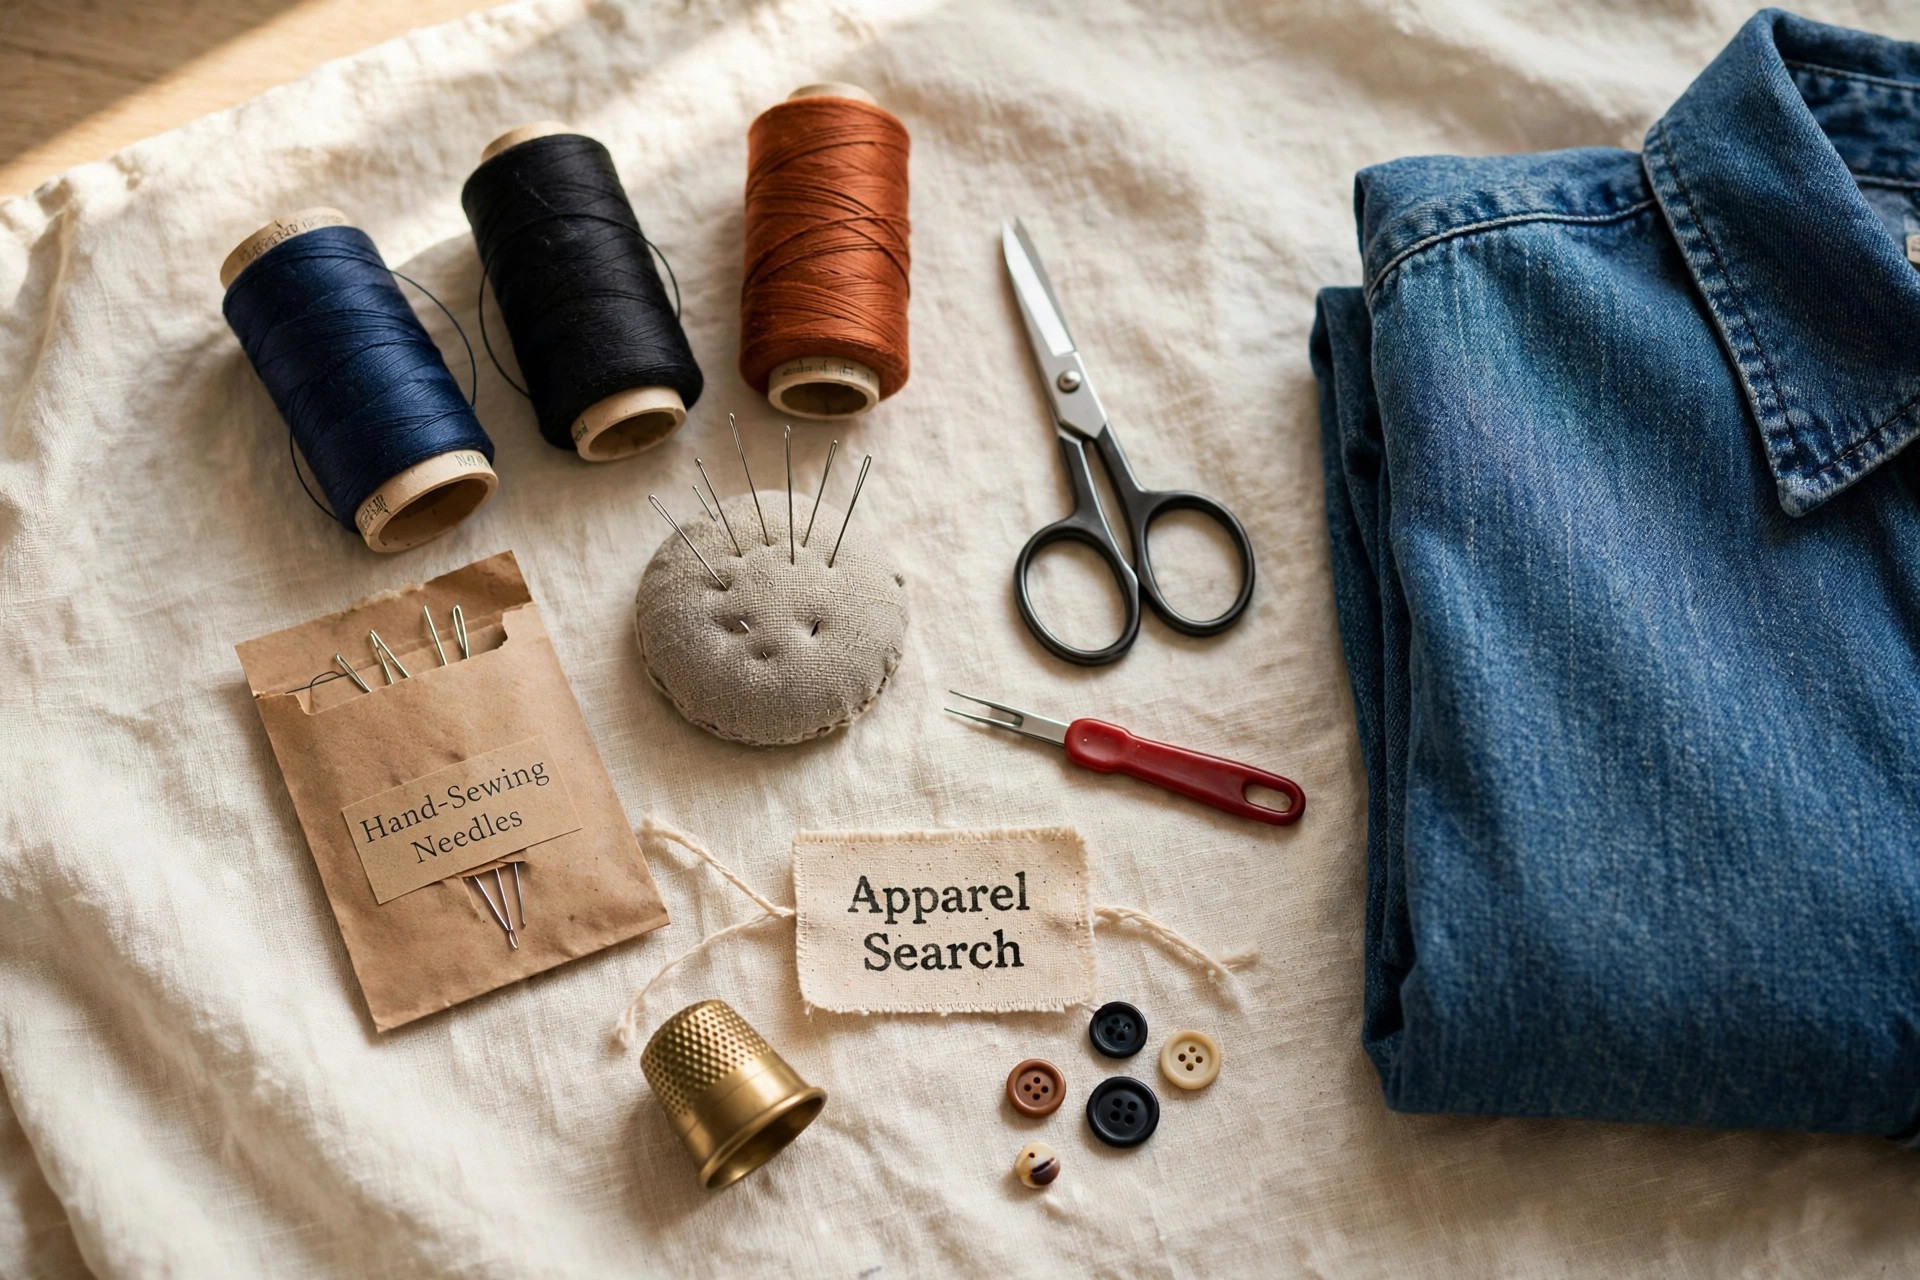
Assemble the kit once and keep it where you dress. You need hand-sewing needles in assorted sizes — sharps for most fabrics, a heavier needle for denim and coat cloth; thread in black, white, navy and grey, which between them cover most wardrobes; straight pins for holding hems and patches before you stitch; small, sharp scissors that cut thread cleanly instead of chewing it; a seam ripper for opening failed stitching without tearing fabric — its job is defined in our seam ripper definition; a thimble to push the needle through thick layers without a sore finger; a tape measure; and a small stock of spare buttons, saved from the extra-button bags new garments come with.
Two habits make the kit work harder. Match thread to the fabric, not to the old stitching, and choose all-purpose polyester thread for strength on most clothes. And mend in good light, ideally daylight: more home repairs fail from stitches placed half-blind than from any lack of skill. None of this requires a sewing machine. Every repair in this family is hand work, deliberately — a machine is faster for long seams, but a needle goes anywhere and costs nothing to set up.
The How-Tos
The Four Techniques, Each With Its Own Guide
Sew a button — the repair everyone meets first, done properly: flat buttons and shank buttons are sewn differently, and the thread shank underneath is what keeps a button on a coat from pulling its fabric. Hem pants and skirts by hand — measuring, pinning and the near-invisible blind stitch, plus hemming tape for the truly needle-shy. Fix a zipper — most zipper trouble is a tired slider, not a dead zipper, and the diagnosis takes a minute. Mend a tear, patch and darn — closing L-shaped tears, choosing iron-on or sewn patches, and weaving a darn across a worn heel or elbow.
Every repair in this family follows the same rhythm:
- Diagnose exactly what failed — part, seam, edge or fabric.
- Prepare: good light, matched thread, damage pinned or laid flat.
- Repair following the technique page for that fault.
- Test before wearing out: sit, bend and stretch in the garment. A repair that survives a test at home will survive the day; one that fails the test fails privately, with the kit still open.
Beyond Repair
When a Repair Becomes a Transformation
Some garments come back from mending better than they started — a patch with personality, a hem reborn as a cuff. Followed further, that instinct is upcycling: our DIY section's denim upcycling projects turn jeans too worn to repair into totes, skirts and patchwork, and hand embroidery on clothes grows the decorative stitch into full designs. The DIY Fashion hub collects the whole shelf of projects.
Honest Limits
When to Do It Yourself — and When to Take It to a Tailor
Do it yourself when the fabric around the damage is sound, the repair is on a seam, an edge or a replaceable part, and a slightly visible result would not spoil the garment: buttons, dropped hems, small tears, split seams, stuck zippers and worn sock heels are all home territory. Take it to a tailor when the work changes the garment’s structure — taking in shoulders, rebuilding a waistband, replacing a whole zipper, relining a coat — or when the garment is valuable, lined, or made of a fabric that shows every stitch, like silk or leather.
Our clothing alterations guide explains what a tailor can and cannot change, and the companion guide to how much alterations cost sets out typical prices, so you can judge a quote before you commit. The sensible wardrobe uses both: home mending for the small and frequent, a good tailor for the structural and rare — and no garment discarded for a five-minute fault.
Questions
Common Questions
What repairs can a beginner realistically do at home?
Buttons, dropped hems, split seams, small tears, stuck zippers and darning worn heels and elbows. All of them are hand work with a basic kit, none needs a sewing machine, and each has a step-by-step page in this guide family.
What should a basic mending kit contain?
Hand-sewing needles in assorted sizes, thread in black, white, navy and grey, straight pins, small sharp scissors, a seam ripper, a thimble, a tape measure and a stock of spare buttons saved from new garments.
When should a repair go to a tailor instead?
When the work is structural — shoulders, waistbands, a full zipper replacement, relining — or the garment is lined, valuable, leather, or a fabric like silk that shows every stitch. Home mending suits sound fabric and small, local damage.