Know Your Button
Two Kinds of Button, Two Ways of Sitting
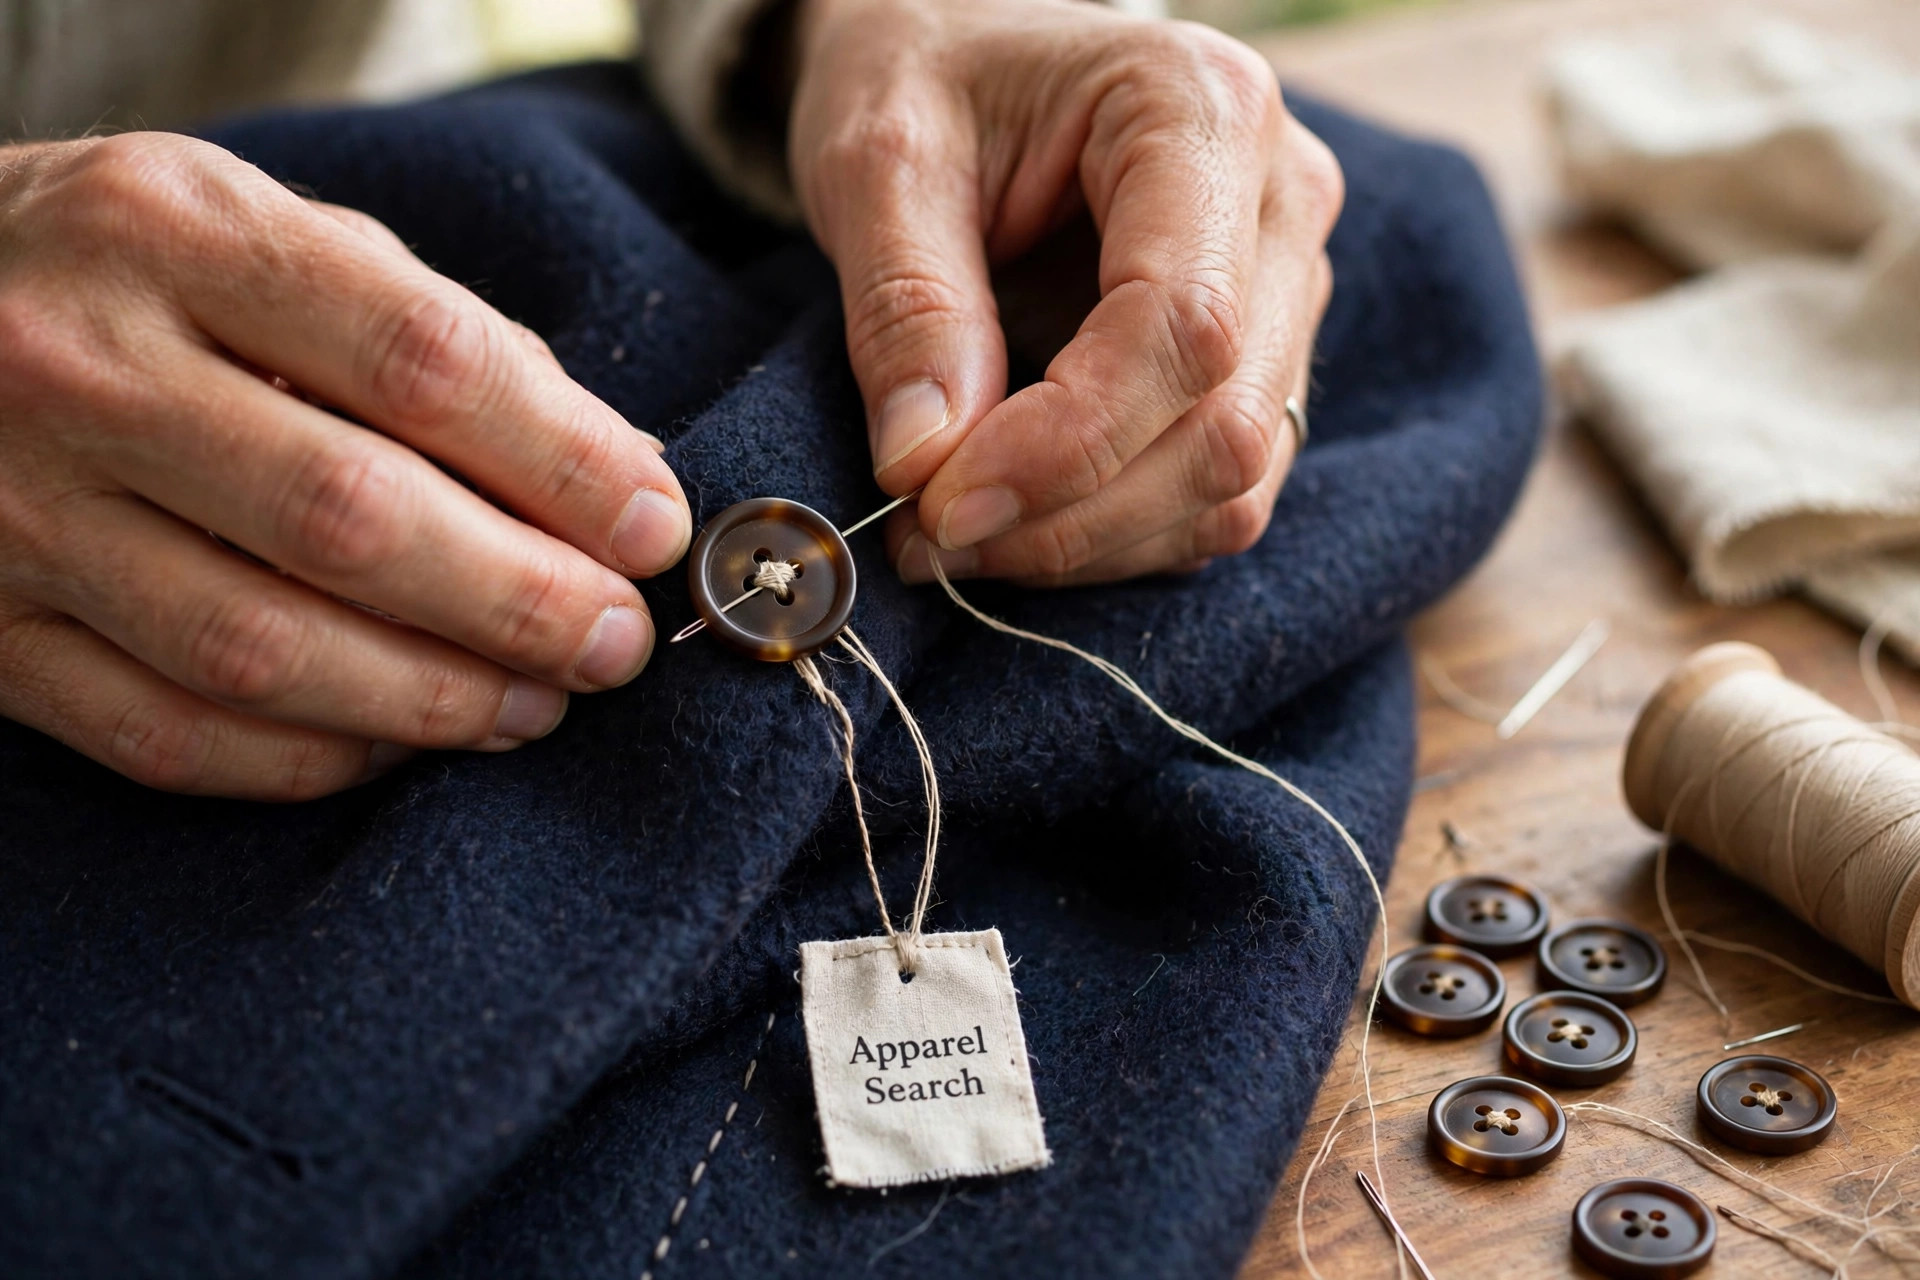
Buttons fail for a boring reason: they were sewn flat against the fabric with no room to move, so every fastening strained the thread until it snapped. Sewing one back properly means giving it that room — and the method depends on which of the two button families you are holding.
A flat button has two or four holes through its face and is sewn directly onto the garment, with the working room built underneath it as a thread shank — a small wrapped stem of thread that lifts the button just far enough to let the buttonhole’s fabric sit beneath it. A shank button already carries its own stem: a loop or solid shank on its back, with no holes through the face. It needs no thread shank — you sew through its loop and let its built-in stem do the lifting. Shank buttons are the usual choice on coats and jackets, where the fabric is thick; flat buttons rule on shirts and trousers. The part itself is defined in our button definition.
The Method
Sewing a Flat Button, Step by Step
- Mark the spot. Fasten the remaining buttons, lay the garment flat and mark exactly where the missing button sat — through the buttonhole, with chalk or a pin — so the new one aligns.
- Thread and anchor. Use a double strand of strong thread, about an arm’s length, knotted at the end. From underneath, take two small stitches at the mark to anchor.
- Lay a spacer. Rest a pin, matchstick or toothpick across the button’s face. This slack is what becomes the shank.
- Sew through the holes. Pass up and down through each pair of holes six to eight times, over the spacer, keeping the stitches even and the thread snug but not strangling.
- Build the shank. Bring the needle up under the button, remove the spacer, lift the button slightly and wind the thread firmly around the stem of stitches five or six times.
- Knot underneath. Push the needle to the underside, take three small backstitches, and trim the thread close.
For a shank button, skip the spacer and the winding: sew through the fabric and the button’s loop eight to ten times, snug, then knot underneath in the same way.
By Garment
Shirts, Trousers and Coats: What Changes
Shirts take a short shank — shirt fabric is thin, so two or three wraps are enough — and matching thread matters, because shirt buttons are on display. Keep stitches small; a shirt button sewn with coat-sized stitches looks repaired. Trousers work harder than any other buttons: the waist button takes strain at every sitting, so use the full six-to-eight passes, a firm shank, and consider sewing through a small flat button placed on the inside as a reinforcing anchor — the tailor’s trick for waistbands. Coats and jackets need the longest shank, enough for the full thickness of the front plus its facing, and the strongest thread you have; check the inside for that same reinforcing button, which many coats are made with. When a coat button is lost entirely, replace the full visible set rather than living with one odd button — or move a matching button from a cuff or inside facing and put the substitute where it shows least.
In a Pinch
Emergency Fixes That Hold Until Evening
A button that lets go away from home needs a fix that lasts the day, not forever. A safety pin through the buttonholes from inside closes a shirt discreetly. Twist-tie wire or a paper clip threaded through the holes and twisted behind the fabric holds a trouser button surprisingly well. A few drops of clear nail polish on a fraying thread stops it unravelling further until you can re-sew. And the preventive fix beats all of these: check buttons when you iron or fold laundry, and re-sew any that wobble — a loose button announced itself weeks before it fell. Sew it properly, following the steps above, the first evening it wobbles, and the emergency never happens. For the general introduction to repairs like this one, see basic clothing mending.
Questions
Common Questions
Why do sewn-on buttons fall off again so quickly?
Usually because they were sewn flat with no thread shank. Without the shank, every fastening strains the thread against the fabric until it snaps. Build the shank — spacer across the button, then wind thread around the stem — and the button gains the room it needs.
How many times should I pass the thread through a button?
Six to eight passes through each pair of holes for a flat button, and eight to ten through the loop of a shank button. Trouser waist buttons, which take the most strain, deserve the full count and a firm knot.
What thread is best for sewing on a button?
All-purpose polyester thread, used as a double strand, in a colour matched to the fabric. For coats, use the strongest thread you have and build a longer shank to clear the thicker cloth.
More to Explore
Search Apparel Search