Tears
Closing a Tear — and the L-Shaped Tear in Particular
A tear is not a hole; the fabric is all still there, just separated — and if you catch it before the edges fray, it can be closed almost invisibly. Work from the inside where you can, match the thread to the fabric, and remember the rule that governs every repair on this page: stitches must anchor in sound fabric, never in the frayed edge itself.
A straight tear along a seam is the easiest mend in clothing: pin the seam allowances back together on the original stitch line and sew a firm backstitch just inside it, overlapping the sound stitching at both ends. An L-shaped tear — the classic catch on a nail or a snagged pocket corner — needs more thought, because its corner is a stress point that will re-tear if it is simply pulled shut. Trim loose threads, lay the torn flap back into place over a small piece of lightweight fusible interfacing or a scrap of matching fabric placed behind it, pin, and stitch around the tear’s full outline with small, close stitches, rounding the corner rather than pivoting sharply on it. Working on the corner last, with the flap supported by the backing, is what keeps the mend flat. Press gently at the end; a tear closed under tension puckers forever.
Patches
Iron-On or Sewn? Choosing the Patch
When fabric is actually missing — worn through, burned, or torn beyond closing — a patch replaces it. Cut or choose the patch at least 2 cm (¾ inch) larger than the damage in every direction, so its edges land on sound cloth; a matching donor fabric — an inside pocket facing, a hem allowance, a spare from the garment’s own fabric — disappears best. An iron-on patch fuses in a minute and is the right choice inside a garment, under a sewn patch as reinforcement, or on work clothes where speed beats beauty; its weakness is the wash, where its edges eventually lift. A sewn patch is the durable form: turn its edges under, pin it over (or behind) the damage, and stitch close to its edge with small, even stitches — by hand with a whip stitch or a neat running stitch. Best practice on anything that will be washed often is both: fuse the patch for position, then sew its edge for permanence. The related craft tradition is covered in our patchwork definition.
Darning
Darning a Worn Heel, Elbow or Seat
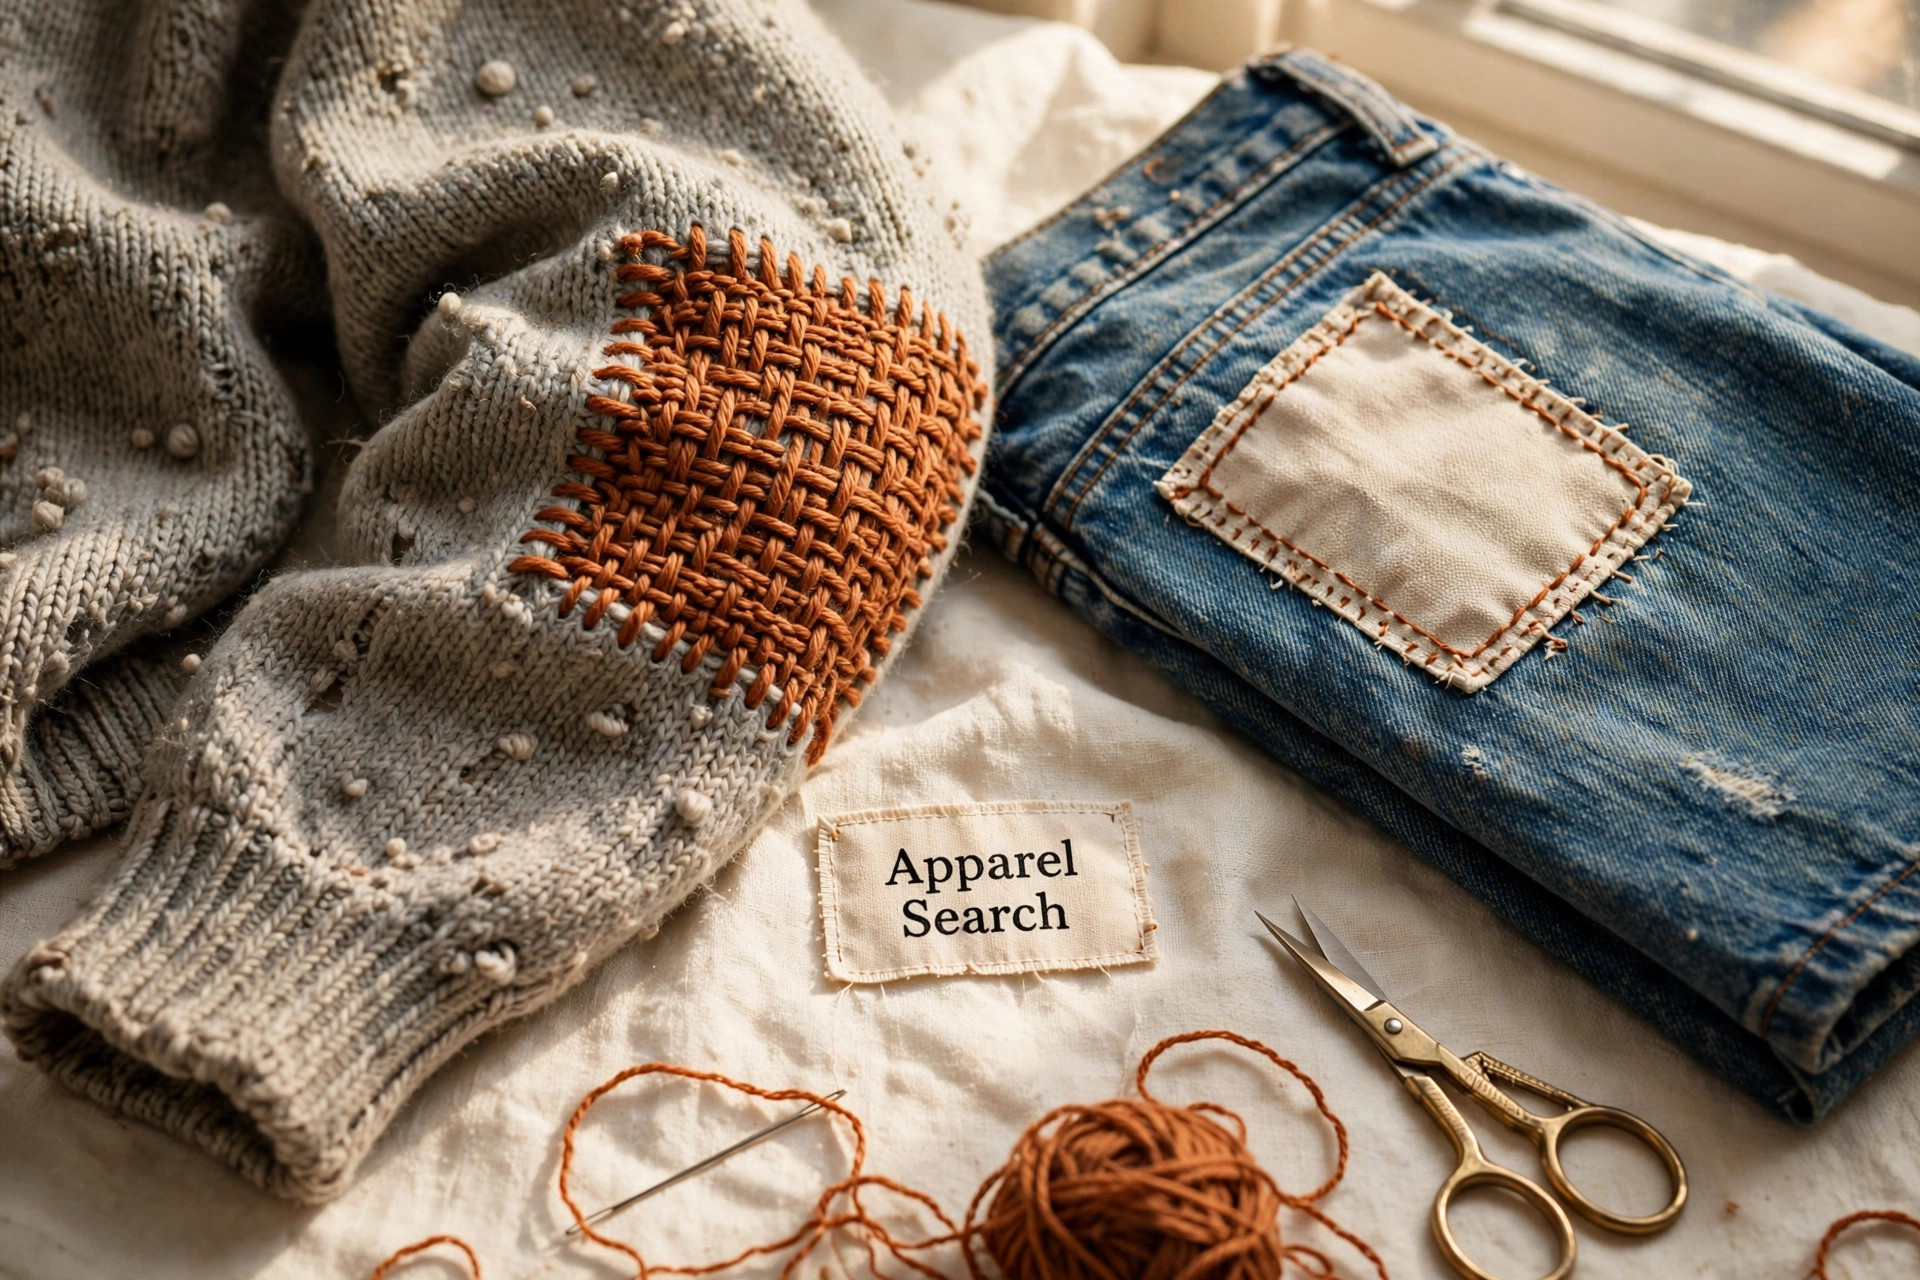
Darning does not cover a hole — it rebuilds the fabric, weaving a small grid of new yarn where the old yarn wore away. It is the right repair for knits and for worn-thin spots caught before they break through: sock heels and toes, sweater elbows, the seat of soft trousers. Stretch the area over a darning mushroom, a jar lid or any smooth dome so it lies flat but unstretched, exactly as the technique is defined in our darning definition. Using yarn matched in weight and fibre — unravel a length from the garment’s own seam allowance for a perfect match — sew long parallel stitches across the worn area, anchored well into sound fabric on both sides. Then weave the second set perpendicularly, over and under the first, packing the stitches closely until the grid is firm. In short:
- Dome the area over a mushroom or jar lid, flat but unstretched.
- Match the yarn in weight and fibre — the garment’s own seam allowance is the perfect source.
- Lay parallel stitches across the wear, anchored in sound fabric both sides.
- Weave across them, over and under, packed close.
- Ease off the dome and check the darn flexes with the knit.
The finished darn flexes with the fabric around it, which a patch cannot do — that is why, four centuries on, it is still the heel repair of choice. Thin spots darned early never become holes at all.
A Style Choice
Visible Mending: The Repair as Decoration
The newest chapter in mending’s long history inverts the old rule: instead of hiding the repair, show it. Visible mending uses contrasting thread, a patch in a deliberate print, or rows of even running stitches across a worn area, turning the garment’s history into part of its design. Jeans are its natural home — a darned knee in sashiko-style stitching, a pocket re-edged in bright thread — but it suits any garment whose wearer would rather tell the story than disguise it. The craft has deep roots: our sashiko mending guide teaches the Japanese running-stitch tradition it draws on, the visible mending guide surveys the styles, and decorative darning and patching works through the match-or-contrast decision in depth. The practical point stands underneath the aesthetic one: a visible mend is still a mend — the same sound-fabric anchoring, the same even stitches — and a garment repaired beautifully is worn longer than one repaired grudgingly.
Questions
Common Questions
How do I mend an L-shaped tear so it does not tear again?
Support the corner — the stress point — with a small piece of fusible interfacing or matching fabric behind the tear, lay the flap back into place, and stitch around the full outline with small, close stitches anchored in sound fabric, rounding the corner instead of pivoting on it.
Is an iron-on patch enough, or should I sew it too?
Iron-on alone suits quick, hidden or low-wash repairs, but its edges lift after repeated washing. For anything washed often, fuse the patch to position it, then sew around its edge — the combination is both fast and permanent.
What is the difference between patching and darning?
A patch covers damage with a piece of fabric laid over or under the hole. Darning rebuilds the fabric itself, weaving a grid of new yarn across the worn area — which is why darning flexes with knits and suits heels, elbows and worn-thin spots.
More to Explore
Search Apparel Search