Garment Care, Repair & Alterations
Basic Clothing Mending
Five repairs rescue most garments: a button, a seam, a patch, a darn and a zipper fix. None of them needs more than a simple kit and a quiet half hour.
Garments rarely fail all at once; they fail at a button, a stress point, a heel. The repairs in this page of the Garment Care, Repair & Alterations Guide are the ones that return the most clothing to service for the least skill and money. None requires a sewing machine, though a machine makes seams faster. What they require is promptness: mending works best on small damage, before a loose thread becomes a torn seam. Work in good light, match thread color to the fabric rather than the old stitching, and test any repair on a wearing — sit, bend and stretch in the garment before calling it done.
The Basic Mending Kit
Assemble it once and keep it where you dress, not where you store holiday decorations: hand-sewing needles in assorted sizes, thread in black, white, navy and grey (those four cover most wardrobes), a small card of spare buttons saved from garment tags, sharp embroidery scissors, straight pins, a tape measure, a thimble, safety pins for emergencies, and an iron-on patch for work clothes. Total cost is modest, and the kit pays for itself the first time it saves a shirt. Thread matters more than any other item: choose polyester all-purpose thread for strength on most fabrics, and match the weight of the thread to the weight of the cloth.
Repair 1: Sewing On a Button
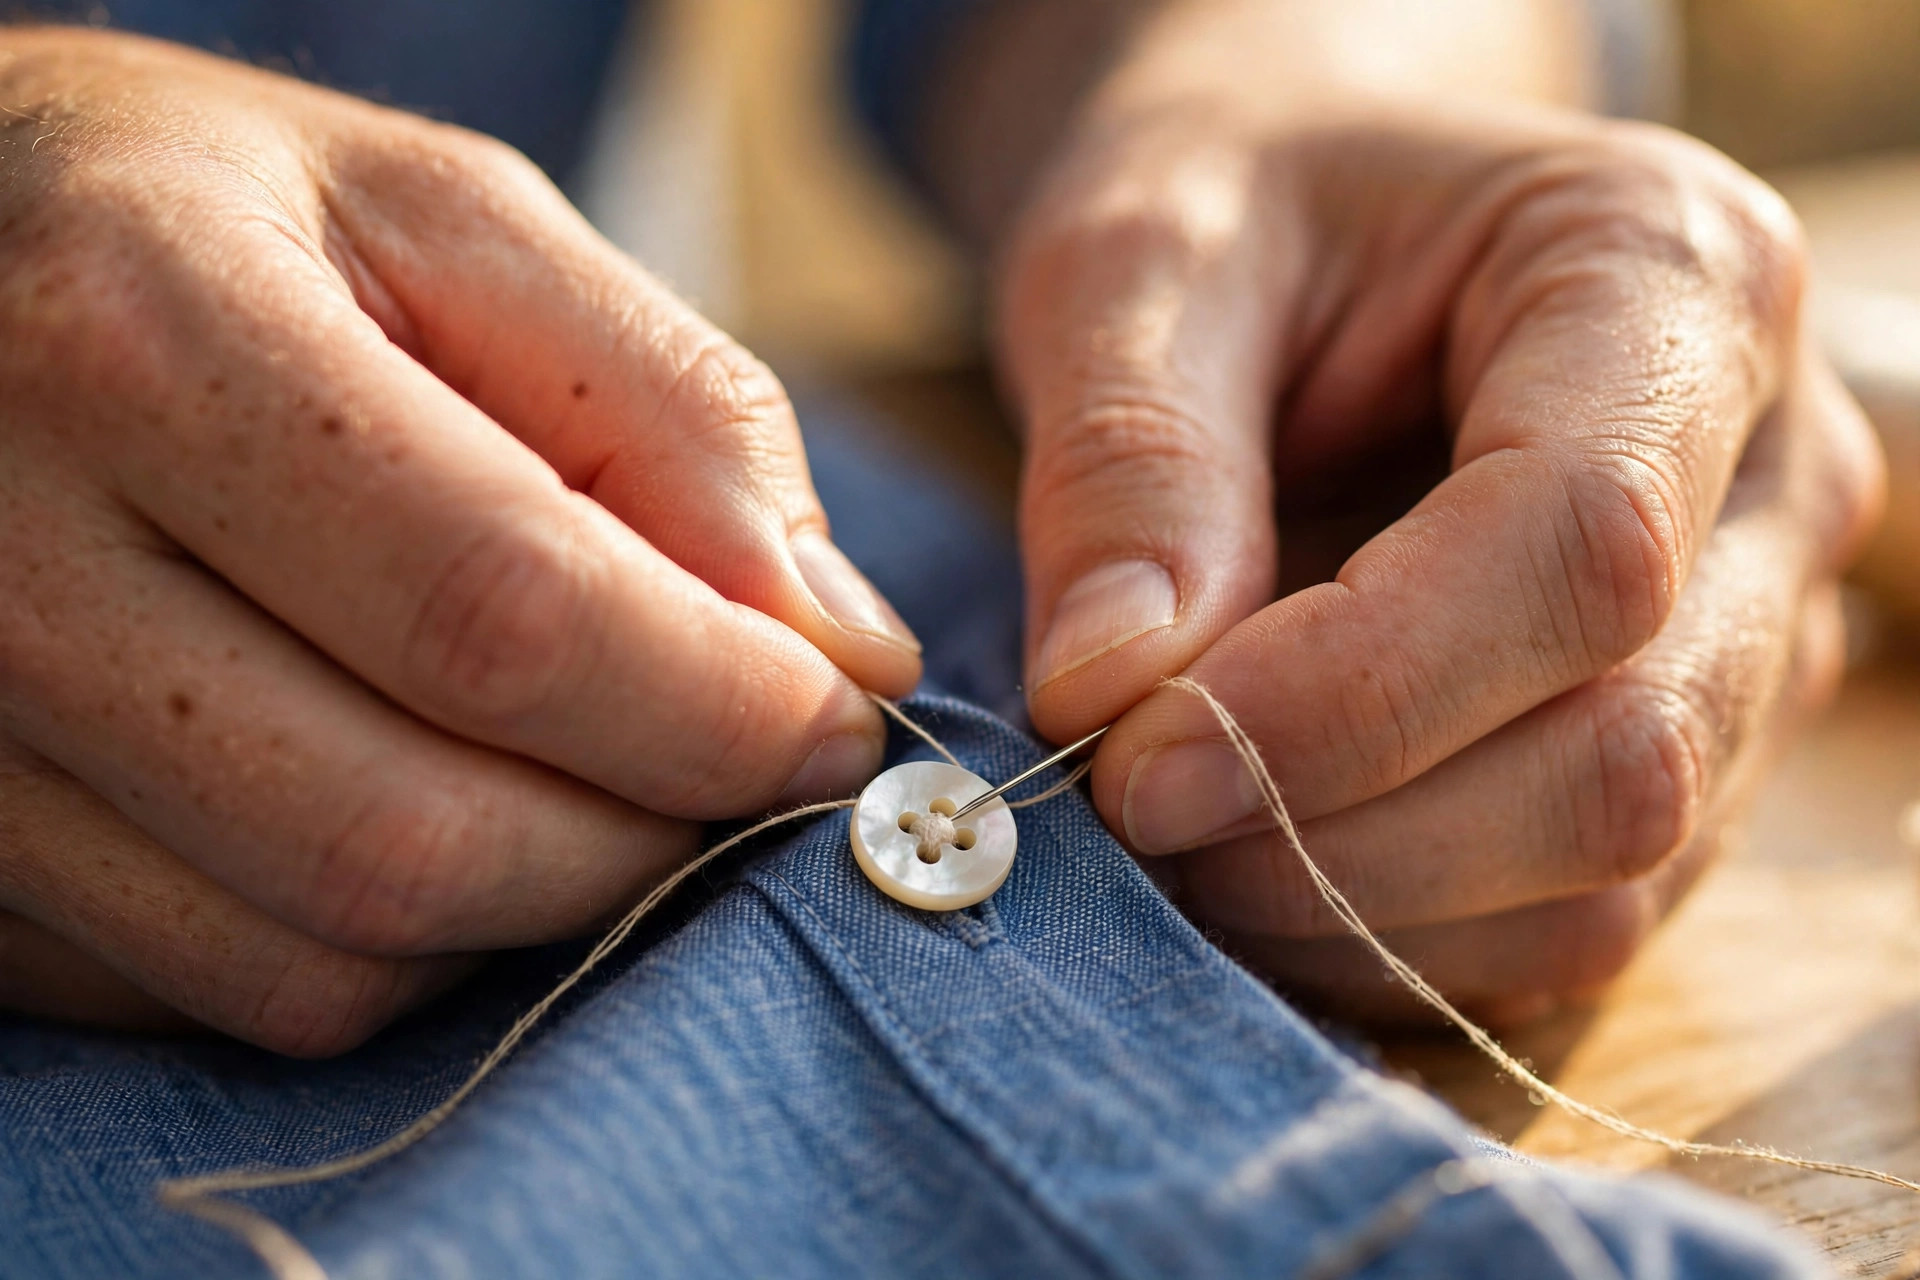
- Position and anchor. Mark the button's spot with chalk or a pin so it aligns with the buttonhole. Thread a needle with a double strand, knot the end, and take two small stitches in the fabric to anchor.
- Build the shank. Lay a pin or matchstick across the button face. Sew up and down through each pair of holes six to eight times, passing over the pin; this slack becomes the thread shank that lets the button sit above thick fabric without pulling.
- Wind and knot. Remove the pin, lift the button slightly, and wind the thread firmly around the shank several times. Push the needle to the underside, take three small backstitches, and trim.
Repair 2: Closing a seam
Most seam failures are simple: the stitching broke, the fabric is fine. Turn the garment inside out, pin the seam allowances together along the original stitch line, and sew a backstitch seam — the strongest hand stitch — just inside the old line, overlapping sound stitching by a centimeter at each end. Knot securely and press the seam flat. If the fabric itself has torn beside the seam, that is a patch or a tailor job, not a seam repair.
Repair 3: Patching
A patch trades a little visibility for a lot of strength, so it suits workwear, children's clothes, jeans and elbows. Cut patch fabric — ideally from a matching donor such as an inside pocket facing or a hem — at least two centimeters larger than the hole all around. For an iron-on patch, fuse it to the inside, then sew around its edge from the right side to keep it from lifting in the wash. For a sewn patch on the outside, turn its edges under, pin, and stitch close to the edge with small, even stitches. Patch before the hole grows: frayed edges need the patch to reach sound fabric.
Repair 4: Darning Knits and Worn Spots
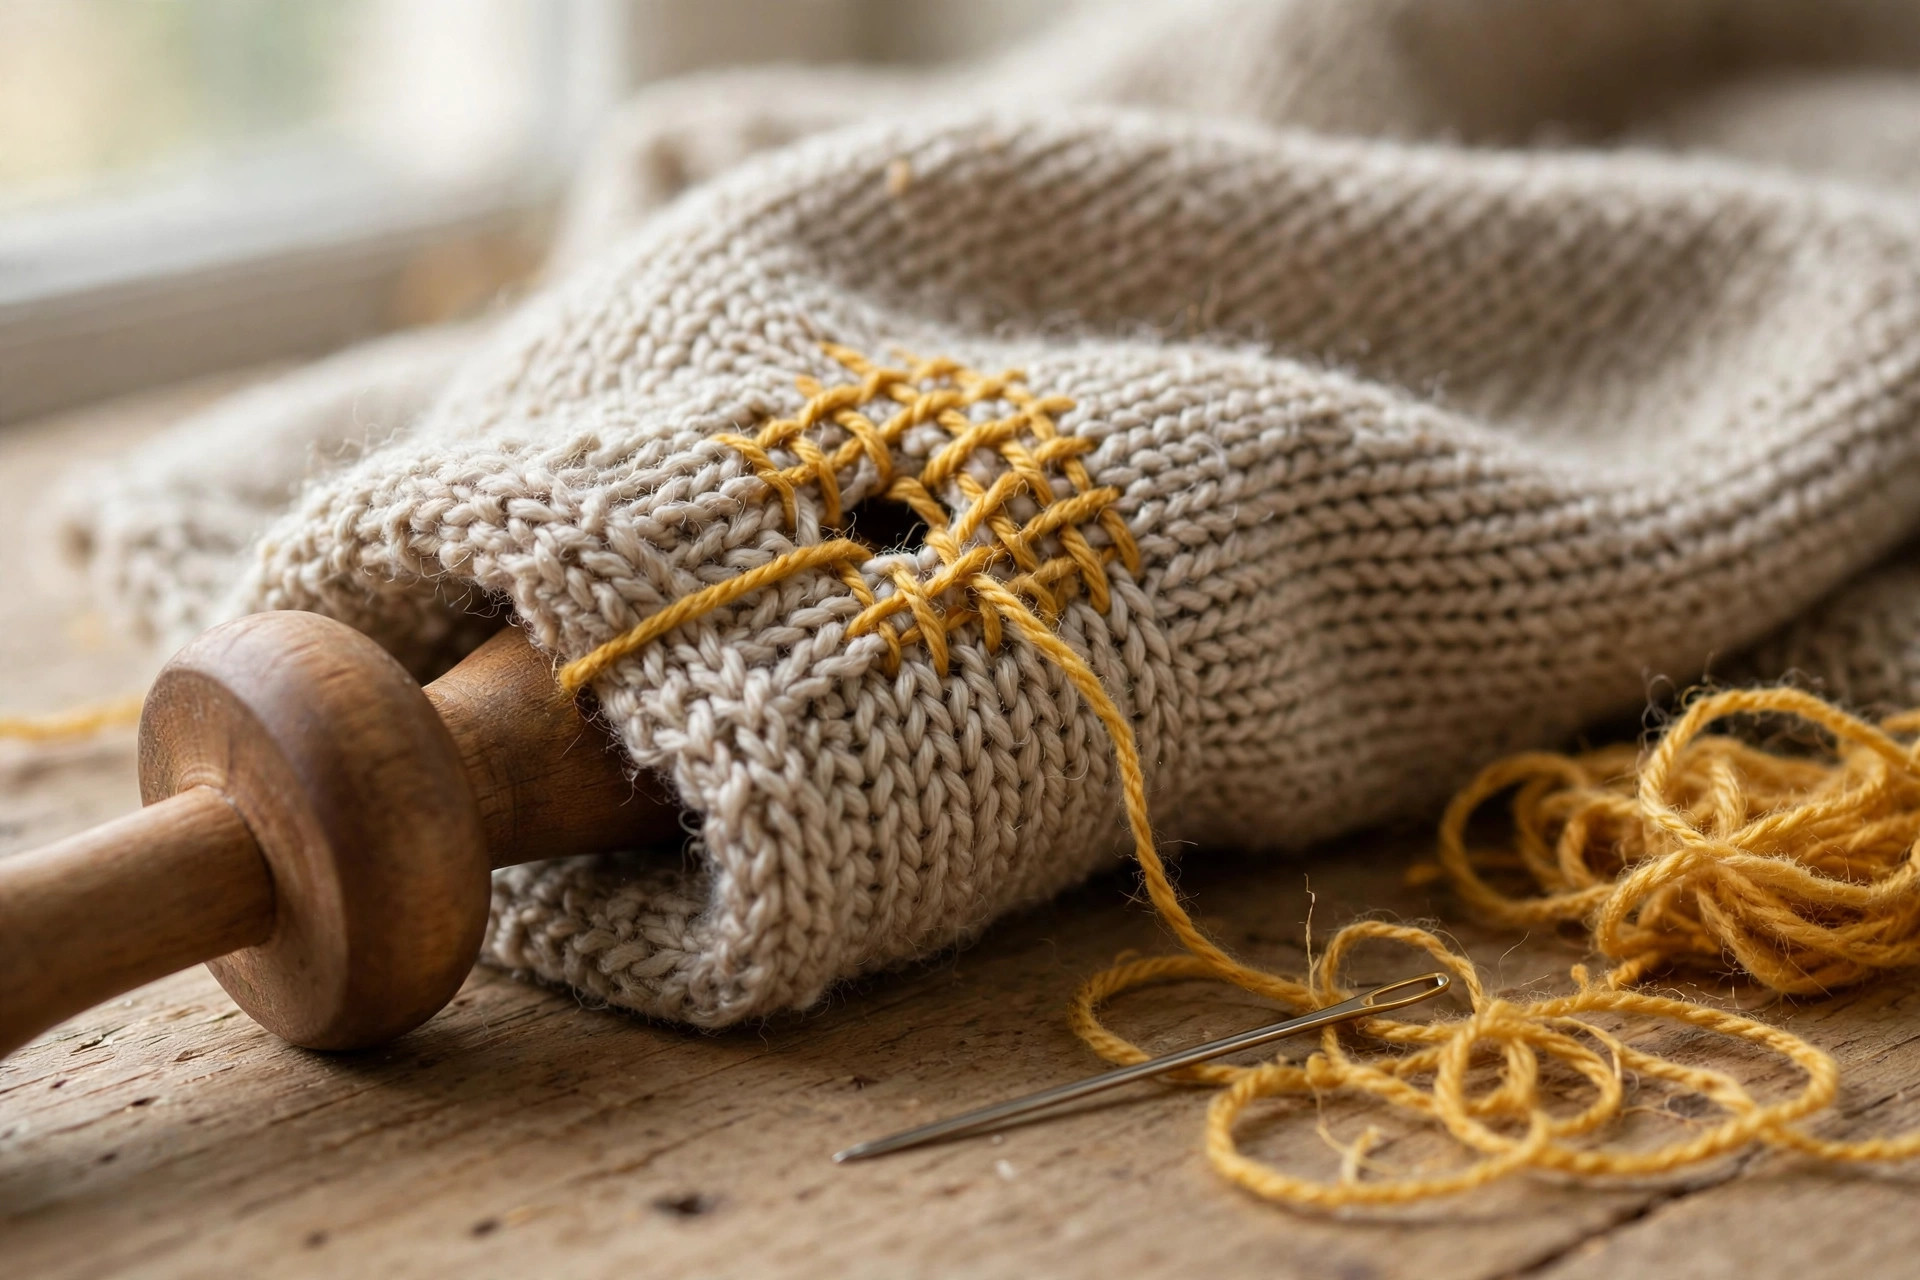
Darning weaves a small grid of new yarn across a hole, rebuilding the fabric itself. Stretch the area over a darning mushroom, a light bulb, or the rounded end of a jar so it lies smooth but not stretched. Using yarn matched in weight and fiber — pull a length from the garment's own seam allowance if you can — sew long parallel stitches across the hole, anchored in sound fabric on both sides. Then weave perpendicular stitches over and under the first set, packing them closely. The result is a firm woven patch that flexes with the knit, ideal for heels, elbows and sweater wear spots. Visible darning in a contrasting yarn has also become a deliberate style — a repair that tells a story instead of hiding.
Repair 5: Zipper First Aid
Most zipper trouble at home is small. A slider that has come off one side of an open-end zipper can often be guided back on from the bottom stop. A stiff zipper runs smoothly again after rubbing the teeth with a graphite pencil or a trace of petroleum jelly, worked gently. A broken pull tab is replaced in a minute with a split ring, a paper clip in an emergency, or a cord zipper pull. What home mending cannot usually fix is a zipper with missing teeth or a failed coil — that zipper needs full replacement, which is tailor work; our clothing alterations guide explains how to judge that job. Never force a stuck slider: force bends the slider's mouth and turns a small problem into a replacement.
Stitch Sampler Worth Knowing
Three hand stitches cover nearly all mending: the backstitch for seams and strength, the slip stitch for nearly invisible hem and lining repairs, and the whip stitch for binding edges and attaching patches. Learn those three and the repairs on this page are all within reach. Keep stitches small and even — in mending, consistency matters more than speed.
Common Questions
What should be in a basic home mending kit?
Needles in a few sizes, thread in black, white and a few garment colors, spare buttons, small sharp scissors, pins, a tape measure, a thimble, and an iron-on patch or two. Add a zipper pull repair kit and a fabric shaver and you can handle nearly every routine repair.
How do I sew a button so it stays on?
Anchor the thread, pass up and down through each pair of holes six to eight times, wind thread around the shank you have built under the button, and knot on the underside. Leave a small thread shank on fabric buttons so the button sits over the buttonhole without pulling.
What is darning, and when is it the right repair?
Darning weaves new yarn or thread across a hole in knitted or woven fabric, rebuilding the surface in a small grid. It is the right repair for worn heels, elbows and small holes in sweaters and socks where a patch would be stiff or visible.
When is a repair beyond home mending?
Take it to a tailor or repair shop when the garment is lined or structured, when a full zipper must be replaced, when leather or heavy coated fabrics are involved, or when the tear crosses a seam that carries the garment's shape.
More in This Guide
Back to the Garment Care, Repair & Alterations Guide
Washing, mending, alterations, fabric care and storage — the full guide in one place.