Apparel Search Sewing Guides
How to Read a Sewing Pattern
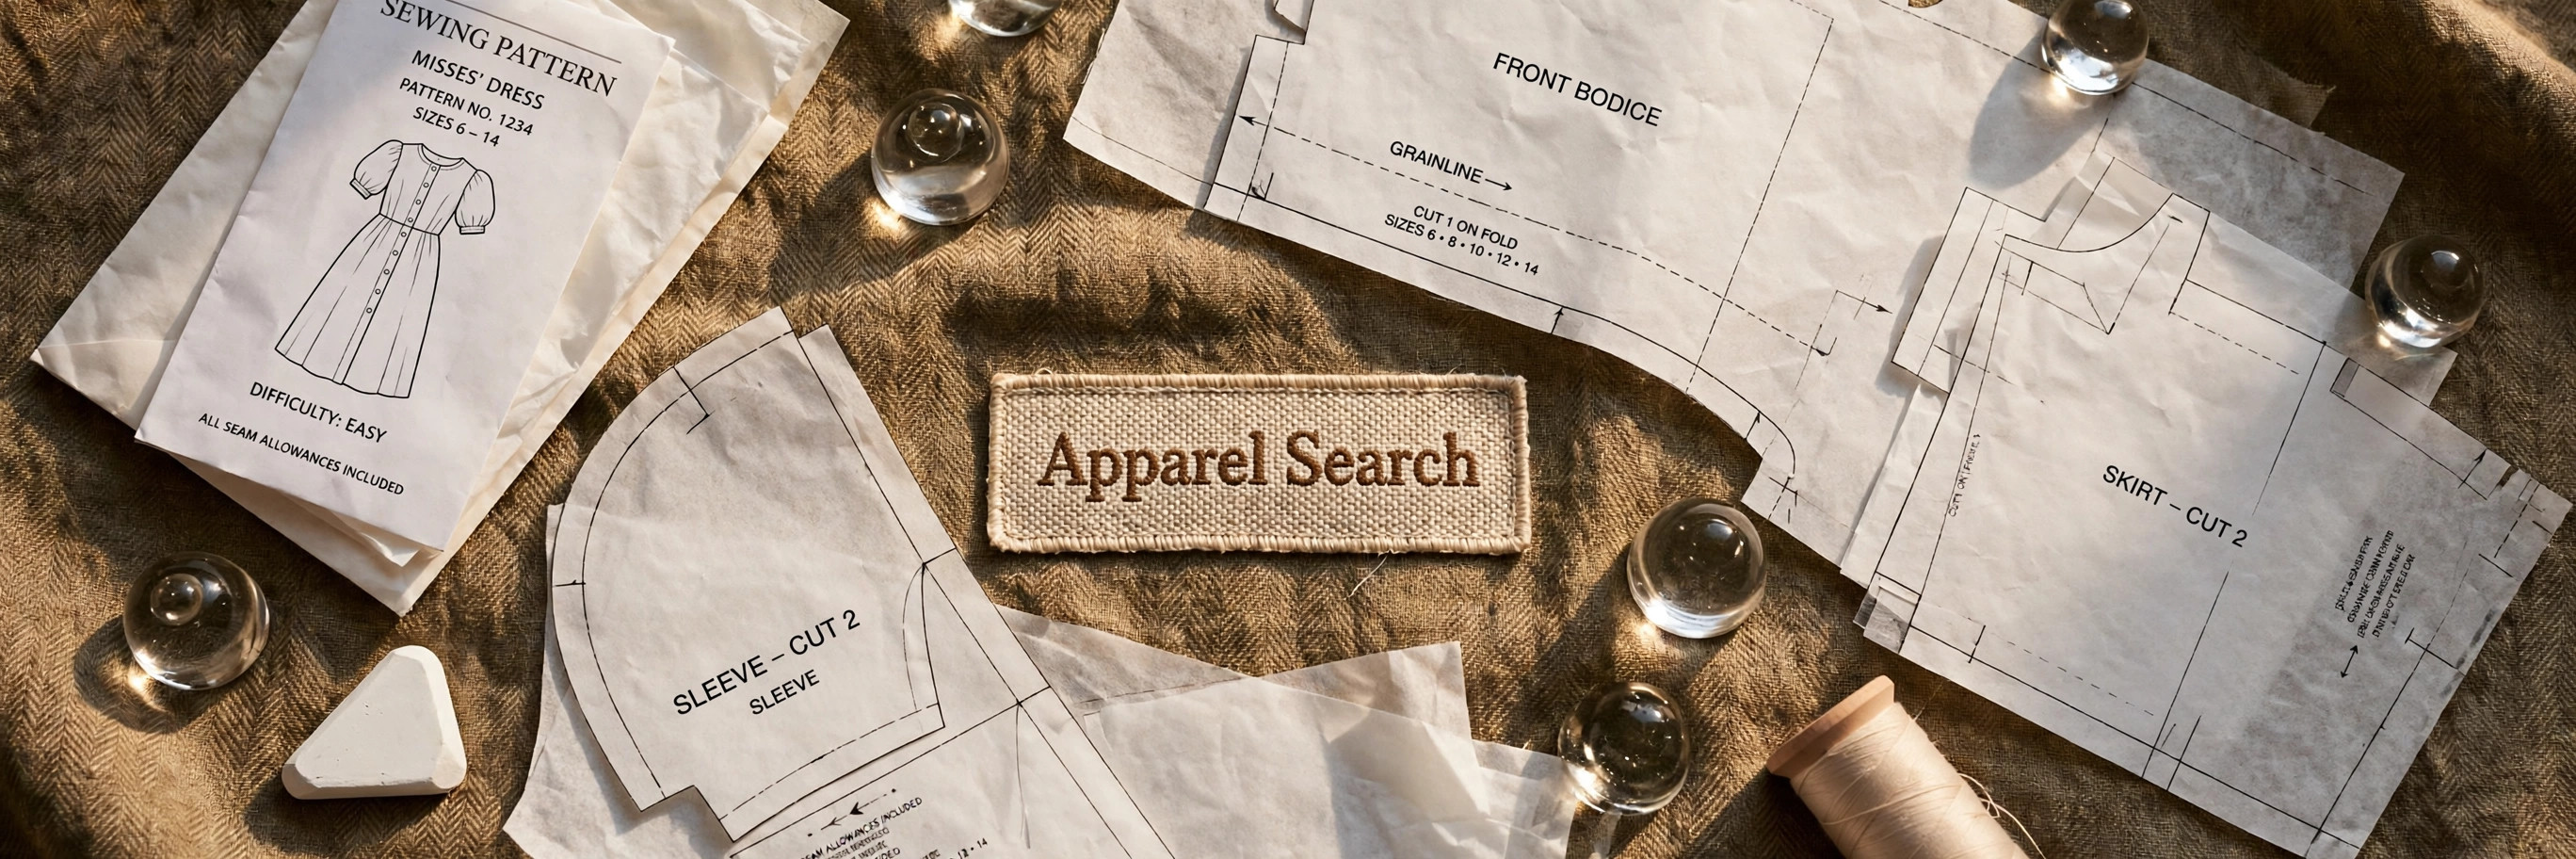
A sewing pattern is a set of instructions disguised as paper: full-size tissue pieces to cut around, plus a guide sheet that tells you in what order everything joins. It looks intimidating in the envelope and turns out to be a system once you know what each part is for. This guide decodes it piece by piece. It is part of our Learn to Sew guide — if you are brand new, start there for the starter kit and first-project ladder.
The Envelope Front: Views and the Line Drawings
The front shows photographs or illustrations of the finished garment in its views — the variations one pattern can make (different lengths, sleeves, necklines). Flip the pattern over or check the guide sheet for the line drawings: flat technical sketches of each view, front and back. Experienced sewers shop by the line drawings, because they show the seams, darts and closures honestly, without styling. The line drawing is also where you see what you are signing up for — a back view with a zipper and four darts is a different commitment from an elastic waist.
The Envelope Back: Sizes, Fabrics and Yardage
The back of the envelope is the working information:
- Size chart — body measurements (bust, waist, hip) for each size in the range. Measure yourself and circle your row; ignore the size number you wear in shops.
- Finished garment measurements — how big the made garment actually is, including wearing ease. Comparing these to a similar garment you own is the best fit predictor available before cutting.
- Suggested fabrics — the fabrics the design was drafted for. Treat this list seriously at first: a pattern designed for stable wovens will misbehave in a stretchy knit, and vice versa.
- Yardage chart — how much fabric to buy, by size, view and fabric width (usually 45 in / 115 cm and 60 in / 150 cm columns). Buy for your size and view, and add a little extra if your fabric has a one-way print or nap.
- Notions list — the zipper length, buttons, interfacing and elastic the project needs. Buy these with the fabric, not mid-project.
The Tissue: Markings That Do the Talking
Unfold the tissue (carefully — it tears for a living) and each piece carries the same set of printed information:
- Cutting line — the outer edge of the piece, often a different line style per size. You cut on your size's line.
- Stitching line — sometimes printed, sometimes implied by the stated seam allowance. This is where the seam actually goes.
- Grainline arrow — the long double-headed arrow that must sit parallel to the fabric's selvage.
- Notches — the small diamonds on the cutting edge. Cut them outward, and match them when joining pieces: they are how the pattern tells you a front belongs to a back.
- Dots and circles — points to match or mark: dart tips, pocket placements, zipper ends. Transfer them to the fabric with chalk or tailor's tacks.
- Piece name, count and size — "Front, cut 1 on fold" is an instruction, not a label. Pieces marked on fold are placed against folded fabric to produce a symmetrical whole.
Transfer the markings. The most common beginner shortcut — cutting the pieces and skipping the dots and notches — is also the most common cause of garments that will not line up. Chalk every mark onto the fabric before the tissue goes back in the envelope.
The Guide Sheet: The Order of Work
The instruction sheet (the "guide sheet") gives the sewing order in numbered steps with diagrams: generally staystitch, darts, main seams, closures, facings, sleeves, then hems and finishing. It also includes a layout diagram showing how to arrange the pieces on your fabric width for your size and view — follow it, because it was engineered to fit the yardage table. Read the entire sheet once before cutting anything; patterns occasionally tell you in step 9 something you needed in step 2.
Commercial vs Indie Pattern Conventions
The large commercial companies (the "Big Four" whose patterns fill shop drawers) share conventions: tissue printed with all sizes nested, 5/8 inch seam allowances included, concise instructions that assume some knowledge. Independent designers, usually selling PDF patterns, tend to include fuller photographic tutorials, sometimes smaller seam allowances (often 3/8 inch), and copy-shop files alongside home printing. Neither is better; they are dialects. Check three things on any new brand before cutting: whether seam allowances are included, how much they are, and whether the size chart matches the measurements you expect. If those check out, the rest is learnable as you go.
First pass: the envelope
Pick your view from the line drawings, find your size in the chart, note the yardage and notions.
Second pass: the guide sheet
Read every step and the layout diagram so the construction order makes sense before fabric is involved.
Third pass: the tissue
Find every piece for your view and size; identify grainlines, notches and dots; cut or trace your size's line.
Fourth pass: the layout
Arrange pieces per the diagram, grainlines parallel to the selvage, then pin or weight before cutting.
Fifth pass: the marks
Transfer every notch, dot and dart to the fabric. Now the tissue can rest until the next project.
Common Questions
What size sewing pattern should I buy?
Choose by your body measurements, not your ready-to-wear dress size — pattern sizes run smaller than shop sizes, and the difference surprises every beginner. For tops and dresses, the high-bust measurement often gives a better fit than the full bust; for skirts and trousers, start from the hip. The size chart is printed on the envelope flap and the guide sheet.
What does 5/8 inch seam allowance mean?
It is the distance between the cutting line (the edge of the tissue piece) and the stitching line where your seam goes. Most commercial patterns include a 5/8 inch (15 mm) allowance in the printed pieces, so you sew that distance from the edge — most machines have a guideline for it on the needle plate. Some indie patterns use smaller allowances, which the instructions will state.
What is the grainline and why does it matter?
The grainline arrow on each pattern piece must lie parallel to the fabric's lengthwise grain — the direction of the threads that run along the bolt. Pieces placed off-grain hang twisted, stretch unevenly and wear out faster. Measure from the arrow to the selvage at both ends to check it is truly parallel before cutting.
Are PDF patterns harder than printed patterns?
They are different rather than harder. A PDF pattern must be printed at 100% scale (check the test square), trimmed and taped or tiled together, or printed on a large-format sheet at a copy shop. In exchange you can reprint a size if you cut the wrong one, and indie PDF patterns often include layers so you print only your size.
More to Explore
- How to Choose a Sewing Machine — the other big beginner decision, decoded the same way.
- Pattern-Making Glossary — every pattern term on this page, defined in one place.
- Patterns for Home Sewing — more pattern resources for home sewers.
- Pattern Making, Draping & Fitting — ready to create patterns instead of following them? This is the next level.
Search Apparel Search