DIY Fashion · Footwear
A plain pair of white sneakers is the cheapest blank canvas in fashion. Painted customs fail in predictable ways — paint cracking at the flex points, colors peeling off leather — and every one of those failures is prevented by the same three things: the right paint for the material, real surface prep, and thin coats sealed at the end. This guide walks through all of it.

01 — Materials
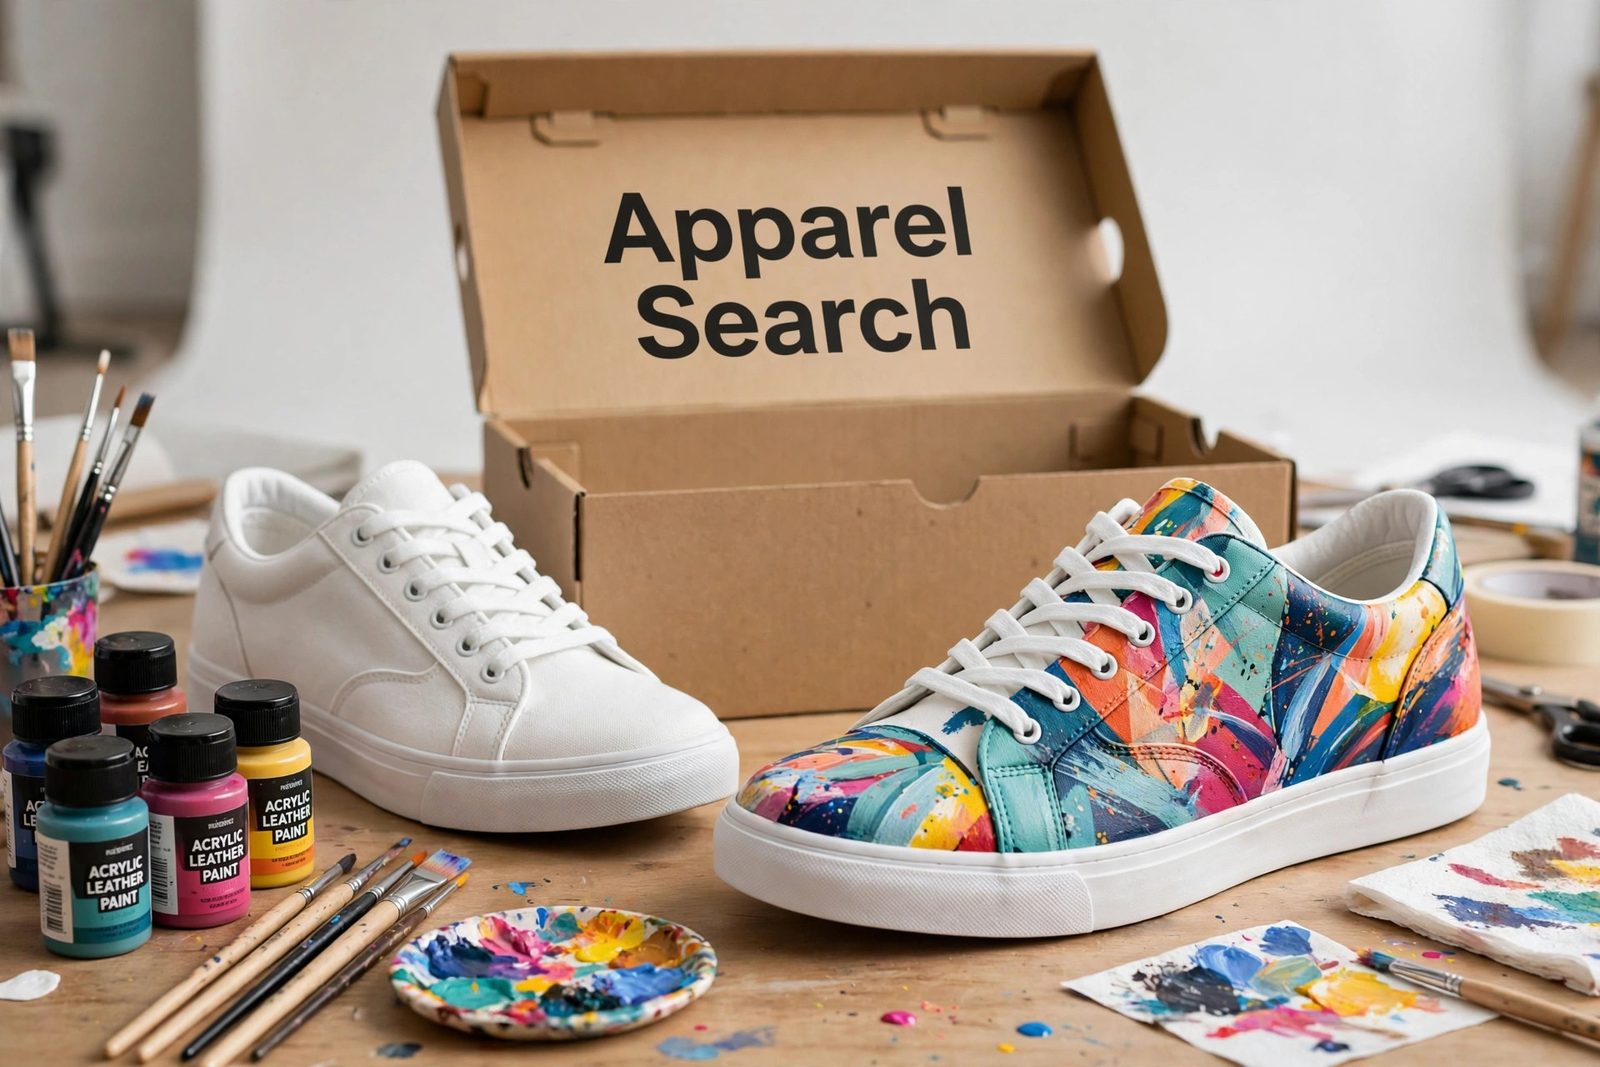
Shoes flex, scuff and get wet; paint has to survive all three, so material matching is the whole game. Leather and faux-leather sneakers take acrylic leather paint — the flexible acrylic system sold for shoes and leather goods, usually with a matching preparer/deglazer and finisher in the same range. Canvas sneakers take fabric paint or acrylic softened with fabric medium, which sinks into the weave instead of sitting on it. Mesh and knit uppers are the honest exception: paint sits unevenly on them and mostly disappoints — customize those with laces and other add-ons (below) instead. Add painter's tape for masking soles and stripes, fine brushes for detail plus a flat brush for panels, a palette, and paper or old newspaper to stuff the shoes so you have a firm, shaped work surface. White sneakers are the beginner's shoe for a reason — but the primer trick in the questions below opens up every color.
02 — Preparation
Paint over dirt is paint on dirt. Wash canvas sneakers and let them dry completely; wipe leather sneakers down. Our sneaker care guide covers the cleaning routine itself.
Laces out (they are a separate customization — see below). Mask the midsole, the sole edge and any panels or logos you are keeping with painter's tape, pressed down firmly at the edges.
Leather shoes wear a factory finish that paint cannot grip. Wipe leather panels with the preparer/deglazer (or acetone on a cotton ball) until the shine dulls — you are removing the finish, not the color. Canvas skips this step.
Draw your design on the shoe in light pencil (canvas and light leather) or chalk. Panel by panel thinking helps: most great customs treat each panel as a small canvas with the stitching as its frame.
03 — Application
Paint in the thinnest coats you can manage — the brush should almost whisper. The first coat will look streaky and disappointing on purpose; coverage builds across three or four coats, each dried fully (20–30 minutes at minimum, longer in humidity) before the next. Work light colors before dark, large panels before details, and keep a damp cotton swab beside you: most mistakes wipe off cleanly in the first minute and are permanent in the tenth. When the design is complete and fully dry — overnight is not too long — finish with two light coats of acrylic finisher in your chosen sheen, which is the layer that takes the scuffs, sheds the rain and keeps the colors from rubbing off on your other shoe. Remove tape while the finisher is just tacky for the crispest lines, re-lace, and let the pair cure a full day before wearing.
04 — Beyond Paint
Paint is one lane of customization, not the whole road. Laces are the reversible one: colored, patterned, rope or ribbon laces change a shoe's whole mood for a few dollars and zero commitment — and dyed or painted laces (using fabric painting methods) match a custom exactly. Lace hardware — metal aglets, lace locks, small charms threaded on the lowest crossover — adds the jewelry detail. Patches and pins work on canvas high-tops; studs and gems glue onto leather panels with strong craft adhesive (test the bond on a hidden spot, and expect a streetwear lifespan rather than a forever one). The honest hierarchy: paint and laces last; glued embellishments are fashion with a shorter fuse, which is fine as long as you choose it knowingly. And when a pair is too worn to customize, its plain white replacement is waiting — the cycle of the sneaker customizer never really ends.
Common Questions
For leather and synthetic-leather sneakers, flexible acrylic leather paint is the standard — it is formulated to bend with the shoe instead of cracking. For canvas sneakers, fabric paint (or acrylic mixed with fabric medium) soaks in and stays flexible. Plain craft acrylic alone is the false economy: it looks fine on day one and cracks across the toe box within a few wears, because the toe flexes thousands of times a day.
Thin coats — three thin layers outlast one thick one every time, because thick paint forms a stiff skin that cannot flex. Prep matters just as much: paint needs a clean, deglazed surface to grip, and an acrylic finisher over the top (matte or gloss) protects the art from scuffs and water. Let each coat dry fully before the next; rushing layers traps softness underneath that cracks later.
Yes — treat the existing color as your background, or block it out: a first coat of white or light gray leather paint makes a primer that lets your design colors read true on a dark shoe. Keep in mind the shoe's panels, stitching and logos are part of the composition; many customizers paint around the design elements of the shoe rather than over them, which looks more intentional and wears better.
Keep Going
Painted customs start from a plain pair and end in the shoe-care routine — these pages cover the sneakers themselves and keeping any pair alive.
Footwear
Sneaker Care Guide
Cleaning, storing and caring for sneakers — the routine your customs will live by.
Footwear
How to Clean White Sneakers
For the unpainted pairs: restoring white sneakers before or instead of painting them.
Customization
Fabric Painting on Clothes
The same paints and heat-setting logic, applied to t-shirts, denim and totes.
Search Apparel Search