The fashion industry & clothing guide

DIY Fashion · Upcycling & Customization

Fabric Painting on Clothes

Fabric painting turns the plainest garment — the free t-shirt, the tired denim jacket, the canvas tote — into the only one of its kind. The technique is forgiving; the failures are almost all material failures: the wrong paint, or a design never heat-set. Get those two right and painted clothes wash like printed ones.

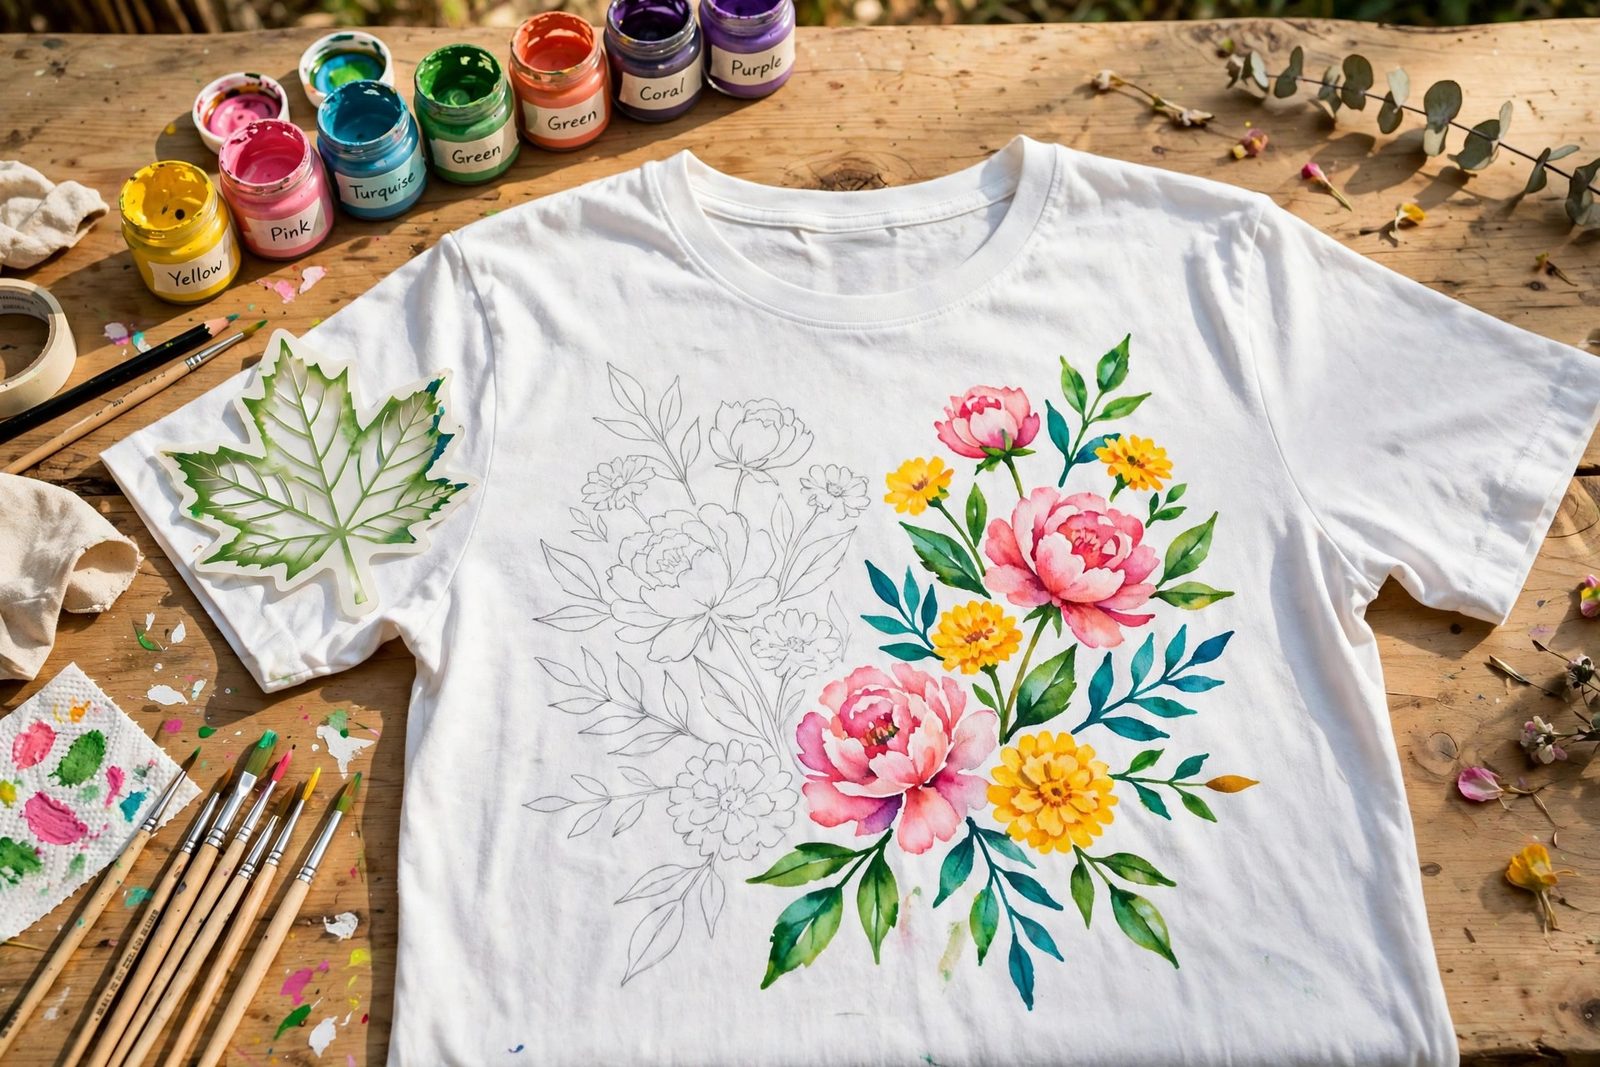
White t-shirt with a half-finished hand-painted floral design, fabric paints, brushes and a stencil
Fabric paint, a stencil and a plain tee — the design is the easy part; the paint choice makes it last.
On this pageChoosing PaintStencil, Stamp, FreehandThe Painting ProcessHeat-Setting & CareCommon Questions

01 — Materials

Fabric Paint, or Acrylic Done Right

Fabric paint is made for this: flexible when dry, washable once set, sold in small bottles at craft stores. Within it, know two families — opaque paints cover dark fabric; transparent/soft paints sink into light fabric and feel like a print. Acrylic craft paint plus fabric medium is the budget route and the color range is endless; the medium does the flexibility work. Either way, natural fibers (cotton, linen, denim) take paint best; slick synthetics resist it and need paint labeled for synthetics. Match the garment to the paint: a white or pale cotton tee is the beginner's canvas for a reason, and a denim jacket is the second-easiest — stiff, dark, and opaque paint loves it. Add painter's tape, a piece of cardboard for inside the garment, and brushes or sponge dabbers, and the kit is complete.
02 — Three Methods

Stencil, Stamp and Freehand

Stenciling is the reliable route to a crisp design: tape the stencil flat, dab with a nearly dry sponge in vertical stamps, build color in two light coats rather than one wet one, and peel the stencil while the paint is tacky. Stamping trades precision for charm — foam stamps, carved erasers, even a halved potato print repeat motifs across a garment; slight irregularity is the aesthetic, so lean into it with allover patterns. Freehand is simply drawing with a loaded brush: sketch the design on the garment first with tailor's chalk or a water-erasable pen, work background shapes before outlines, and keep a wet edge. The three methods mix beautifully — a stenciled motif finished with freehand details and an embroidered outline is the classic craft-fair look, and no single method could do it alone.

03 — The Process

Painting, Step by Step

  1. Pre-wash and dry the garment

    Wash without fabric softener and dry fully. New garments carry sizing that makes paint sit on the surface and peel later; softener coats fibers the same way.

  2. Barrier and position

    Slip cardboard or a plastic sheet inside the garment so paint cannot strike through, smooth the fabric flat, and tape or pin it so it cannot shift mid-design.

  3. Transfer the design

    Chalk the outline, position the stencil, or mark stamp spacing with a ruler and chalk dots. Time spent here is the difference between a design and an accident.

  4. Paint in light coats

    Two thin coats beat one thick one for flexibility and edge control. Let each coat turn tacky before the next. Keep a scrap of the same fabric beside you to test every color before it touches the garment.

  5. Dry fully before setting

    Leave the piece flat for at least 24 hours. Paint that feels dry can still be soft underneath, and heat-setting early traps that softness in.

04 — Permanence

Heat-Setting and Aftercare

Heat-setting is the step that makes the difference between a costume and clothing. With the paint fully dry, iron the design area on the setting the fabric tolerates — through a pressing cloth, or iron the garment inside out — keeping the iron moving for two to three minutes so heat penetrates without scorching. Some paints also offer a tumble-dry setting method; the bottle's instructions govern. After that: wash inside out, cool water, gentle cycle, and the design fades only as fast as a screen print would. Painted denim and painted canvas shoes (a close cousin — see our sneaker painting guide) follow the same rule: right paint, dry paint, set paint. Master those three and every plain garment you own is a blank page.

Common Questions

Common Questions

Can I use regular acrylic paint on clothes?

Yes, with a fabric medium mixed in (often sold as textile medium, roughly 1 part medium to 2 parts paint, or per the bottle). The medium keeps the dried paint flexible so it moves with the fabric instead of cracking, and improves washability. Straight acrylic works on stiff items that barely flex, like a denim jacket panel, but on a t-shirt it dries board-stiff and cracks across the design within a few wears.

How do you keep fabric paint from bleeding?

Start with a pre-washed garment (factory finishes repel paint unevenly), put a barrier inside so paint cannot soak through to the back, and load the brush or sponge lightly — bleeding comes from excess paint wicking along the fibers, especially on thin knits. For stencils, use an almost-dry sponge with straight up-and-down dabbing, never strokes, and lift the stencil straight up.

Will painted designs survive washing?

Properly heat-set fabric paint survives normal washing well. Wait until the paint is fully dry (24 hours is safe), heat-set with an iron on the fabric's setting through a pressing cloth or from the reverse side, then wash inside out in cool water. The first wash is the honest test — a design that comes through it unchanged is set for the garment's life, fading only gradually like any print.

Keep Going

More to Explore

Paint is one of three big surface-customization crafts on the site — embroidery and tie-dye are the other two, and they combine well.

Search Apparel Search