Apparel Search · Home Dyeing
Tie-Dye Patterns & Techniques
The folds that make the classic patterns, the soda ash soak that makes them permanent, and the patient rinse that makes them bright — tie-dye done properly, at a kitchen table.
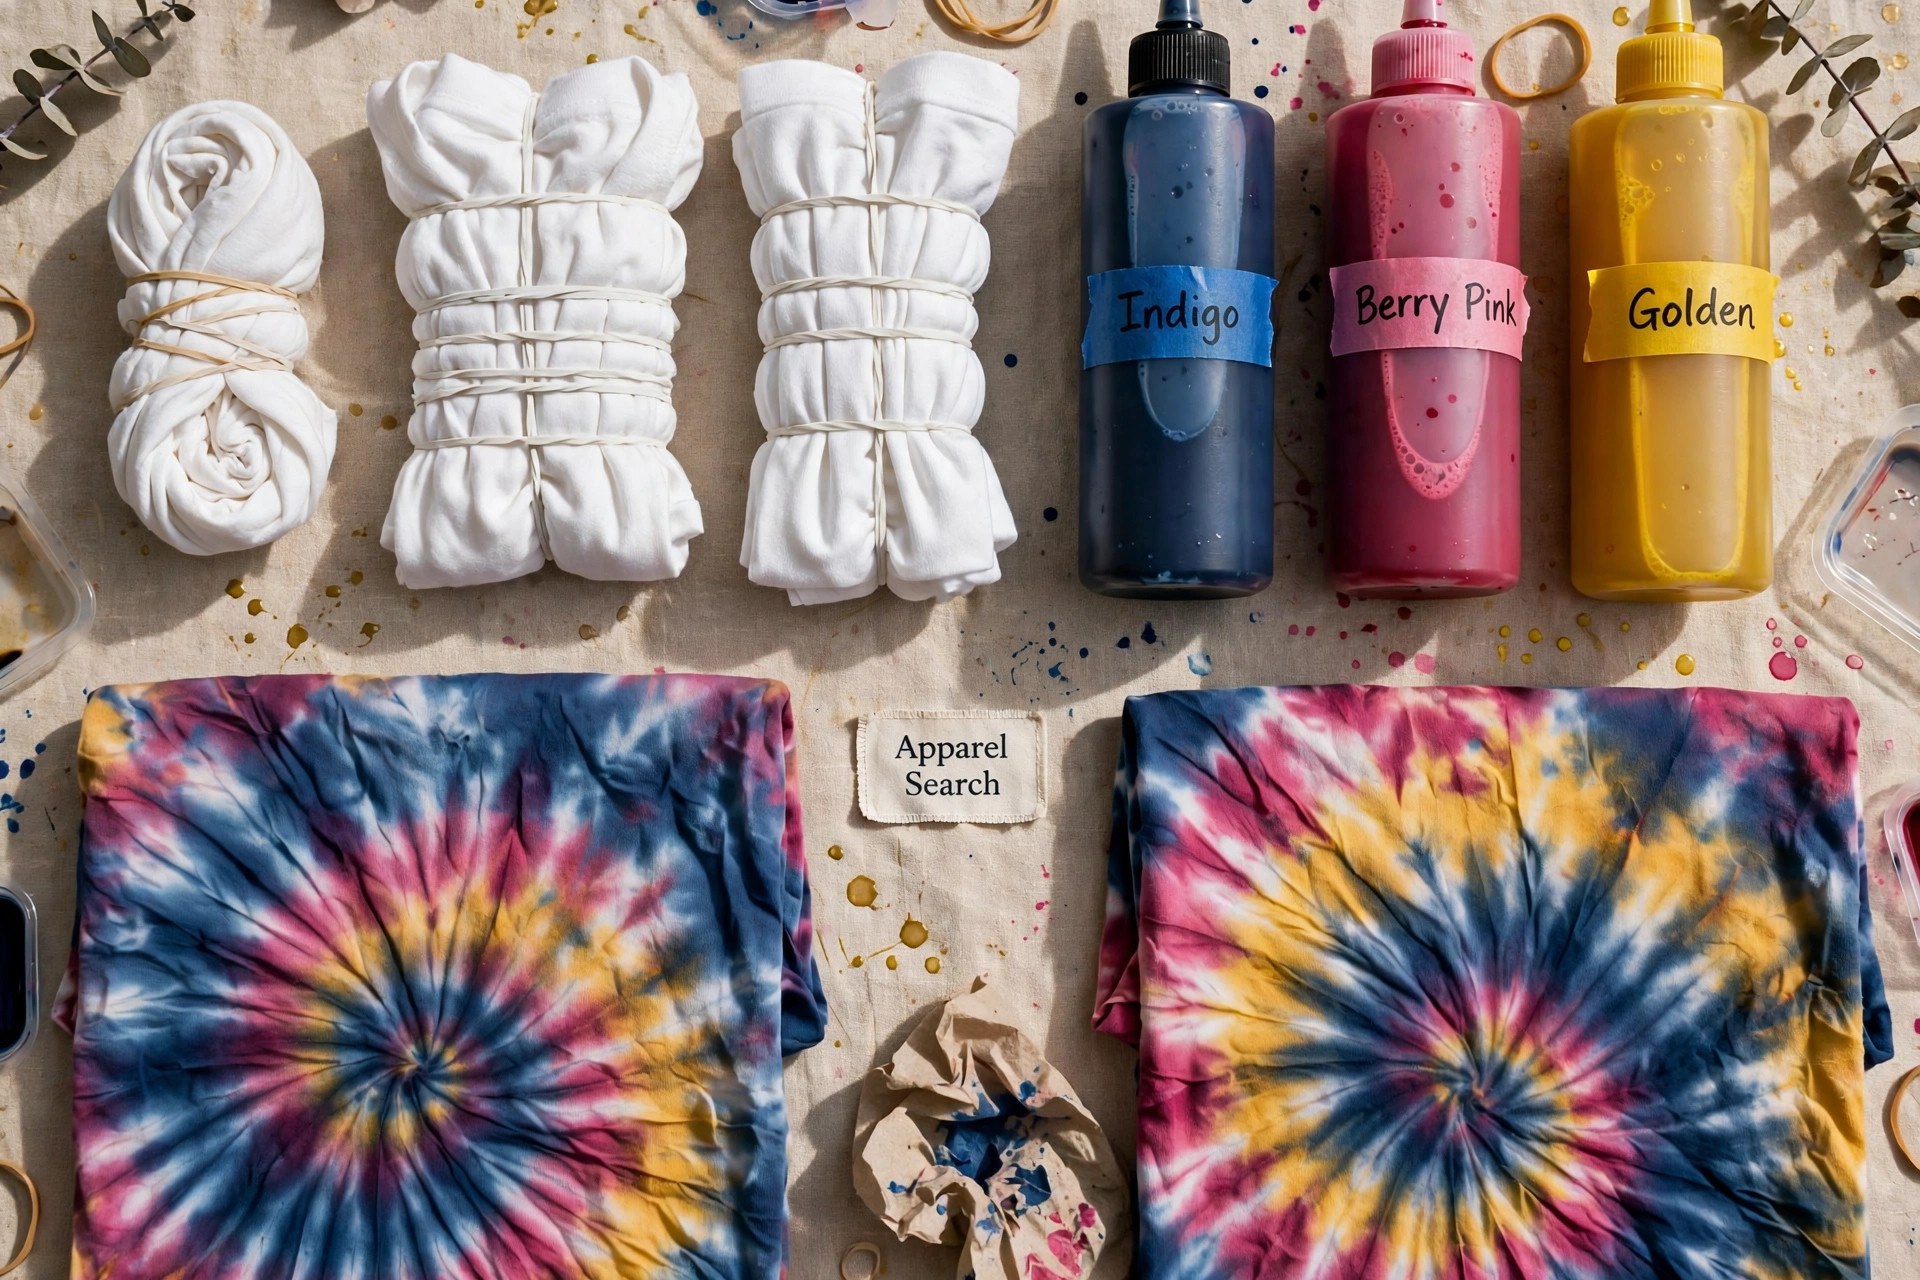
Tie-dye is resist dyeing: fabric is folded, twisted and bound so that dye reaches some areas and is squeezed out of others, and the pattern is simply a map of where the dye could go. It is also the friendliest possible introduction to dyeing clothes at home, because the classic combination — fiber-reactive dye on cotton, fixed with soda ash — is bright, wash-fast and hard to truly ruin. This guide covers the soak, the five folds worth knowing, applying the dye, and the set and rinse that decide whether the colors stay brilliant.
01 / What You Need
The Short Kit List
You need garments in cotton, rayon or linen (100% cotton is the classic for a reason), fiber-reactive dyes, soda ash, squeeze bottles for the dye, rubber bands or waxed sinew for binding, gloves, a tray or rack, and plastic bags or wrap for the curing stage. A dust mask is a good habit while any dye is still dry powder.
A word about one-step kits, in which the soda ash is premixed into the dye bottles: they are genuinely convenient, and fine for a first try or a kids' party. Their trade-off is strength — once soda ash meets dye in water, the dye begins spending itself, and colors mixed hours ahead come out weaker. The separate soda ash soak below takes ten extra minutes and is the single biggest upgrade to brightness and wash-fastness, which is why dedicated dyers swear by it. Whichever route you choose, your kit's label governs its ratios.
02 / Prep
Prep: Wash, Soak, Fold While Damp
Pre-wash the garments
Hot wash with detergent, no fabric softener. New shirts carry factory sizing that resists dye and ruins patterns before they start.
Soak in soda ash
Dissolve soda ash in warm water at your dye maker's ratio (a commonly used strength is about a cup per gallon) and soak the garments for at least 20 minutes. The soda ash raises the pH so the fiber-reactive dye can bond permanently to the cotton.
Wring, don't dry
Lift the garments out and wring them until damp but not dripping. Folding is done on damp fabric: it holds a crease, accepts bands cleanly, and drinks the dye evenly.
Mix the dye fresh
Stir dye powder into water in the squeeze bottles (mask on while the powder is dry). Mixed fiber-reactive dye is at its best the day it is made — mix what the session needs.
03 / The Folds
Five Folds Worth Knowing
Every famous tie-dye pattern is one of these five gestures. Binding tightness is the hidden variable throughout: the harder the fabric is compressed, the more white resist survives.
The Spiral
Pinch the center of the shirt and twist, keeping the fabric flat, until the whole garment is a tight disc. Band across the disc into six wedge sections. Dye each wedge its own color, flip, and repeat. This is the rainbow spiral of festival legend.
The Bullseye
Pull the fabric up through a pinched point into a cone and band it in rings down its length. Dye ring by ring: the result is concentric circles radiating from the pinch point.
The Crumple
Scrunch the garment loosely into a flat puck, band it just enough to hold, and dye both sides generously. Marbled, organic, forgiving — the beginner's best friend, and the fold that leads directly to ice dye.
Stripes (Accordion)
Pleat the fabric back and forth in even folds, band across the pleats, and dye along the bands. Opened out, the pleats print as stripes; diagonal pleats give chevrons.
The Sunburst
Pinch up a row of small points across the garment and band each tip tightly. Dye the tips (and optionally the field behind them a second color) for a constellation of little suns.
Binding Notes
Rubber bands are fine for soft resists. Waxed sinew pulled genuinely tight is what produces the crisp white lines in serious work. More bands and more compression always mean more white in the finished pattern.
04 / Applying the Dye
Putting the Color On
Work over a rack or plastic
Gloves on. A rack over a tray lets excess dye drain instead of pooling under the garment and muddying the back.
Saturate, slowly
Apply dye generously into the folds, not just across the surface. Poke the bottle tip between pleats. Then flip the piece and dye the back — matching the front's colors wedge for wedge, or deliberately varying them.
Mind the neighbors
Colors blend where they meet: blue beside yellow grows a green border, which is lovely; red beside green goes muddy brown, which usually is not. Plan which colors will touch before the first squeeze.
Seal it damp
Wrap the dyed piece in plastic or seal it in a bag so it stays moist for the whole cure. A dried-out tie-dye stops reacting and stays pale.
05 / Set, Rinse, Wash
The Patient Part: Setting and Rinsing
Let it cure
Leave the wrapped piece somewhere warm for at least 6 to 8 hours; a full 24 hours gives the strongest bond. Warmth and dampness are the reaction's fuel — your dye's label sets the exact expectation.
Rinse cold, still banded
Rinse under cold running water with the bands still on, until the water runs much clearer. This keeps loose dye from staining the white resist areas you worked to protect.
Unband and rinse again
Cut or slip the bands off (the reveal is the best moment in the craft) and rinse until the water is nearly clear.
First wash, alone
Wash the piece on its own in cool or warm water with a mild detergent, then dry it. For the first few washes afterward, keep it with like colors — a little excess dye may still leave. The washing habits in our laundry guide will keep the colors their brightest from here.
Ready for the neighboring craft? Ice dye starts from the crumple fold on this page and lets melting ice do the color mixing — it shares a guide with its mirror image, taking color away: ice dye and reverse dye. And when a tie-dye project is really a rescue of a shirt you already own, our refashioning projects for beginners are full of garments waiting for exactly this treatment.
Questions
Common Questions
Why did my tie-dye fade so quickly?
The usual suspects are a skipped or weak soda ash soak, dye that was mixed too long before use (especially one-step dye left standing), or a garment that was not really cotton — polyester blends dye pale and wash paler. Fresh dye, a real soak, and 100% cotton fix nearly every case.
What fabric takes tie-dye best?
100% cotton is the classic, with rayon a close second for vivid color; linen also dyes beautifully. Cotton-polyester blends come out pastel versions of the target colors, and pure polyester will not take fiber-reactive dye at all.
How long should tie-dye sit before rinsing?
At least 6 to 8 hours sealed and damp, and up to 24 hours for the strongest, most wash-fast result. The dye needs that time in contact with the soda-ash-treated fiber to bond; rinsing early is rinsing color away.
Why did my colors turn muddy?
Mud appears where opposite colors overlap — red over green, purple over yellow — or when too many colors are squeezed into one zone and mix freely. Place colors so neighbors blend pleasantly (blue beside yellow, pink beside orange), and keep opposites separated by a band or a white gap.
Keep Going
Where Tie-Dye Fits
Tie-dye is one member of the home dyeing family. The foundation guide covers immersion dyeing and the fiber rules behind every technique, and the ice dye guide picks up exactly where the crumple fold leaves off.