Apparel Search · Home Dyeing
Dyeing Clothes at Home
How home dyeing really works: the fiber rules that decide whether color takes, the basic method step by step, honest expectations about the shade you will actually get, and the safety habits that keep a dye day fun.
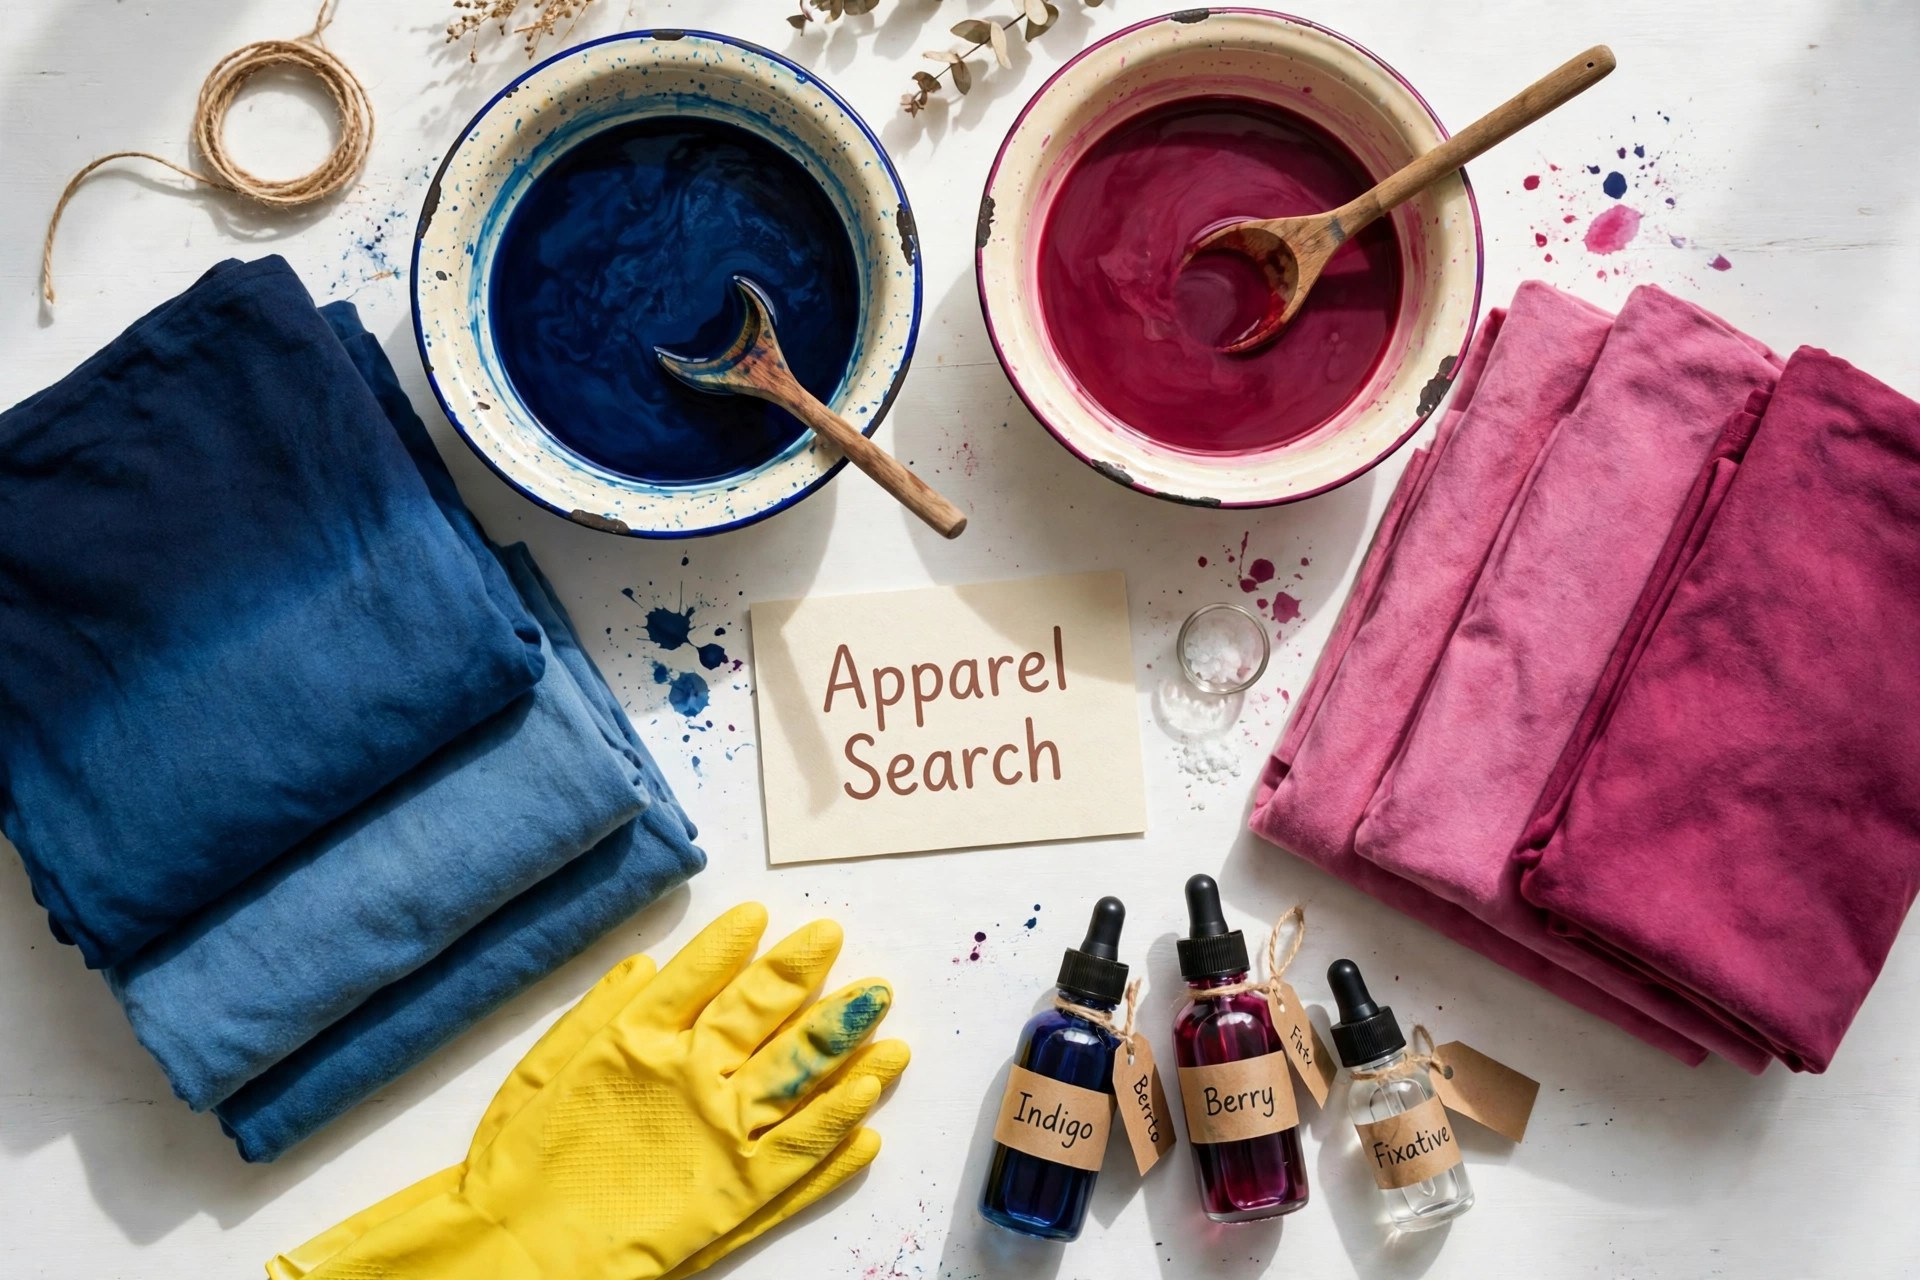
Dyeing is the most satisfying rescue in the closet. A faded black tee goes rich again, a thrift-store find takes the color you actually wanted, and a plain white shirt becomes something nobody else owns. Factories do this at industrial scale — our garment dyeing page covers the professional version — but the chemistry at home is the same, in a tub instead of a machine.
One thing decides almost everything before you open a packet: the fiber. Dye bonds to fibers by chemistry, and each dye class bonds to some fibers and ignores others. Get the fiber right and the rest of this guide is a pleasant afternoon. Get it wrong and no technique will save the project. Two companion guides go deeper on the playful techniques: tie-dye patterns and techniques, and ice dye and reverse dye for melting color in — or taking it away.
Search Apparel Search
01 / The Fiber Rules
Start With the Fiber: The Rules That Decide Everything
Every dye belongs to a class, and each class only bonds with certain fibers. There are four classes a home dyer will meet:
Fiber-reactive dyes
The home dyer's best friend for plant fibers. These dyes form a permanent chemical bond with cotton, linen, rayon (viscose), hemp and ramie, helped by soda ash (sodium carbonate). They give the brightest, most wash-fast colors on cotton of any home option, and they are the dyes behind tie-dye and ice dye.
All-purpose dyes
A blend designed to color many fibers at once — cotton and rayon, but also wool, silk and nylon, each to a different depth. Convenient for a mixed-fiber closet and a good first dye, but on cotton the color is generally less wash-fast than fiber-reactive dye gives.
Acid dyes
Made for protein fibers — wool and silk — and for nylon, set with heat and a mild acid such as vinegar or citric acid. Despite the name they are a normal, manageable home dye class; the name describes the bath, not a hazard level.
Disperse dyes
The only class that colors polyester and most synthetics, and it needs sustained high heat, usually a stovetop bath. This is the honest headline about polyester: ordinary home dyes will barely tint it. A 50/50 cotton-polyester blend dyed with cotton dye comes out a paler, heathered version of the target shade, because only the cotton half takes the color.
The rules that follow from this are simple. Check the garment's fiber label before you buy dye. Natural plant fibers are the easy win; wool and silk dye well with the right class; blends give blended results; and when the fiber is unknown, test on a hidden seam allowance or a matching scrap first — two minutes of testing beats a ruined favorite.
02 / Supplies & Workspace
Supplies and a Workspace That Can Forgive You
The kit is short and mostly already in the house. You need the dye itself, plus soda ash if you are using fiber-reactive dye; rubber or nitrile gloves; a plastic tub, bucket or stainless pot dedicated to dyeing (see the safety section — it never goes back to food); tongs or a sturdy spoon for stirring; measuring spoons and a jug; and old towels you have emotionally released.
Set up like you expect a spill, because dye rewards honesty: cover the work surface with plastic sheeting or a cut-open trash bag, keep paper towels within reach, and work in a laundry room, garage or yard when you can. Dye can permanently tint grout, worn enamel and pale countertops. Wear clothes and shoes that a splash would improve rather than ruin. Most of the kit is ordinary hardware-store stock; for the plain cotton tees, scarves and yardage that make the best dyeing candidates, our Amazon shopping guide is where we keep the product links gathered in one place.
03 / The Method
The Basic Method, Step by Step
Immersion dyeing — a garment swimming in a dye bath — is the foundation technique. Details vary by dye class, and your dye's label always governs the ratios and times; these are the steps every version shares.
Weigh the dry fabric
Dye amounts are calculated from the weight of the dry garment. Too little dye for the weight is the most common cause of a pale, disappointing result.
Pre-wash, no softener
Wash the garment in hot water with detergent and skip the fabric softener. Factory finishes, sizing and softener coatings all block dye from reaching the fiber evenly.
Mix the bath properly
Dissolve dye powder completely in hot water before it meets the fabric — undissolved specks land as dark spots. Add soda ash or salt at the stage your dye class calls for, and use enough water that the garment can move freely.
Wet the fabric first
Soak the garment in plain water until it is wet through, then add it to the bath. Dry patches grab dye unevenly and stay blotchy forever.
Keep it moving
Stir gently and often, especially in the first ten minutes. Even color is mostly a stirring achievement: fabric resting in folds dyes in folds.
Give it its time
Most immersion dyeing runs roughly 30 to 60 minutes, per the label. Longer deepens the shade, up to the point the fiber is saturated.
Rinse in stages
Rinse in cool water until it runs much clearer, then in warm. A sudden temperature shock is unnecessary; a patient gradient rinse keeps loose dye from re-depositing in patches.
Wash it on its own
First wash: alone, or with clothes of the same new color, in cool water. Expect the first couple of washes to release a little excess dye — that is normal, and it is why freshly dyed pieces should not meet the white laundry yet. Our laundry guide covers the color-care habits that keep dyed clothes bright afterward.
04 / Color Expectations
Color, Honestly: What the Result Will Really Look Like
Dye is transparent, not paint. The final color is always the garment's existing color plus the dye color, mixed in the fiber. Red dye over a blue shirt arrives at a purple family; yellow over blue goes green. This is why the classic dye jobs start from white or pale garments, and why “refreshing” a garment in its own color family — black over faded black, navy over tired navy — is the most reliable job in the craft.
Three more honest expectations. You cannot dye a dark garment lighter with dye alone; lightening is removal, which is the reverse-dye craft covered in our ice dye and reverse dye guide. Wet fabric lies: everything looks two shades deeper in the bath, so judge the result dry. And the trims stay themselves: polyester stitching usually keeps its original color (an accidental contrast-stitching effect many people end up liking), while zippers, buttons and labels do not take dye at all.
Dye is excellent at evening out general fading. It is not a reliable stain eraser: grease spots and food stains often remain visible as texture differences, and bleach spots take dye unpredictably — a bleach-spotted shirt is usually a better candidate for a pattern (tie-dye it, or reverse-dye it on purpose) than for a flat new color. When a garment's cloth is sound but its color story is over, that is also the moment our upcycling clothes ideas can pick up where dye leaves off.
05 / Safety
Safety Rules for a Relaxed Dye Day
- Gloves on whenever hands meet dye. Dye stains skin for days, and repeated unprotected contact can irritate.
- Respect the powder. Dry dye dust is not something to breathe: open packets gently, mix powders slowly (a dust mask is a sensible habit), and keep dye powder away from food preparation areas.
- Never cook in the dye pot. Any pot, tub or utensil used for dyeing is a dye tool forever — label it, store it with the craft supplies, and never return it to food use.
- Ventilate when a dye bath simmers, and keep all dyestuffs sealed, dry, and out of reach of children and pets.
- Splash sense: eye protection is worth it for pouring and stirring big baths, and essential for the bleach work described in the reverse-dye guide.
- The label governs. Dye classes differ in ratios, temperatures and times. This guide teaches the shared method; your dye's own directions are the authority for your project.
The Techniques
Two Techniques Worth Their Own Guides
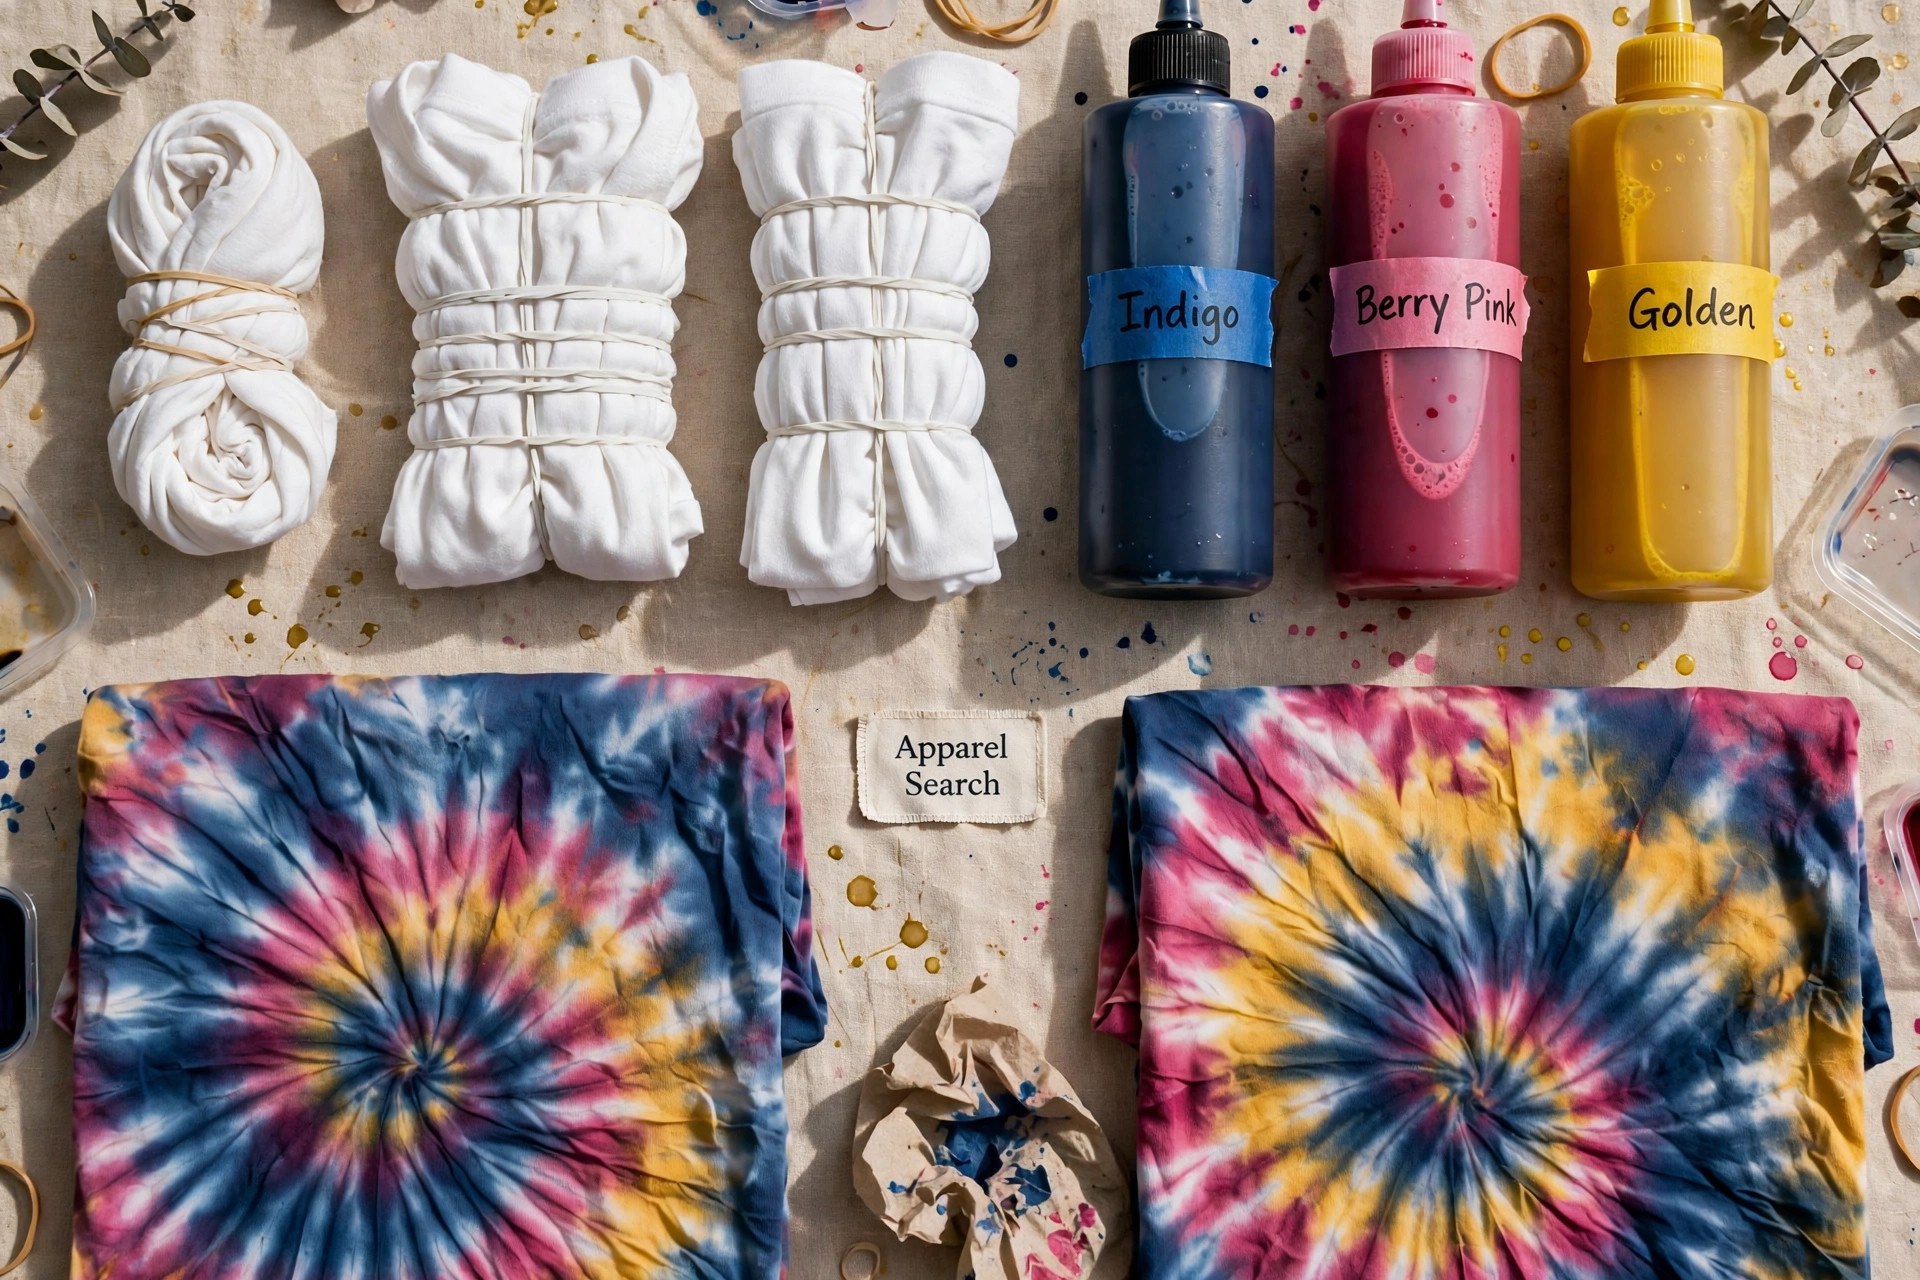
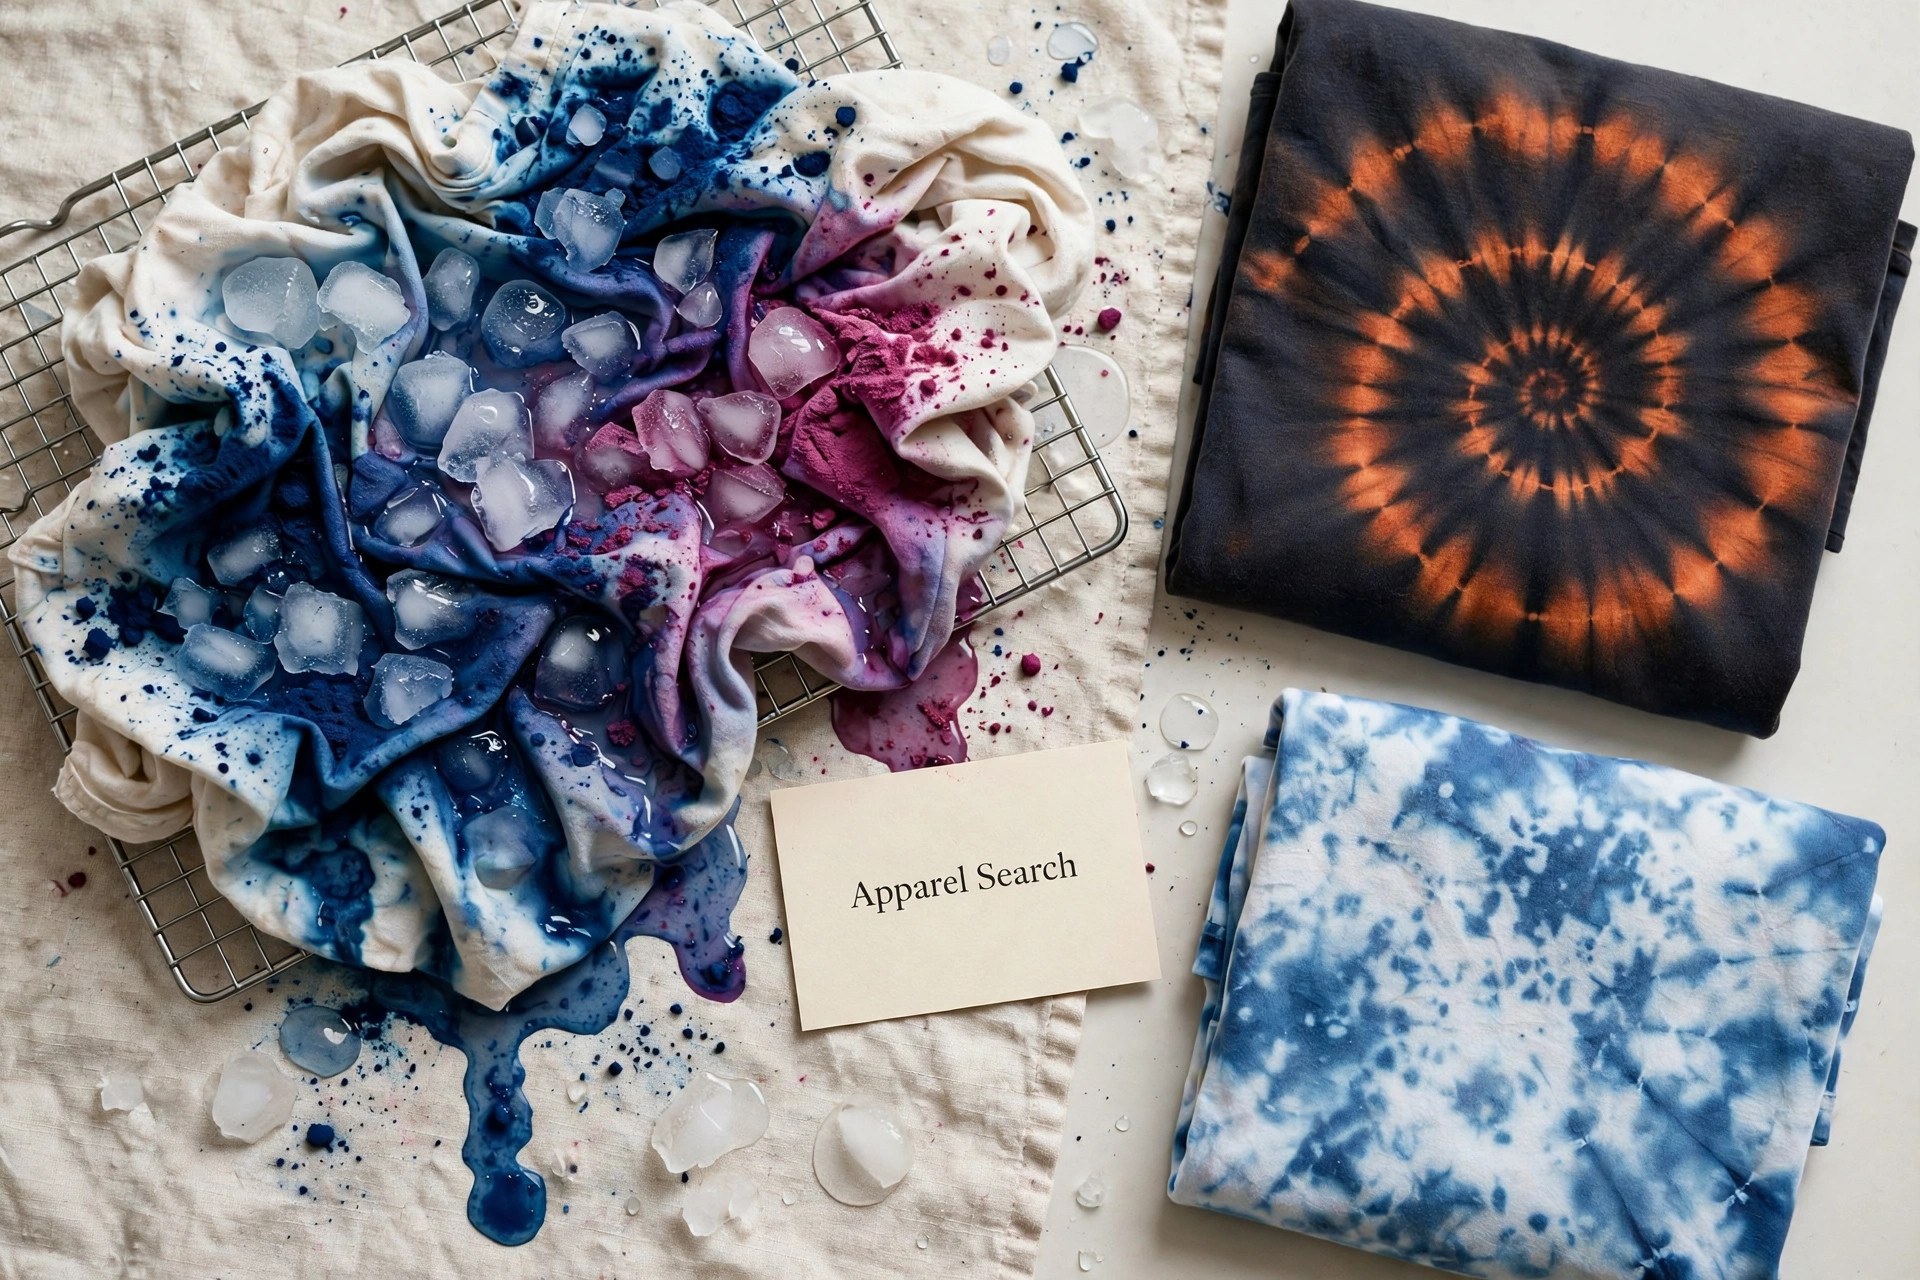
Immersion dyeing is the foundation, but the two techniques most home dyers fall in love with are pattern crafts. Tie-dye folds and binds the fabric before dye touches it; ice dye lets melting water do the mixing. Reverse dyeing runs the whole craft backward, removing color from dark garments. Each has a full guide of its own, linked below.
Questions
Common Questions
Can I dye polyester clothes at home?
Only with a disperse dye made for synthetics, in a sustained hot bath, usually on the stovetop. Ordinary home dyes — fiber-reactive and all-purpose alike — will barely tint polyester. A cotton-polyester blend dyed with cotton dye comes out paler and heathered, because only the cotton portion takes the color.
Why did my dye job come out blotchy?
The usual causes are fabric that went in dry or unevenly wet, too little water for the garment to move, not enough stirring, undissolved dye specks, or factory finishes that were never washed out. Pre-washing, wetting through, plenty of water and regular stirring prevent nearly all of it.
Will dye cover stains on a garment?
Dye evens out overall fading very well, but most stains still show afterward as a difference in texture or depth. Bleach spots are the least predictable of all. A stained garment is often happier as a patterned project — tie-dye, ice dye, or a deliberate reverse dye — than as a flat color.
Can I dye clothes in the washing machine?
Some all-purpose dyes are labeled for machine use, and it can work for large pieces. Be aware that dye can tint the machine's seals and linger into later loads, so most home dyers prefer a tub or a dedicated pot where the process is visible and controllable. If you do use a machine, follow the dye label and run cleaning cycles afterward.