Apparel Search Consumer Guides
Refashioning Projects for Beginners
Four first projects worked through properly — one needs only scissors — the small tool kit they share, and an honest map of where this craft gets hard.
The hub of this guide, our upcycling clothes ideas guide, explains the craft and its project ladder. This page climbs the first two rungs: four beginner projects worked through properly, the tools they actually need, and — just as useful — an honest account of where refashioning stops being easy, so your ambitions arrive in the right order.
Project 1: The No-Sew T-Shirt Tote
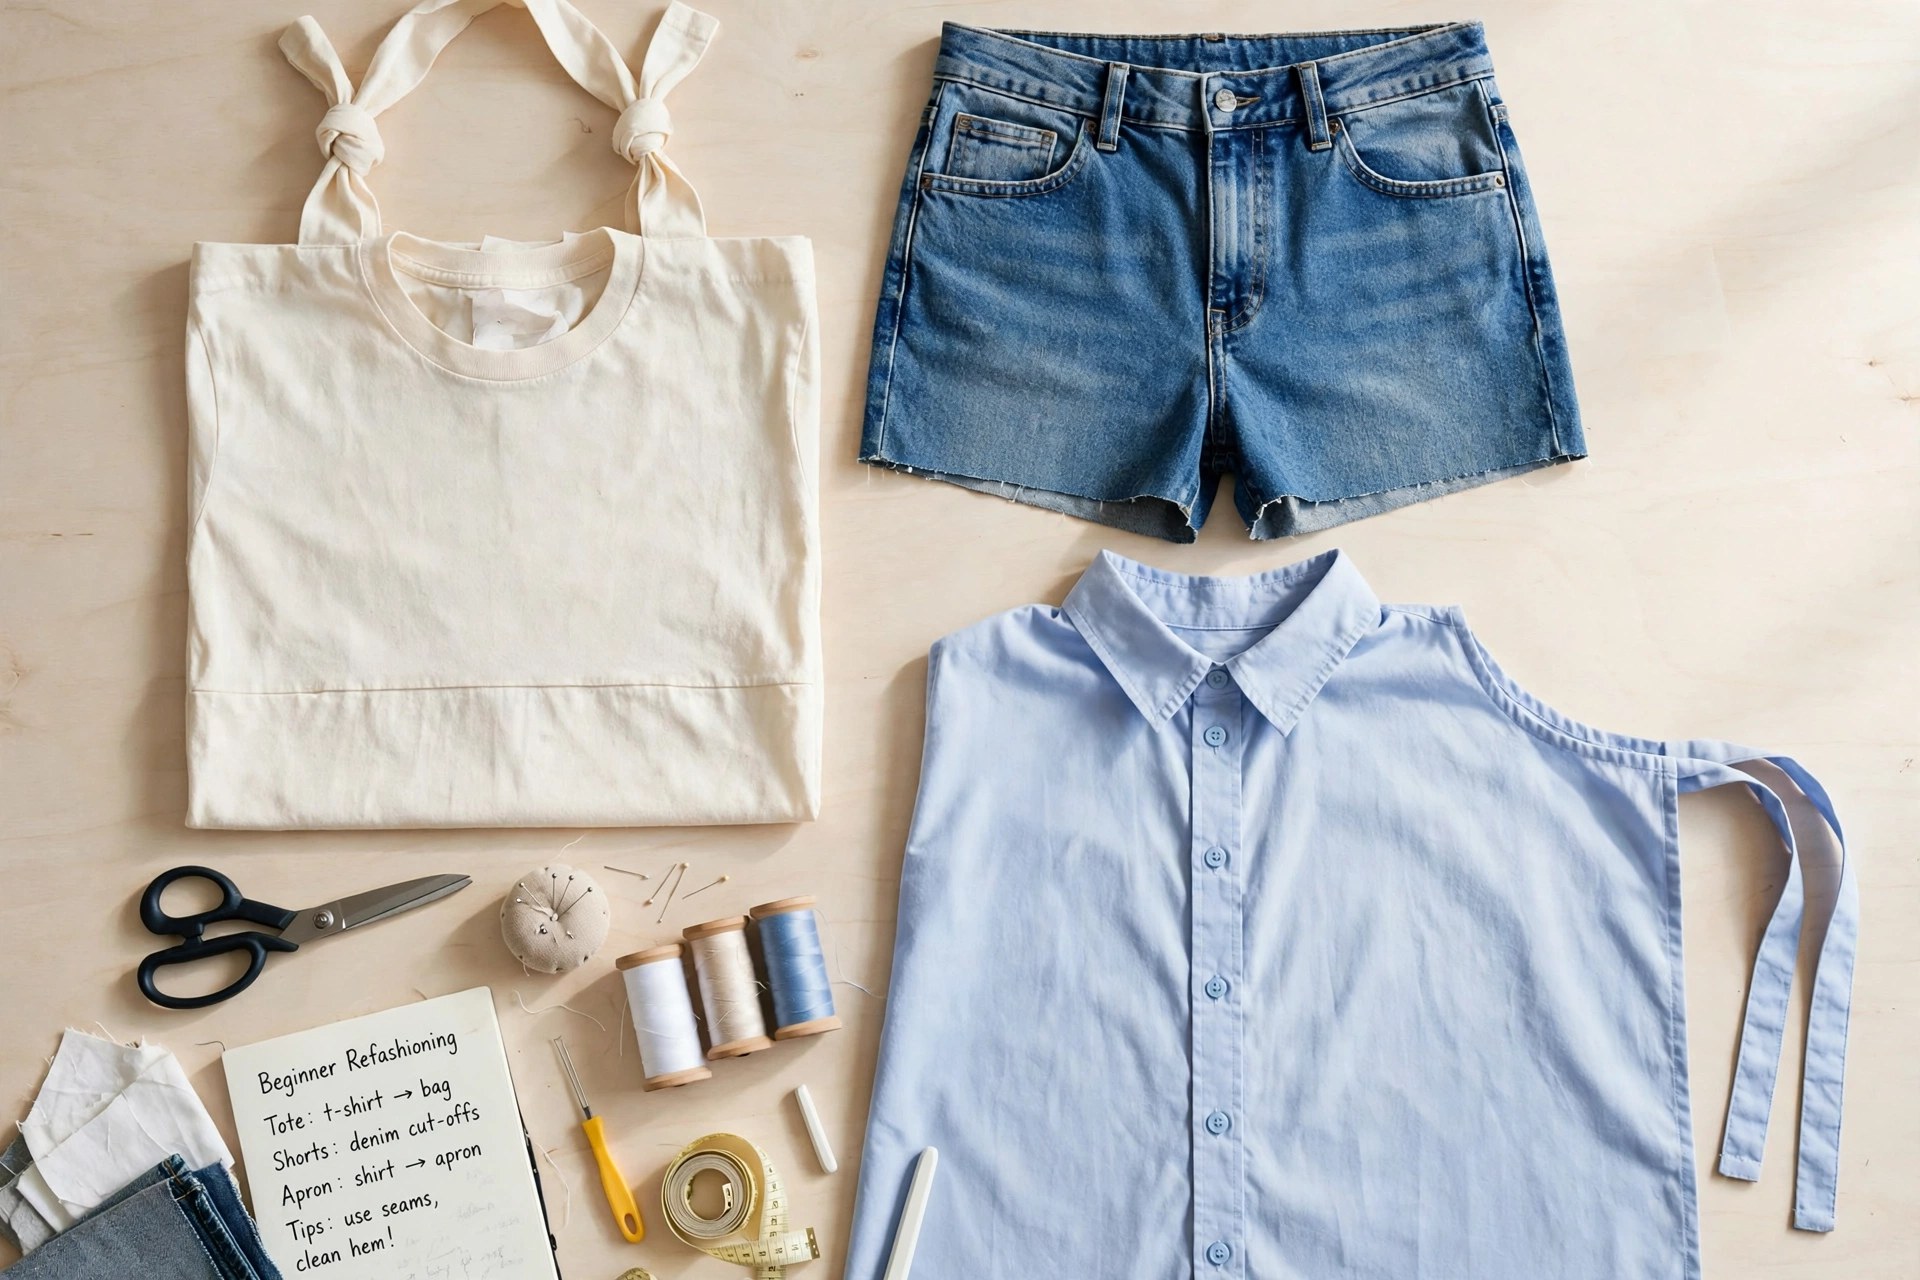
Choose: a sturdy t-shirt, adult-sized, with little stretch — band and souvenir tees are ideal; thin, worn jersey sags under a grocery load. Cut: lay the shirt flat and smooth; cut off both sleeves just inside the seam, then deepen the neckline by cutting a scoop below the collar — that scoop is the bag’s opening, and the shoulder straps between sleeve and neck are its handles. Close the bottom: turn the shirt inside out and either tie the hem into a row of tight knots cut into fringe, or — the stronger, five-minute sewing version — stitch straight across the bottom, following the hem. Turn it right-side out. Fifteen minutes, one shirt, a bag that starts conversations at the checkout — and your first lesson in reading a garment for what its seams already built for you.
Project 2: Jeans Cut-Offs, Done Properly
Cut-offs fail in predictable ways, all avoidable. Try the jeans on and mark the finished length in chalk while standing — never judge length with the jeans flat and your legs out of them. Take them off, lay them flat and smooth the legs untwisted, then check the marks match leg to leg, measuring from the inseam. Add length before you cut: for a hemmed finish, cut an inch longer than the mark; for a cuffed finish, two inches. Angle the cut very slightly — a touch longer at the inseam than the outer seam sits better on the leg. Cut once, decisively, with sharp fabric scissors. Then finish the edge: a stitched hem for a clean short, a double-fold cuff tacked at the seams for the classic one, or a deliberate fray — washed twice to raise it — only if fray is the look you chose, not the one that happened to you.
Project 3: A Shirt Becomes an Apron
A button shirt is an apron waiting for two cuts: it already buttons, already has a pocket, and its back becomes the apron’s body. Cut away the sleeves, then cut the front panels off along the side seams and around the collar, keeping the back panel whole with the collar attached — the collar becomes the neck loop. Hem the raw edges (this project’s straight-seam practice), then make ties from the removed front panels or a length of ribbon, stitched at the waist sides. The chest pocket survives exactly where a cook reaches for a pen. It is the best second project in refashioning: real seams, real hems, a genuinely useful result, and not one moment of fitting.
Project 4: Hemming and Cropping — the Gateway Skills
Not every transformation changes what a garment is; some change how it falls, and they teach the most transferable skills in the craft. Shortening trousers, taking a dress to a new hemline, cropping a boxy jacket or sweatshirt to sit at the waist — each is one careful measurement, one cut (or none, for a folded hem), and one clean row of stitching. Our hemming and basic hand sewing guide teaches the stitches themselves; practice them here, on garments whose only change is length, before a project asks you to hem something you have also rebuilt. Cropping has one rule: cut long, try on, cut again — cloth removed cannot be returned, and a hem allowance must survive every decision.
The Tools These Projects Need
Fabric scissors that never touch paper; pins and a pincushion; a tape measure; tailor’s chalk; hand needles and polyester thread in black, white and denim blue; an iron and board; and, from your second or third project, a seam ripper — the refashioner’s most-used tool, because donor garments must be taken apart before they are put together differently. A sewing machine multiplies speed and handles heavy denim seams, but every project on this page can be hand-sewn. The full kit, honestly assessed, is in our learn to sew guide, and the seam vocabulary is in sewing basics: stitches and seams.
Where Refashioning Fails — Honestly
Item changes are easy; fit changes are hard. Turning jeans into a skirt reuses a waistband that already fits — turning a fitted dress into a differently-fitted dress means re-engineering darts, seams and ease, which is pattern work. Making anything bigger is hardest of all: a garment holds only its seam allowances in reserve. Slippery, stretchy and very thick fabrics punish beginners; tired fabric tears beside new stitching; and a donor whose style problem is its fabric — scratchy, faded, cheap-feeling — carries that problem into every transformation. Choose projects that change what a garment is, in cloth you already like, and the craft stays fun while your skills catch up with your ideas.
Color is a refashioning tool in its own right. A plain thrift-store tee becomes a statement piece with the folds in our tie-dye patterns and techniques guide, and a faded dress can take a whole new shade with the immersion method in dyeing clothes at home — check the fiber content first, because the fiber rules decide whether the new color will take at all.
Common Questions
What tools do I need for my first refashioning project?
Less than the craft-store wall suggests: sharp fabric scissors (kept for cloth only), pins, a tape measure, tailor's chalk or a washable marker, a needle and thread or access to a machine, and an iron — pressing is half of making a conversion look made rather than homemade. Our learn to sew guide lists the full honest starter kit; everything else can be bought when a project asks for it.
Why did my cut-off shorts fray unevenly?
Almost always a cutting problem, not a denim problem: the legs were cut one over the other while the jeans lay twisted, or cut straight across instead of angled slightly down from outer seam to inner seam to match how shorts sit on the leg. Measure and mark both legs from the inseam, cut once with sharp scissors, then hem or cuff — a turned-up cuff or a stitched hem is what separates cut-offs done properly from cut-offs done quickly.
Can I refashion a garment to a different size?
Making a garment bigger is the hardest move in refashioning — there is only so much seam allowance to let out — and changing a fitted garment's size and shape asks for pattern-level skills. Changing what an item is (jeans to a skirt, a shirt to an apron) is far easier than changing whom a fitted item fits. Beginners should transform items first and attempt true resizing once seams, darts and fitting feel familiar.
What should I do when a project goes wrong?
Stop before the next cut: nearly every refashioning failure is still cloth, and cloth can become a smaller project — the failed skirt has become many good tote bags. Unpick stitching rather than tearing it, keep the scraps (they are next project's panels and pockets), and note what the garment taught you. Donor clothes are the cheapest tuition in sewing precisely because a mistake costs a cast-off shirt, not new fabric.