Apparel Search Sewing Guides
Hemming & Basic Hand Sewing
Most people do not start sewing by making a dress. They start because trousers need hemming, a button came off a coat, or a favorite shirt split a seam — and a needle and thread fix all three for pennies. This guide teaches those foundational repairs properly: hemming by hand and by machine, sewing on buttons that stay on, and mending seams that hold. It is the most immediately useful page in our Learn to Sew guide.
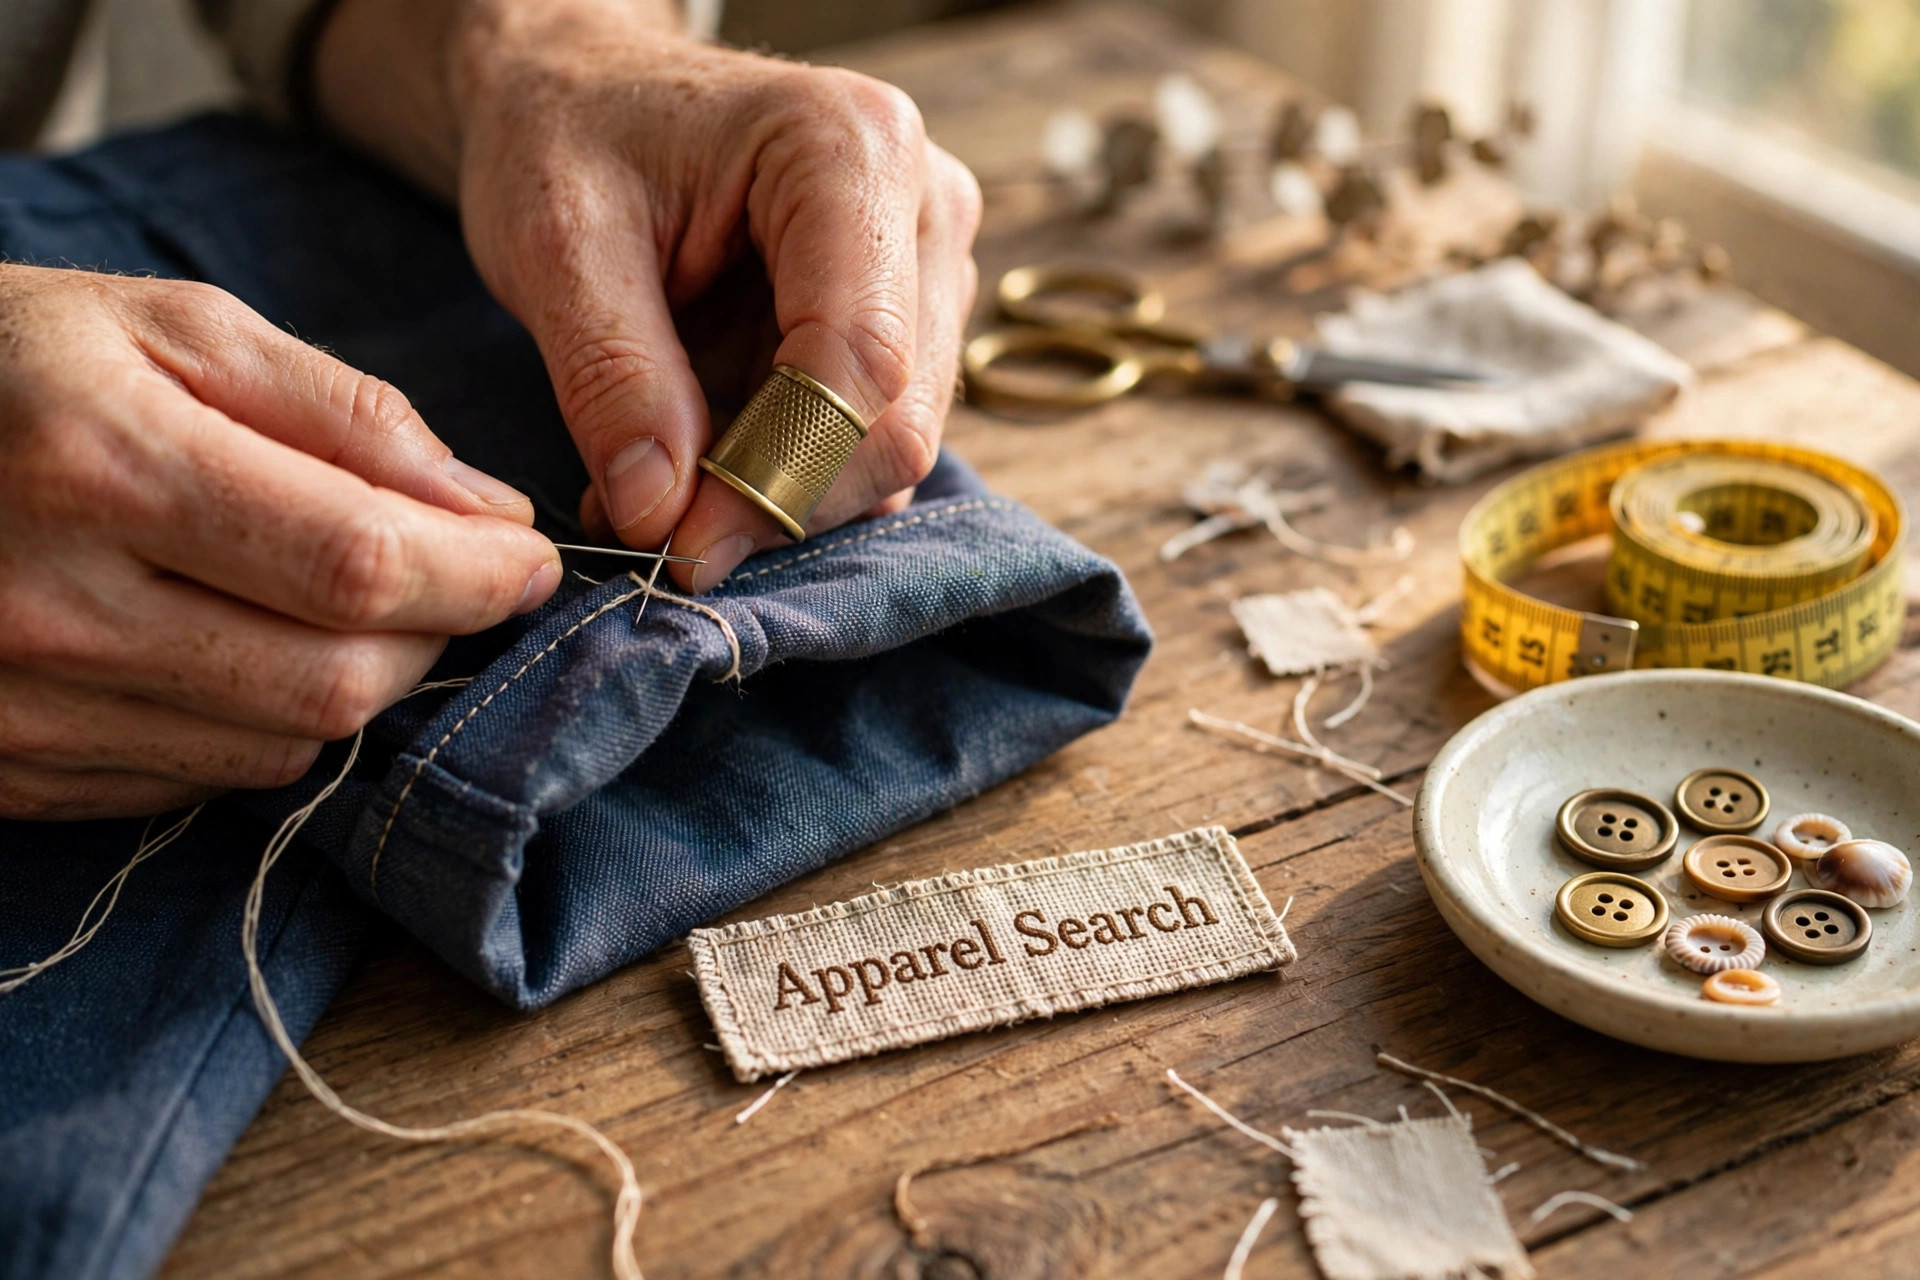
Hemming: Measure, Mark, Then Sew
A good hem is decided before any stitching: try the garment on (with the right shoes for trousers), pin the new length at several points, then measure the pinned line from the floor or from the existing hem to keep it even all around. Press the fold, trim the excess leaving a hem allowance — about 1½ inches (4 cm) for trousers and skirts, less for lightweight fabrics — and finish the raw edge with a zigzag or a turned-under quarter inch so it cannot fray.
Hemming by hand
For an invisible result, use the slip stitch: anchor the thread inside the fold, bring the needle out, catch one or two threads of the garment fabric directly above, slide the needle inside the fold for about a quarter inch, and repeat. The thread hides inside the fold and the outside shows only the faintest dimples. On tailored garments, the catch stitch — loose diagonal crosses worked between the hem edge and the garment — trades a little invisibility for flexibility and strength.
Hemming by machine
A straight stitch near the top edge of the folded hem is the workhorse for casual clothes, curtains and anything where a visible line is acceptable. For dressier trousers and skirts, the machine blind hem folds the hem back so the machine catches only a thread or two with its zigzag bite — nearly invisible outside, much faster than hand work. Practice the fold on a scrap first; the first attempt at the fold is confusing for everyone.
A note on rolled hems
Sheer fabrics — chiffon scarves, silk, organza — take a rolled hem: the edge is rolled into a tiny tube and stitched as it rolls, by a special machine foot or painstakingly by hand. Know that it exists and what it is for; it is a second-year skill, not a first repair.
Hem Trousers, Step by Step
Pin the length on the body
Wear the shoes, pin both legs at the desired length, and check the back sits where you want it.
Measure and mark
Measure from the old hem to the pins at several points; chalk the new fold line evenly around each leg.
Press the fold, trim the excess
Fold on the chalk line and press. Trim the leftover to a 1½ inch allowance and finish the raw edge.
Stitch the hem
Slip stitch by hand for dress trousers, or machine stitch (straight or blind) for casual pairs.
Press again
A final press sets the fold and makes a home hem indistinguishable from a shop hem.
Sewing on Buttons
Mark the position through the buttonhole with the garment fastened. For a flat button, bring the needle up through one hole, down through the diagonal (or partner) hole, and repeat four to six times per pair of holes; on coats and trousers, finish with a thread shank — wrap the thread several times around the strands beneath the button so it stands proud of the fabric and the buttonhole can sit under it without strain. A shank button already has its loop built in: sew through the loop several times, flat against the fabric. Always fasten off with a few small stitches on the underside, and sew a spare button into an inside seam allowance while you are at it.
Mending Split Seams
Turn the garment inside out and find the full extent of the split — it usually extends a little beyond the visible opening. Pin along the original seam line, then backstitch by hand (or straight stitch by machine) directly on the old line, starting and ending an inch inside the sound stitching so the repair ties into the original seam. Press the seam as it was pressed before. Small holes and worn patches follow the same principle: support the area, stitch into sound fabric, and when the garment is washed and worn the mend all but disappears.
Holes are the neighboring problem, and they call for weaving rather than a line of stitching: decorative darning and patching rebuilds the fabric itself across heels, elbows and worn spots — in yarn matched to disappear, or in a contrast color that turns the repair into the design.
Keep a mending kit where the clothes are. Needles, a few colors of thread, spare buttons saved from new garments, safety pins and a seam ripper in one small box turn "I should fix that" into a ten-minute repair instead of a donation bag.
Common Questions
What is the best stitch for hemming by hand?
The slip stitch is the most invisible: the thread travels inside the folded hem edge and catches only a thread or two of the garment fabric between stitches, so almost nothing shows outside. The catch stitch is the traditional alternative for tailored garments — slightly more visible inside, but it lets the hem flex and is very secure.
How do I know how much to hem trousers?
Try them on with the shoes you will wear with them. For straight-leg trousers, the hem usually sits at the top of the shoe heel at the back with a slight break in front. Pin at that point, then add a hem allowance of about 1½ inches (around 4 cm) folded inside. When in doubt, hem long — trousers can always be shortened again, but length let out is limited by the allowance.
How do I sew a button so it does not pull off?
Sew through all holes several times, and for flat buttons on anything thicker than a shirt, build a thread shank: after the last pass, wind thread around the strands under the button a few times before fastening off. The shank gives the button room to sit over the buttonhole layer, so it stops straining the threads every time the garment is fastened.
Can a split seam be repaired by hand?
Yes — it is one of the easiest mends. Turn the garment inside out, pin the seam line closed matching the original stitching, and backstitch along the original line, starting and ending an inch into the sound stitching on each side. Backstitch is strong enough to function as a permanent seam.
More to Explore
- Sewing Basics: Stitches & Seams — the stitch library behind every repair on this page.
- Garment Care Guide — caring for, repairing and altering clothes so they last.
- Sashiko Mending for Beginners — the running-stitch repair tradition, and the most enjoyable hand-sewing practice a beginner can pick up.
- How Much Do Alterations Cost? — typical tailor prices by job, for the hems and fixes you would rather hand over.
- Home Sewing — the home sewing section of Apparel Search.
- Sewing Tips for Home Sewers — practical tips collected for hobby sewers.
Search Apparel Search