Apparel Search Sewing Guides
Sewing Basics: Stitches & Seams
Almost everything in sewing is built from a handful of stitches and four seam types. This guide teaches the working set: the hand stitches worth knowing, the machine stitches clothes actually use, the seams you will sew again and again, and how seam allowances behave in real fabric. It is one of the beginner guides in our Learn to Sew guide.
The Core Hand Stitches
- Running stitch — the needle weaves in and out of the fabric in a line. Used for basting (temporary holding), gathering, and quick seams in light fabric. Even, medium-length stitches are the goal.
- Backstitch — each stitch steps back into the end of the previous one, making a continuous, strong line. This is the hand stitch that substitutes for a machine seam: use it for repairs and short seams that must hold.
- Slip stitch (ladder stitch) — stitches travel inside a fold and catch a thread or two of the garment between, so the thread nearly disappears. The standard invisible hem and closing stitch.
- Catch stitch (cross stitch for hems) — loose diagonal crosses that hold a hem while letting it flex. Traditional for tailored hems on skirts and trousers.
- Whipstitch / overcast stitch — diagonal stitches wrapping over an edge. Used to finish raw edges by hand and to close small openings.
- Blanket stitch — a looped edge stitch, decorative as well as functional, for blankets, felt and raw edges that will show.
One hand stitch has an entire mending tradition built on it: the running stitch is the whole of sashiko, the Japanese technique that quilts patches and worn garments together with even rows of running stitch — reinforcement and decoration in the same pass. If the running stitch is the first one you learn, sashiko is a wonderful reason to practice it.
The Machine Stitches Clothes Use
- Straight stitch — the lockstitch that sews nearly every seam. Length around 2.5 mm for regular construction; longer (3.5–4 mm) for basting and topstitching.
- Zigzag stitch — finishes raw edges, sews stretch fabrics, attaches elastic and appliqué. Width and length both adjustable; practice on scraps.
- Stretch stitches — built-in stitches (often a triple straight stitch or a small zigzag variant) that flex with knit fabrics so seams do not pop when the garment stretches.
- Blind hem stitch — a few straight stitches then one zigzag bite into the folded hem, producing a nearly invisible machine hem. Worth learning once you hem regularly.
- Buttonhole stitch — the machine's dense satin-stitch rectangle. Always rehearse on a scrap sandwich of the same layers first.
The Working Seam Types
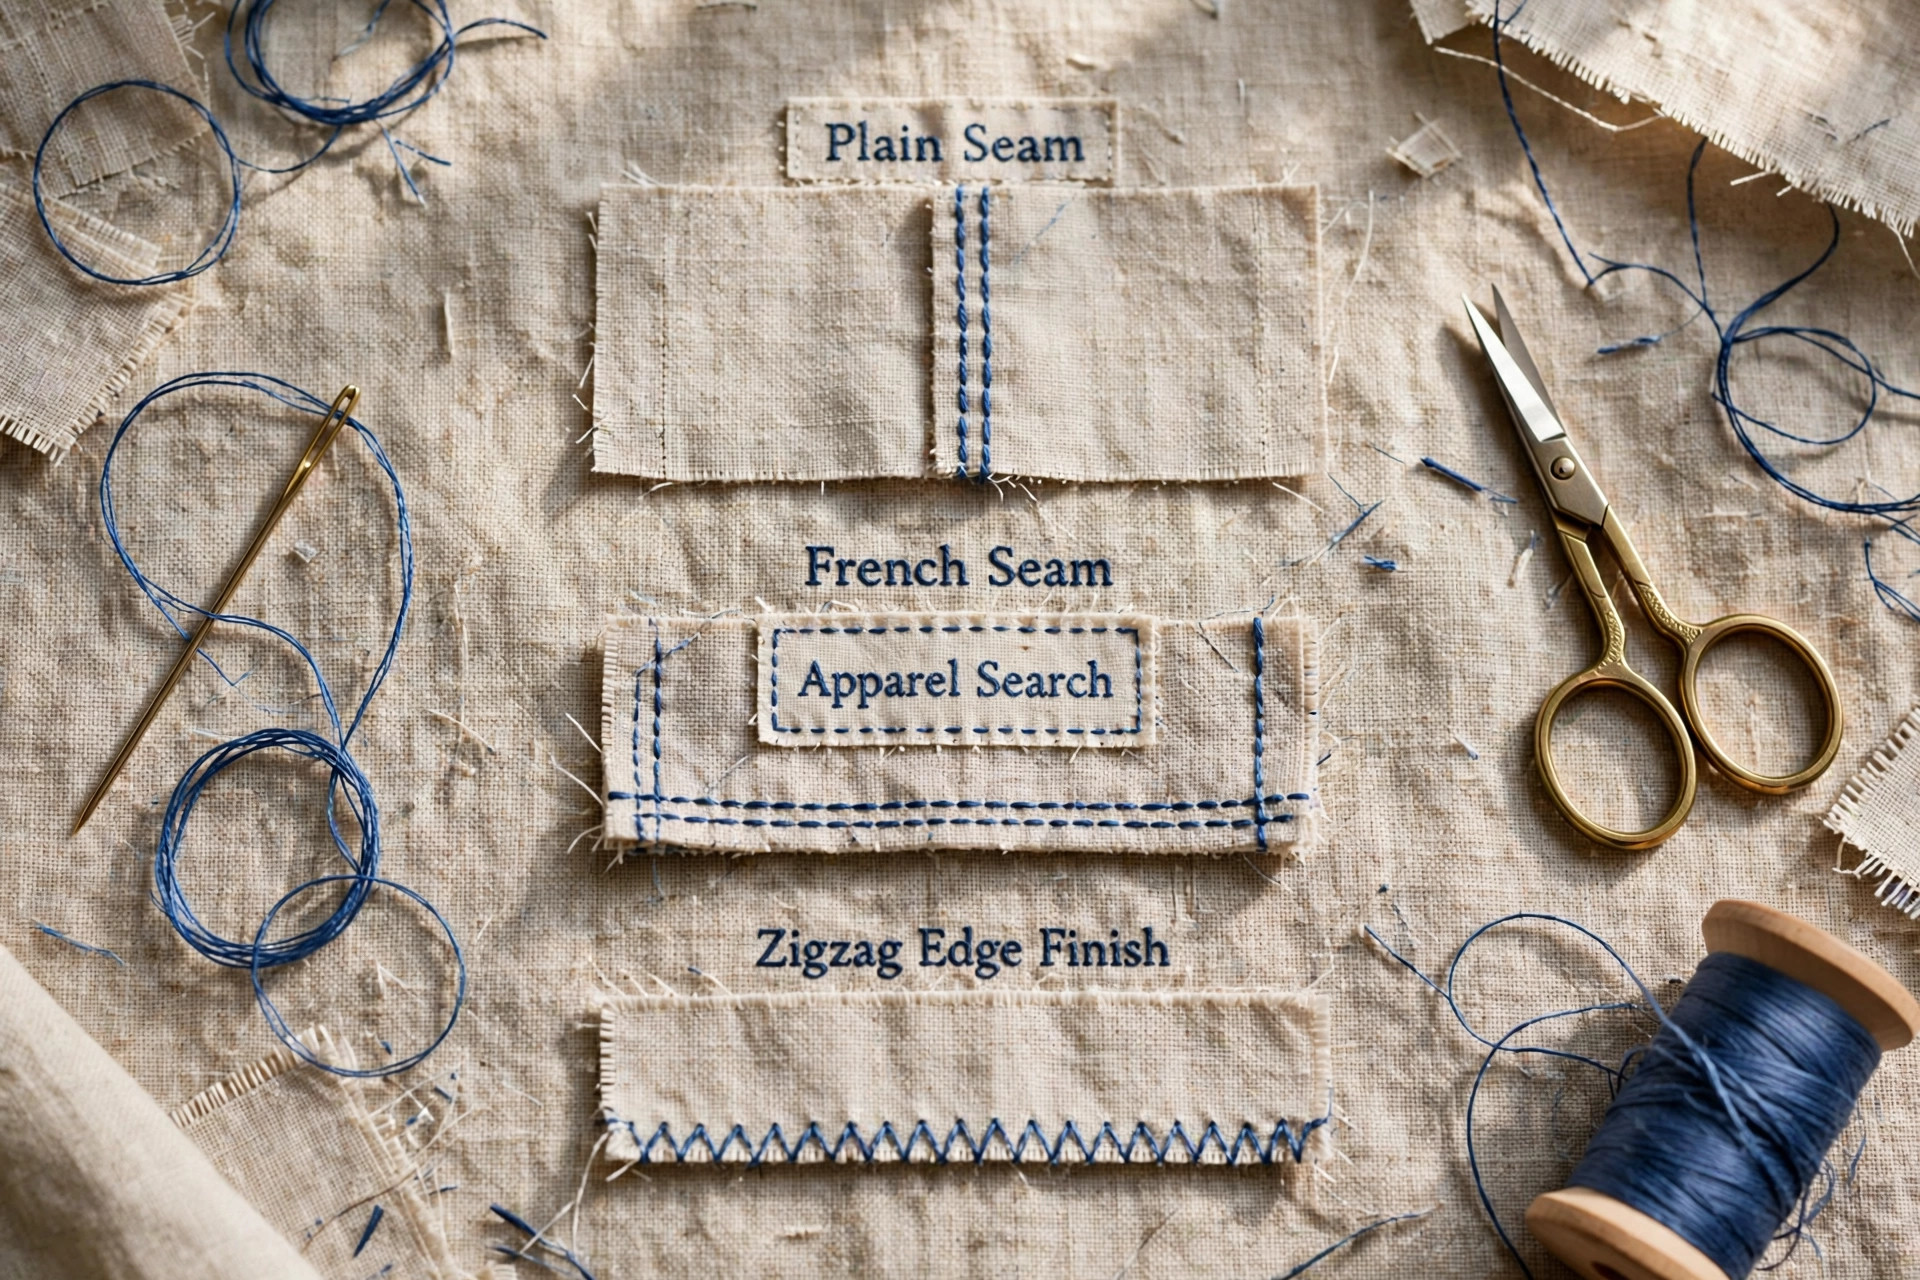
Plain seam
The default seam of garment sewing: pieces right sides together, stitched at the allowance, then pressed. Press allowances open for a flat, crisp result on most wovens, or to one side where bulk or a finish requires it. Finish the raw edges (zigzag, pink, or overcast) if the fabric frays.
French seam
A seam that encloses its own raw edges: sew wrong sides together with a narrow allowance, trim, press, fold right sides together and sew again so the raw edges hide inside. The beautiful, durable choice for sheers and lightweight fabrics — and for anything unlined whose insides will be seen.
Flat-felled seam
The jeans seam: one allowance is trimmed, the other folds over it and is topstitched down, enclosing everything in a strong, flat ridge. Used on shirts, workwear and anywhere a seam takes stress and washing. Slightly bulky, extremely durable.
Flatlock seam
A seam borrowed from sportswear: the two fabric edges are butted together rather than stacked, and the stitching lies flat across the join, so the inside of the garment has almost no ridge. Base layers, swimwear and sensitive-skin clothing use it wherever a seam presses against the wearer all day — the construction side is covered in our garment construction for sensitive skin guide.
Zigzag finish (and its relatives)
Not a seam itself but the beginner's edge finish: zigzag along each raw edge (or overcast by hand) so woven fabric survives the wash. Many garments need nothing more; enclosed seams are for when fraying, sheerness or visibility demands them.
Sew a Plain Seam, Step by Step
Pin right sides together
Match notches and edges; pins at right angles to the seam line so the machine can sew over or up to them.
Set the allowance guide
Line the fabric edge up with the 5/8 inch guideline on the needle plate (or your pattern's stated allowance).
Backstitch, sew, backstitch
A few reverse stitches at each end lock the seam. Guide the fabric; let the feed dogs pull it through.
Finish the edges
Zigzag or pink the raw edges if the fabric frays, trimming any threads and ragged bits.
Press
Press the seam flat as sewn, then open or to one side as the garment requires. Pressing is what makes it look made rather than assembled.
Seam Allowances in Practice
The allowance is working room, not waste: it lets you let a seam out slightly, gives edges something to finish, and keeps stitching away from the raw edge where fabric is weakest. Trim allowances on curves (clip into them so they can spread), grade thick seams (trim each layer to a different width) so they lie flat, and never trim a seam you might need to let out later. Patterns state their allowance; when sewing without one, 5/8 inch for woven clothing seams and 1 inch or more at hems are proven defaults.
Common Questions
What is the difference between a stitch and a seam?
A stitch is a single unit of thread passing through fabric — one loop of a running stitch, one lock of a machine stitch. A seam is the line of stitches that joins two pieces of fabric together. Stitches are the alphabet; seams are the words garments are written in.
What seam allowance should a beginner use?
Follow your pattern — most commercial patterns are drafted for 5/8 inch (15 mm) — and use the guidelines on the machine's needle plate to keep that distance consistent. Consistency matters more than the number: seams sewn at varying allowances make pieces stop matching. When hand sewing without a pattern, 5/8 inch is a sensible default for clothing.
How do I stop raw edges from fraying without a serger?
Zigzag along the edge, use pinking shears, or choose a seam that encloses the edge (French or flat-felled). Pressing seam allowances open and zigzagging each edge separately is the standard beginner method and holds up well in the wash for most woven fabrics.
Why do my seams pucker?
Usually tension, a dull or wrong needle, or fabric being pulled through the machine. Let the feed dogs move the fabric — your hands only guide. Check that the needle suits the fabric (ballpoint for knits, sharp for fine wovens), replace needles that have sewn several projects, and test tension on scraps of the same fabric before sewing the garment.
More to Explore
- Hemming & Basic Hand Sewing — put these stitches to work on the repairs every wardrobe needs.
- Stitch & Seams Guide — the terminology companion: stitch classes and seam types defined in depth.
- Overlock Stitch — what a serger (overlock machine) does, defined.
- Interfacing — the supporting layer inside collars, cuffs and waistbands, defined.
Search Apparel Search