Apparel Search Consumer Guides
Dressing After Stroke
The clothing side of one-handed dressing — the affected-side-first routine, garments that open where one hand can reach, and the small tools that stand in for a second hand.
After a stroke, dressing usually becomes a one-handed job — and clothing, which assumes two hands in roughly two dozen places, was not designed for it. Buttons expect a hand on each side. Laces expect two hands and a bow. Pullovers expect two arms raised together. The answers are partly technique — a dressing sequence worked out for one strong side — and partly wardrobe: garments whose closures one hand can genuinely operate. This guide covers both, at the garment level. It is part of our post-surgery and medical dressing guide, and its closest sibling is our guide to dressing after amputation, where the same one-handed strategies and seated routines were developed for a different reason.
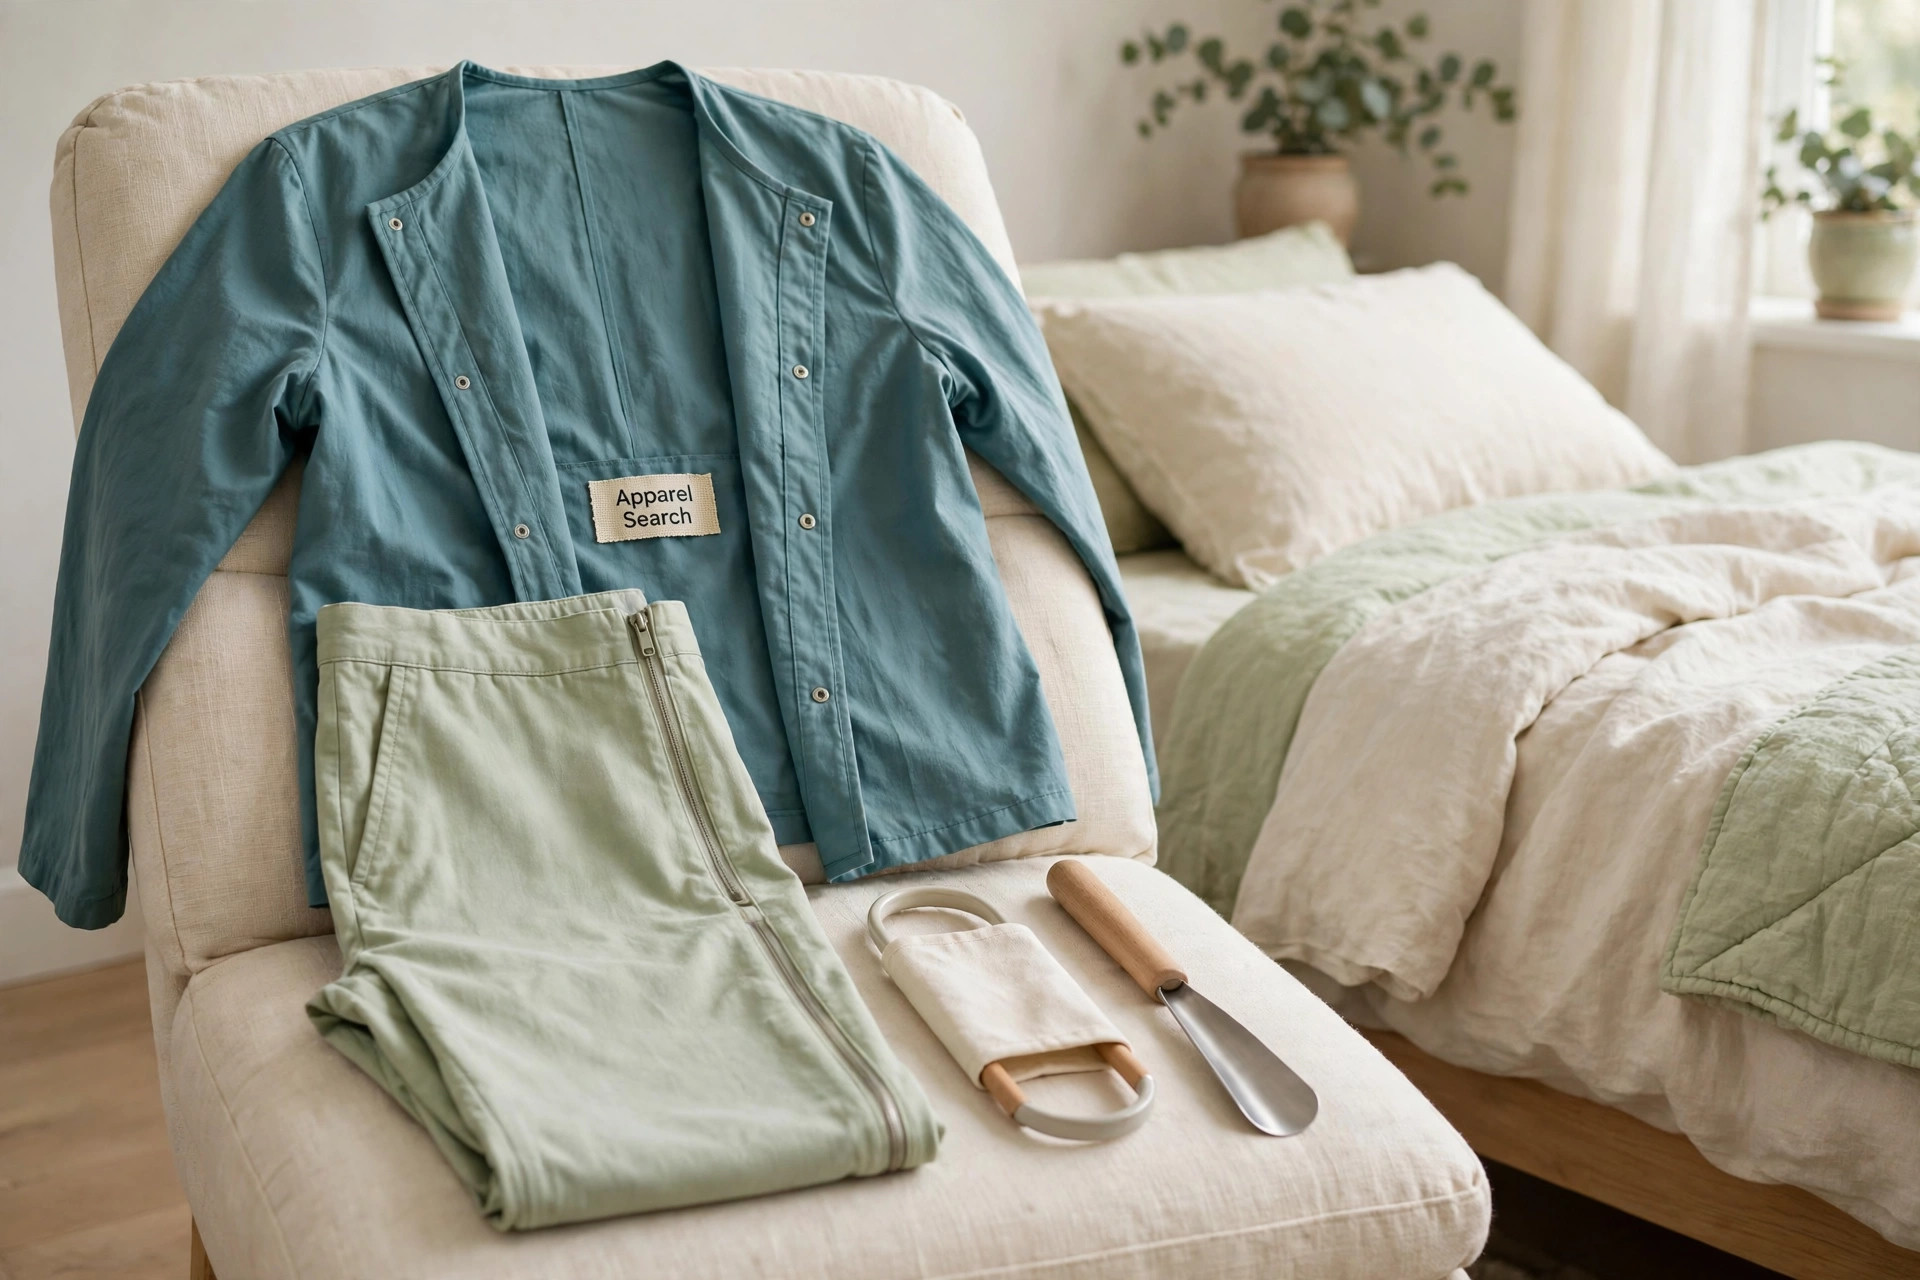
The One-Handed Routine
The sequence most dressing guides teach after a stroke is built on one rule: when putting a garment on, dress the affected side first; when taking it off, undress the affected side last. The reasoning is practical. The stronger arm does the reaching and guiding, so the affected arm or leg goes into its sleeve or trouser leg first, while the garment is still loose and easy to arrange; the strong side follows, and finishes the job. In reverse, the strong side comes out first so it is free to help the affected side out. Worked as a routine, seated:
- Sit down and lay everything out in order. Clothes in the sequence they go on, fastenings fully opened, within reach of your stronger side.
- Lower half first. Gather the trouser leg and guide it onto the affected leg first — seated, using a reacher or dressing stick for the far side — then the stronger leg; draw bottoms up as far as seated allows and finish the waistband in place. Side-opening trousers can be laid flat and fastened around you instead.
- Tops: affected arm first. Lay the top across your lap, openings facing you; guide the affected arm into its sleeve first, then the stronger arm, then bring the garment up and around.
- Fasten down the front. Magnetic, hook-and-loop and large-snap fronts all close one-handed, in view, in a single pass.
- Shoes and socks last, still seated. Sock aid for socks; slip-on or elastic-laced shoes; long-handled shoe horn to finish.
Garments One Hand Can Manage
The wardrobe shortlist follows from the routine. Front closures are the foundation — shirts, cardigans and jackets that fasten down the front, where the working hand can see and reach every point. Magnetic closures behind a button front close with a press (with the usual maker’s caution about implanted medical devices — read the label and check with your care team if it applies). Hook-and-loop panels fasten with a palm. Wide necklines and generous armholes reduce the guiding a top needs; shoulder snaps let a garment be laid on rather than pulled on. Front-closing bras put their fastening in reach. Below the waist, pull-on and drawstring waists, trousers with side openings or side zips fitted with ring pulls, and skirts that wrap and fasten at the front all keep the lower half one-handed. Our adaptive clothing features guide explains each of these constructions in detail.
Shoes, Socks and the Lower Half
Footwear is where two-handed dressing hides longest. Elastic laces convert an ordinary lace-up shoe into a slip-on permanently — fitted once, with help if needed, and never tied again. Hook-and-loop strap shoes fasten with one press. A sock aid — a flexible trough on cords — draws a sock over the foot without bending or a second hand, and a long-handled shoe horn guides the heel in from the chair. These tools, plus button hooks and dressing sticks, are covered one by one in our dressing aids and tools guide. Seated dressing itself — the layout, the order, the chair — is the house pattern of our wheelchair clothing guide, which is worth reading alongside this one.
Setting Up a Dressing Corner
Technique holds up better when the room helps. Keep one chair as the dressing place, with the aids on the stronger side, clothes stored where dressing happens rather than across the room, and the day’s outfit laid out the night before if mornings are slow. Store everyday clothes at seated reach height where the room allows, and keep the fiddly fastenings — the small buttons and back zips — out of the daily rotation while keeping them for occasions if you want them. Where tremor or slow fingers add to the picture, our guide to dressing with Parkinson’s covers the same closures from that angle, and the adaptive clothing retail directory lists the retailers who stock this clothing.
A Garment Guide, Not Medical Advice
This page covers clothing: features, fit, fastenings and dressing technique. Questions about your condition, your medication or your care belong to your own doctor and care team, and their guidance outranks anything in a product description — including the ones described here.
Shop Adaptive Clothing on Amazon
Ready to shop? Product links are kept in one place on the Apparel Search shopping guide:
Shop Clothing on AmazonThis link opens the Apparel Search shopping guide for Amazon, where the product links are kept in one place.
Common Questions
Which side do you dress first after a stroke?
The affected side first when putting a garment on: guide the affected arm into its sleeve, or the affected leg into its trouser leg, while the garment is loose and the stronger side is free to arrange it — then dress the stronger side and fasten up. When undressing, reverse the order: stronger side out first, affected side last.
What closures can one hand actually work?
Magnetic closures behind a button front, which meet with a press; hook-and-loop tabs and panels, fastened with a palm; large snaps; and zips fitted with ring or tab pulls that one finger can draw. Front-closing bras put their fastening in reach, and pull-on waistbands remove the fastening altogether.
Can shoes and socks be managed one-handed?
Yes, with three swaps: elastic laces turn lace-up shoes into slip-ons permanently, a sock aid draws socks on without bending or a second hand, and a long-handled shoe horn guides the heel in from the chair. Hook-and-loop strap shoes are the other standard answer.
What tops are easiest to put on with one hand?
Front-opening tops — shirts, cardigans and jackets — that fasten down a visible front line, with wide necklines and generous armholes. Shoulder-snap styles can be laid on rather than pulled over the head. Lay the top across your lap, dress the affected arm first, then the stronger arm.
Back to the Post-Surgery & Medical Dressing Guide
Front closures, soft seams and step-in styles — plus the mastectomy, ostomy and compression guides.
More to Explore
Search Apparel Search
Please note: Apparel Search is a fashion and clothing guide, not a medical authority. Pages in this section describe clothing features and dressing ideas only. We make no claim that any garment or special product will improve, treat, or help with any medical condition, and descriptions of product features reflect how those products are designed and marketed, not a medical endorsement. Please check with your own doctor or care team about what is right for you.