Apparel Search Consumer Guides
How to Tie a Necktie
Four knots, step by step — four-in-hand, half-Windsor, full Windsor and Pratt — and how to choose between them by collar, tie and build.
Most men learn one knot, badly, from another man who learned it the same way — and then tie it that way for decades. This page is the fuller version: the four knots that between them cover every collar and every tie you are likely to own, each with its steps in order, and the two finishing details — the dimple and the length — that separate a tie that is merely on from a tie that looks deliberate. If the suit around the tie needs the same attention, our guide to how a suit should fit is the companion read.
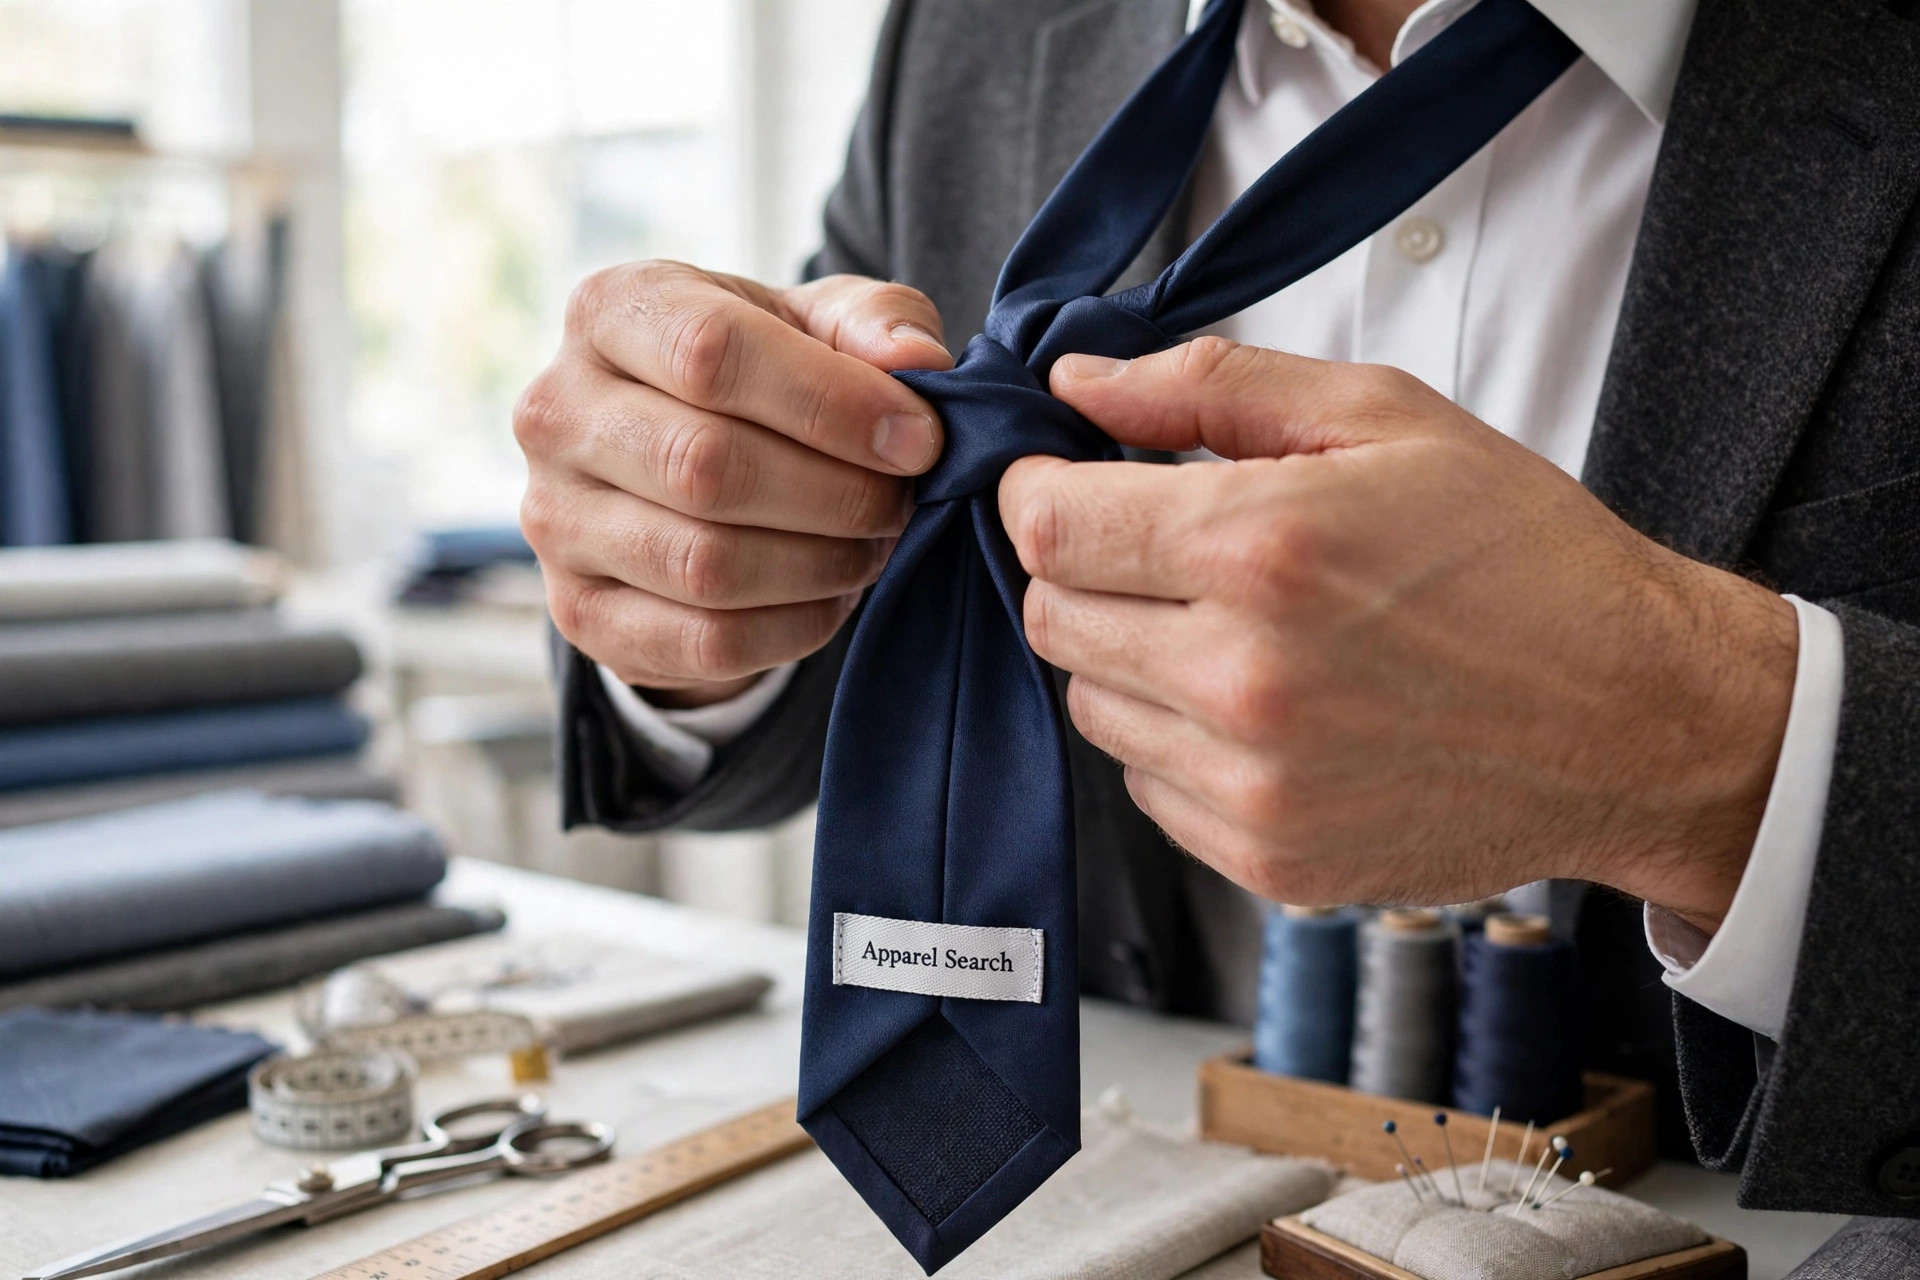
Before the First Move
Every knot on this page starts the same way. Stand in front of a mirror. Shirt buttoned to the top, collar up. Drape the tie around your neck with the seam side down (the Pratt knot below is the one exception), the wide end on the side of your dominant hand, hanging noticeably lower than the thin end. How much lower sets the finished length: about 30 cm (a hand's length and a half) is the usual start, and the bigger the knot, the more length it consumes — start the wide end a little lower for a full Windsor than for a four-in-hand. You will not judge it perfectly the first few times; adjust the start, not the knot.
The Four-in-Hand
The default knot of men's dressing: small, slightly asymmetric, and right with nearly everything. It suits narrow-to-medium collar spreads, ties of light-to-medium weight, and men with shorter necks, because it builds the least bulk at the throat.
- Cross the wide end over the thin end, forming an X just below your chin.
- Bring the wide end underneath and back around to the front, completing one full turn around the thin end.
- Bring the wide end up toward the neck loop from underneath.
- Pull it up through the neck loop, then down through the small horizontal loop you just formed across the front of the knot.
- Slide the knot up to the collar, holding the thin end still with your other hand so the knot travels instead of the tie.
- Pinch the dimple in as you snug it home (see below), and center the knot on the collar.
The Half-Windsor
A wider, more triangular knot that fills a medium-to-spread collar properly, with only two more moves than the four-in-hand. Despite the name it is not half the size of the full Windsor — it is most of it, with a slimmer wrap, and it is the right knot for most spread-collar business shirts.
- Cross the wide end over the thin end.
- Bring the wide end up through the neck loop from underneath, then down toward the opposite side.
- Bring the wide end around behind the thin end and across to the other side.
- Bring the wide end up to the center, toward the neck loop.
- Pull it down through the neck loop, then across the front of the forming knot.
- Bring it up through the neck loop once more from underneath, and down through the front loop.
- Slide up, dimple, center. The finished knot should sit as a neat, near-symmetrical triangle.
The Full Windsor
The largest, most formal knot: a wide, confident triangle built for wide spread and cutaway collars, and for ties of light-to-medium cloth — a thick tie in a full Windsor becomes a fist. Start with the wide end lower than for the other knots; this knot eats length.
- Cross the wide end over the thin end.
- Bring the wide end up through the neck loop from underneath, then down to one side.
- Bring it around behind the knot and across to the other side.
- Bring it up to the center, toward the neck loop, and down through the loop to the opposite side — the two sides of the triangle are now built.
- Bring the wide end across the front of the knot, covering the triangle.
- Bring it up through the neck loop from underneath, and down through the front loop.
- Slide up gently, dimple, center. Tighten a Windsor by degrees — a yanked Windsor twists.
The Pratt (Shelby) Knot
The insider's knot: medium-sized, tidy and self-centering, and the only common knot that starts with the tie inside out. That reversed start is what makes the finished knot sit so flat and symmetrical — and it begins with the wide end under the thin end rather than over it.
- Drape the tie inside out — seam facing outward — with the wide end on your dominant side, hanging low.
- Cross the wide end under the thin end, forming an X below your chin.
- Bring the wide end up to the center and down through the neck loop, pulling it snug — this sets a firm band at the collar.
- Bring the wide end across the front to the other side.
- Bring it up through the neck loop from underneath, and down through the front loop you just made.
- Slide up, dimple, center. The seam now faces the shirt, as it should.
Shop Neckties on Amazon
Ready to shop? Silk ties in widths and lengths to suit each of these knots are collected on the Apparel Search shopping guide:
Shop Neckties on AmazonThis link opens the Apparel Search shopping guide for Amazon, where the product links are kept in one place.
Choosing a Knot: Collar, Tie and Neck
- By collar spread: the gap between your collar's points is a space the knot must fill. Narrow and standard point collars take the four-in-hand or Pratt; medium spreads take the half-Windsor; wide spread and cutaway collars need the half or full Windsor — a small knot rattling in a wide collar reads as a mistake even when everything else is right.
- By tie width and weight: wide or thick ties (heavy silk, knitted ties, wool ties) build bulk on their own — pair them with the four-in-hand. Slim ties and light silks can carry the Windsors.
- By your own build: a longer neck carries a bigger knot gracefully; a shorter neck is flattered by the smaller knots, which leave breathing room between chin and knot.
The Dimple and the Length
Two finishing rules outweigh any knot choice. The dimple is the small vertical fold pinched into the wide end just below the knot: as you tighten, press your fingertip into the center of the tie under the knot and hold the pinch while the knot slides home. It gives the tie posture — the knot sits up instead of slumping — and it is the single detail strangers read as "this man knows how to dress." The length: the wide end's tip should just meet the belt line, touching the waistband or buckle. Below the belt looks careless; well short of it looks borrowed. The thin end ends slightly higher and lives behind the wide end, in the keeper loop or under a tie bar.
Undoing Is Part of Tying
Never pull a tie off over your head or drag the wide end out of the knot — both stretch the tie's lining out of true, and a twisted lining never ties straight again. Untie in the reverse order of the steps, every time, and let the tie hang overnight before it is worn again. A tie rotated like a suit, rather than worn daily, keeps its shape for years.
Common Questions
Which necktie knot should a beginner learn first?
The four-in-hand. It uses the fewest moves, works with the widest range of collars and tie widths, and its slightly asymmetric shape is considered a feature — it looks relaxed rather than engineered. Learn it, wear it for a month, and add the half-Windsor when you buy a shirt with a wider collar spread. The full Windsor and the Pratt are refinements, not requirements.
How long should a necktie be when it is tied?
The tip of the wide end should just touch the belt line — grazing the top of the waistband or the belt buckle, not hanging below it and not stopping short above it. The thin end should end a little higher than the wide end and stay behind it, ideally caught by the tie's keeper loop or a tie bar. If the wide end lands too long or too short, untie and adjust the starting position rather than accepting it: start with the wide end lower for a longer finished tie, higher for a shorter one.
Why does my knot slide down or come loose?
Usually one of three causes: the knot was not snugged up to the collar at the finish (slide it up while holding the thin end firmly), the tie's fabric is slippery and the knot too small for the collar space (a larger knot, or a tie with more texture and grip, holds better), or the collar itself is loose at the neck, so there is nothing for the knot to sit against. A tie bar clipped to the shirt placket also stops the whole tie swinging and working the knot loose.
Does the dimple really matter?
It is the difference between a knot that looks tied and a knot that looks finished. The dimple — the small vertical pinch of fabric just below the knot — gives the tie its shape as it leaves the knot and catches the light the way a pressed crease does. It costs two seconds: as you tighten, press a fingertip into the center of the wide end just under the knot and hold the pinch while you snug the knot up. Once tied with a dimple a few times, tying without one feels unfinished.