How to Tie a Tie
Pick one good knot, get the length right, and the whole thing becomes a two-minute habit.
Ties are easy to tie only if you actually know how to tie them. If you are not accustomed to doing it on a regular basis it can get a bit tricky — but once you get the hang of it, you will find that it is rather easy. On this page you will learn how to judge the finished length, how to balance the wide front blade against the slimmer back blade, and how to choose among the many knotting methods without chasing every trend.
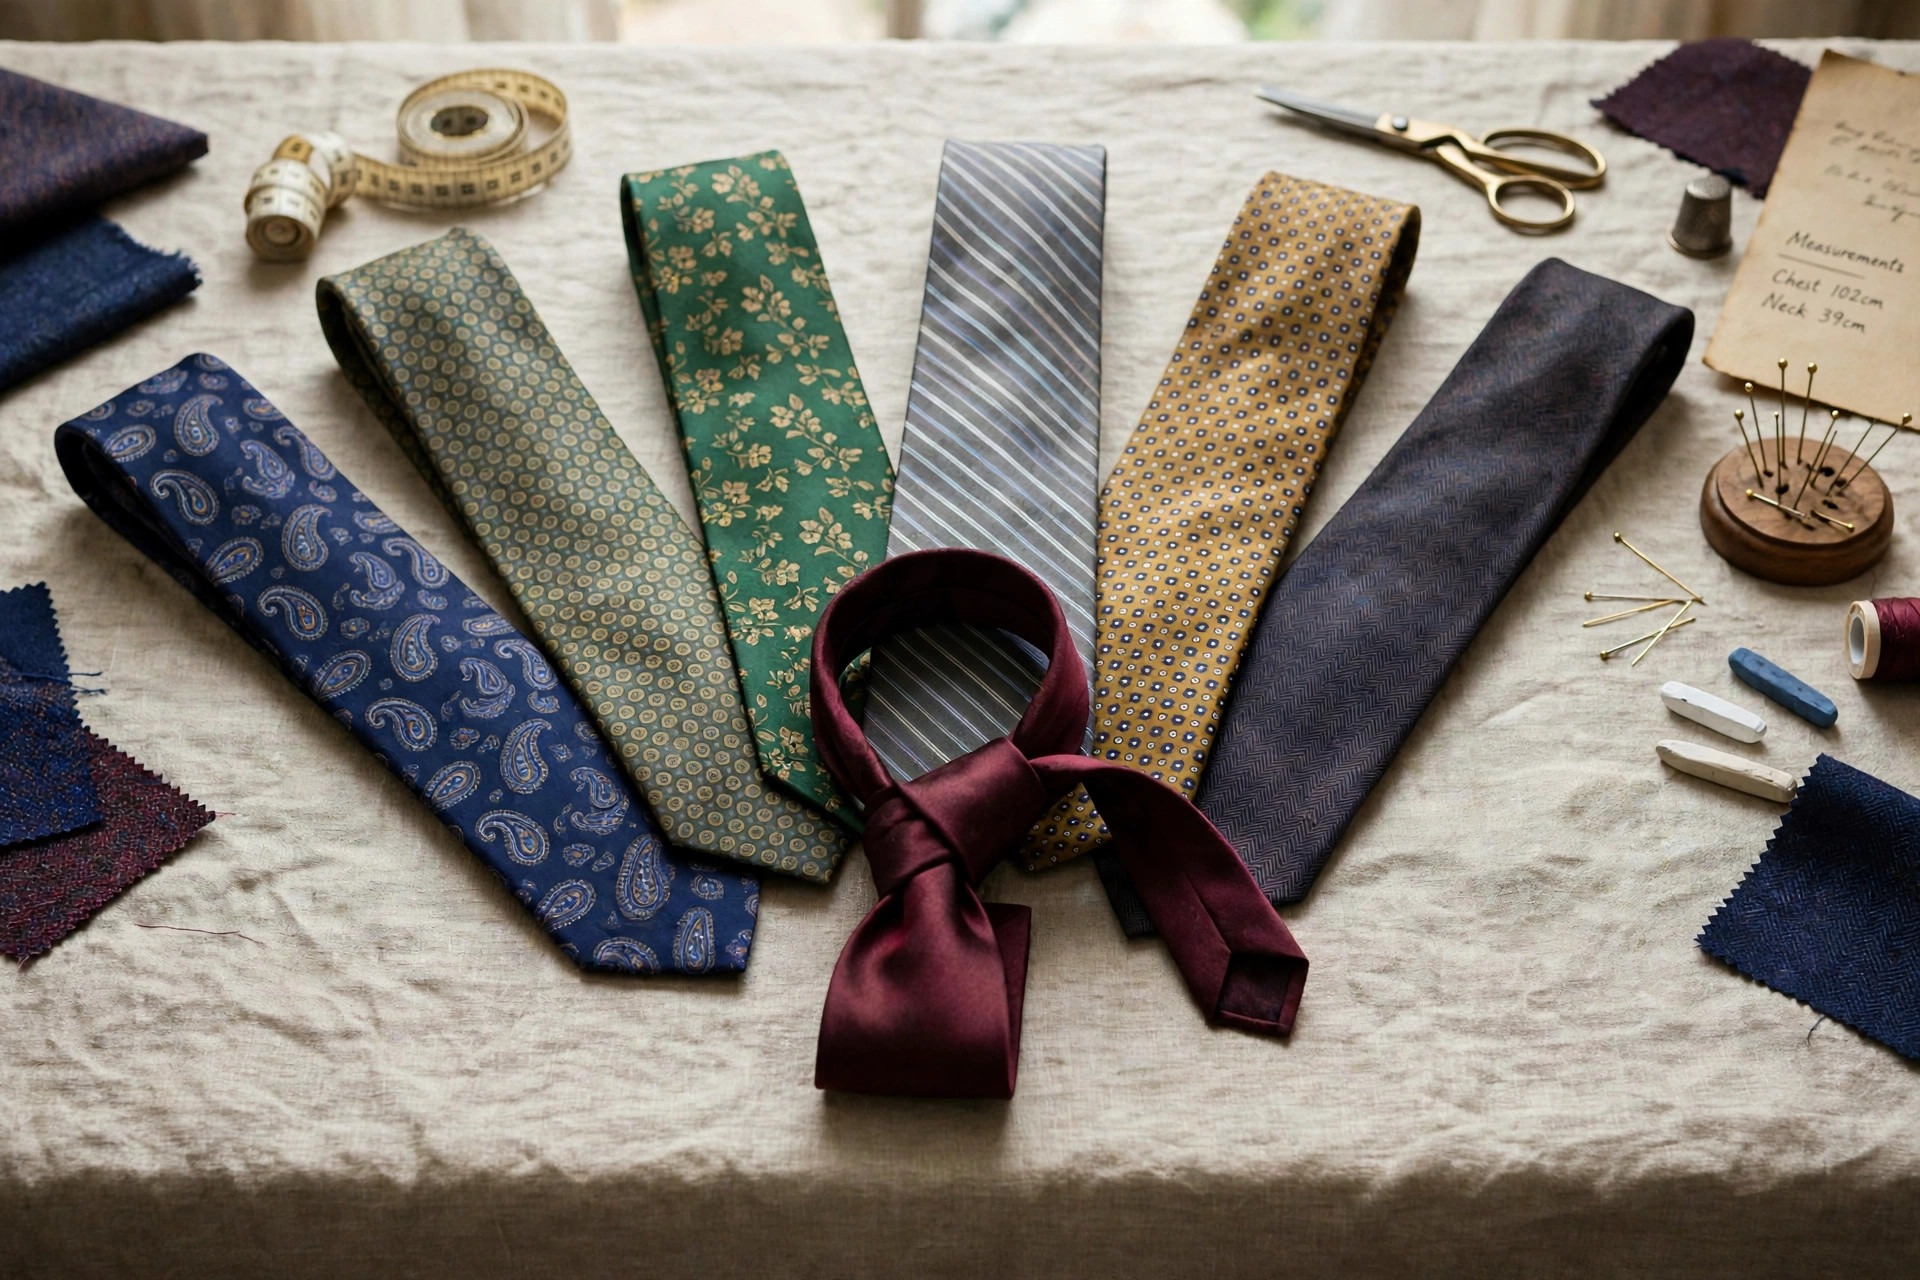
A necktie is a piece of cloth worn for decorative purposes around the neck, resting under the shirt collar and knotted at the throat, then draped down the chest. There are several different methods to consider when knotting your tie, and if you are not set on staying ultra trendy, the smartest approach is to pick one method, learn it well, and stick with it.
Tie Guides & Neckwear Resources
Start With Length: The Belt-Line Rule
The tie length should reach down to the waist. The tip of the tie should sit directly above the belt line: if it goes past your belt line, the tie is too long, and if it does not reach your belt line, the tie is too short. That single check tells you more about whether a tied tie looks right than the fanciness of the knot above it, because a beautiful knot on a badly measured tie still looks wrong.
Manufacturers are rather consistent about tie length — ties are commonly 57 inches in length — but men are not all a consistent height, and torsos differ. Because of that, you cannot set up the tie in exactly the same way as the next person. Where you start the wide blade relative to the narrow blade before knotting determines where the tip lands, so expect to adjust your starting position, and expect a retie or two while the habit forms. Using scissors to fix tie length is not the best idea, unless you are a tailor or seamstress.
The Blade Balance Nobody Warns You About
The genuinely hard trick when tying a tie is lining up the front wide blade and the back slimmer blade. Some ties are made so the width is consistent, such as a very thin tie, but these are not as common; most ties taper, and the two ends must be planned together. Ideally, the tip of the tie reaches the top of the belt while enough of the back end remains to reach the keeper loop on the back of the tie.
The keeper loop helps keep the two ends of the tie together, and you do not want the smaller end flopping around beside or below the front blade. Above all, when the wide part of the tie ends up shorter than the narrow end, you will look silly — so if the first attempt produces that result, untie it and start the wide blade lower. Getting this balance right is a matter of small starting adjustments, not of pulling harder on the knot.
Choosing a Knot Worth Learning
Please do not say that the knot does not matter, because it changes the width, symmetry, and formality of everything under your chin. The techniques worth researching include the Windsor Knot, the Half Windsor Knot, the Four-in-Hand, the Simple Necktie Knot, the Prince Albert, the Kelvin, the Trinity, the Murrell, the Van Wijk, the Triangular Symmetrical Windsor, the Nicky Knot, the Pratt, the Eldredge Tie Knot, the Balthus, the Atlantic, the Cape, and the Capsule.
You do not need all of them. Wide spread collars suit fuller knots such as the Windsor family, narrow collars suit slimmer knots such as the Four-in-Hand, and novelty knots such as the Trinity or Eldredge are conversation pieces best saved for occasions where a conversation piece is welcome. Learn one dependable everyday knot first, tie it until your hands know it without a mirror, and only then add a second for different collars or occasions.
Finishing Touches and What to Learn Next
Once the knot is snug at the collar, slide it up neatly, center it, and give the wide blade a gentle pinch just below the knot if you like a dimple — that small fold is the classic finishing detail on a well-tied tie. Check the back blade is caught in the keeper loop, confirm the tip sits at the belt line, and you are done. Neckwear, for the record, is more than simply neckties: scarves can be a type of neckwear as well, and bow ties follow their own tying method entirely.
If you wish to look genuinely well put together, the tie is only one element. After you settle on the best neckwear tying option for your personal sense of style, put some effort into grooming as well — a trimmed beard and tidy hair do as much for the finished picture as the knot does. Practice on a quiet evening rather than a rushed morning, and the skill will stay with you.
Photos

Common Questions
How do I know if my tie is too long or too short?
Use the belt line as your ruler. A correctly tied tie ends with its tip directly above, or just touching, the top of the belt. If the tip goes past your belt line, the tie is too long. If it does not reach your belt line, it is too short. Fix either problem by retying and adjusting where the wide blade starts, rather than by altering the tie itself.
What should I do if the narrow end ends up longer than the wide end?
Untie it and start again with the wide blade hanging lower before you knot it. The narrow end should finish shorter than the wide blade and tuck into the keeper loop on the back of the tie, which keeps the two ends together. A narrow end that peeks out below the wide blade is the most common beginner's mistake, and it is always a starting-position problem, not a knot problem.
Which knot should a beginner learn first?
Learn one versatile knot and stick with it until it is automatic. The Four-in-Hand is slim, slightly asymmetric, and forgiving to tie, while the Half Windsor is a little fuller and more symmetrical for wider collars. Either serves for most shirts and occasions. The long list of specialty knots — Trinity, Eldredge, Balthus, and the rest — can wait until your everyday knot needs no mirror and no thinking.
If You Have More Questions About Fashion
You may want to try these sections here on Apparel Search: