Pattern Making & Fitting · Adjustments
Pattern Fitting Adjustments
Patterns are drafted for an average figure that nobody quite has. These are the standard, named corrections — full and small bust, swayback, forward shoulder, high round back — that adapt a pattern to the body actually wearing it.
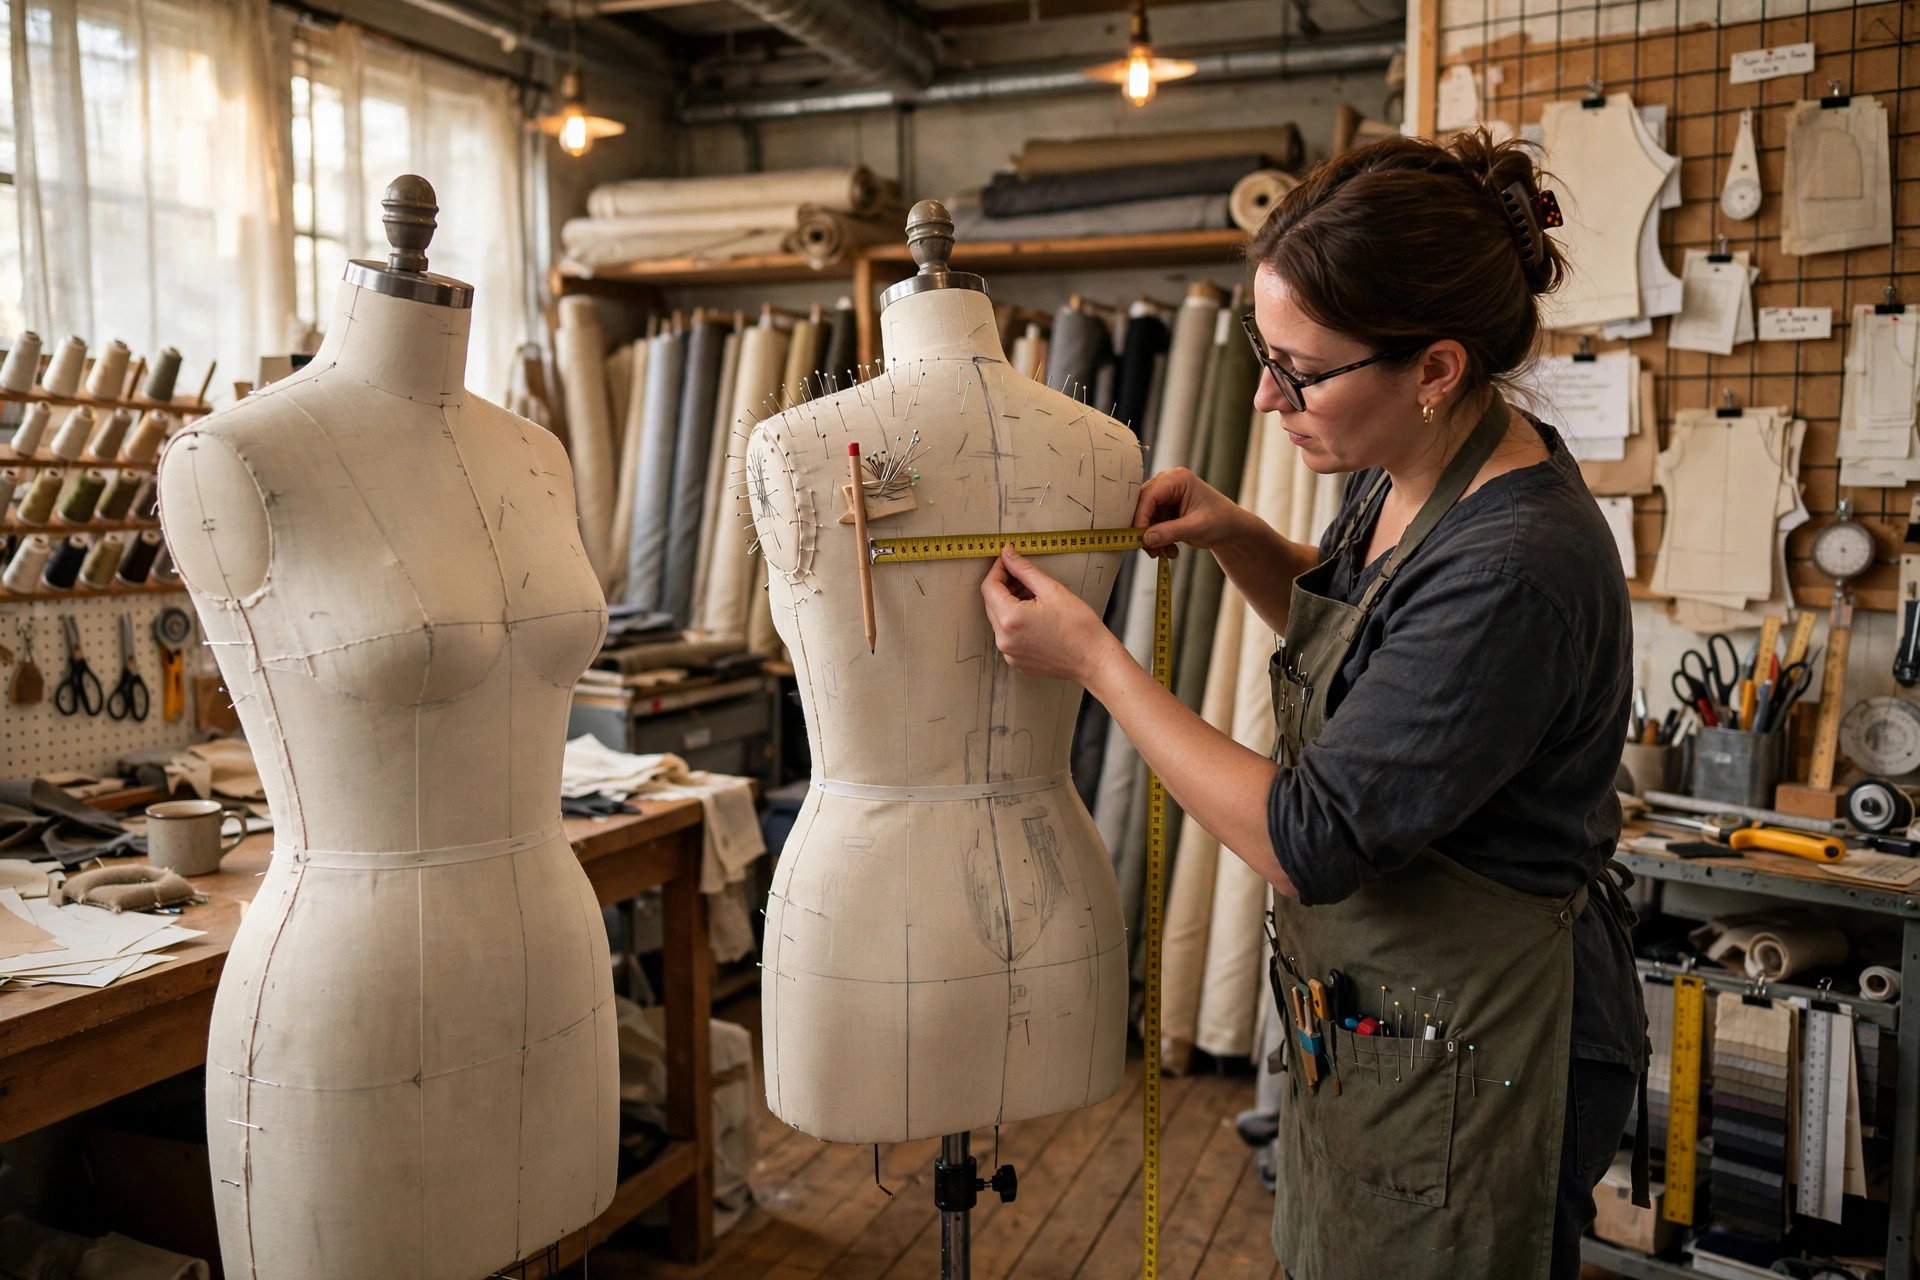
A commercial pattern is a compromise: it is drafted for one standardized figure, then offered to millions of unstandardized bodies. The gap between the two is closed by fitting adjustments — small, deliberate alterations to the paper pattern, each with a name, a diagnosis and a standard correction. This page collects the adjustments you will meet in every fitting book and pattern company's instructions. They are applied to the pattern before cutting fashion fabric, guided by what the test garment shows during the process described in Muslins, Toiles & the Fitting Process, and they presuppose the block logic of the Pattern Making, Draping & Fitting hub: change the paper where the body differs, and nowhere else.
Full Bust Adjustment (FBA)
Signs: the bodice pulls across the bust, button fronts gap, drag lines radiate from the bust point, and the front hem hikes up — while neck, shoulders and back fit well.
Cause: most patterns are drafted for a B cup. A fuller bust needs more fabric in two directions at once: across the bust, and in length, to travel up and over the fuller curve. Simply sewing a larger size adds the width but wrecks the neck, shoulder and armhole fit, which belong to the smaller frame.
Correction: choose the pattern size by the high-bust (upper chest) measurement so the frame fits, then slash the front bodice along three lines — vertically through the waist dart and bust point, horizontally from the bust point to the armhole (leaving a hinge), and through the side dart. Spread the pieces apart at the bust point by the amount of fullness needed. The spread adds width across the bust and length over it in one move; the waist dart grows larger to absorb the added width, the front hem drops back to level, and the side seam is re-trued. The amount to add is found by comparing the full bust measure with what the chosen size provides — roughly, each cup size above B calls for about an inch more total room, distributed on the front.
Small Bust Adjustment (SBA)
Signs: vertical folds and excess fabric through the bust area, darts pointing at empty space, a front that collapses rather than curves.
Cause and correction: the exact mirror of the FBA. The same three slash lines are cut, but instead of spreading, the pieces are overlapped at the bust point, removing width and a little length; the waist dart shrinks accordingly. The frame — neck, shoulder, armhole — is untouched, which is why the SBA works better than sewing a smaller size, which would shrink the frame too.
Swayback Adjustment
Signs: horizontal folds pooling at the back waist, a back hem that swings out or hangs unevenly, while the front hangs clean.
Cause: the pattern's center back is longer than the wearer's back waist length — common with a tilted pelvis, an upright posture or a flatter seat. The extra length has nowhere to go, so it collapses into folds at the waist.
Correction: remove length exactly where the folds are. On the back pattern, pinch out a horizontal wedge at waist level — deepest at the center back, commonly around a half inch, and tapering to nothing at the side seams, so the side seam length and the front are undisturbed. On a one-piece back the wedge is folded out of the paper above the waist; on waist-seamed garments the same amount comes off the lower edge of the back bodice (and the skirt or trouser back is checked so its waistline still matches). Because the center back is now shorter, the back hem pattern is re-checked for level.
Forward Shoulder Adjustment
Signs: the shoulder seam sits visibly behind the top ridge of the shoulder and creeps backward in wear; diagonal drag lines run from the front armhole; sleeves may twist slightly.
Cause: rounded, forward-rotated shoulders — increasingly common with desk work — place the shoulder's high point ahead of where the pattern assumes it is.
Correction: move the shoulder seam forward on the pattern: slice the shoulder point area and shift the seam line toward the front by the amount needed (often 1/4 to 5/8 inch), adding that amount to the back shoulder at its armhole end and removing the same from the front, tapering to nothing at the neckline so the neck fit is unchanged. The sleeve cap must match: its shoulder point notch is shifted forward by the same amount and the cap curve re-blended, or the sleeve will hang twisted in its new armhole.
High Round Back Adjustment
Signs: the back neckline pulls down and feels tight, horizontal strain lines cross the upper back, and the center back hem rides up.
Cause: a rounded upper back — pronounced thoracic curve, sometimes with a prominent shoulder-blade area — is longer over its curve than the flat pattern allows, so the garment borrows length from the hem and neckline.
Correction: give the back the length it is borrowing. Slash the back pattern horizontally across the shoulder-blade level, from center back to the armhole (leaving a hinge at the armhole), and spread the upper section upward at the center back by the amount needed, tapering to zero at the armhole. The added wedge lengthens the center back over the curve; the neckline edge grows slightly, and the extra is absorbed by a small neckline dart, by easing into the collar or facing, or by reshaping the neck curve. Frequently paired with the forward shoulder adjustment, since the same posture produces both.
The Two Rules Behind Every Adjustment
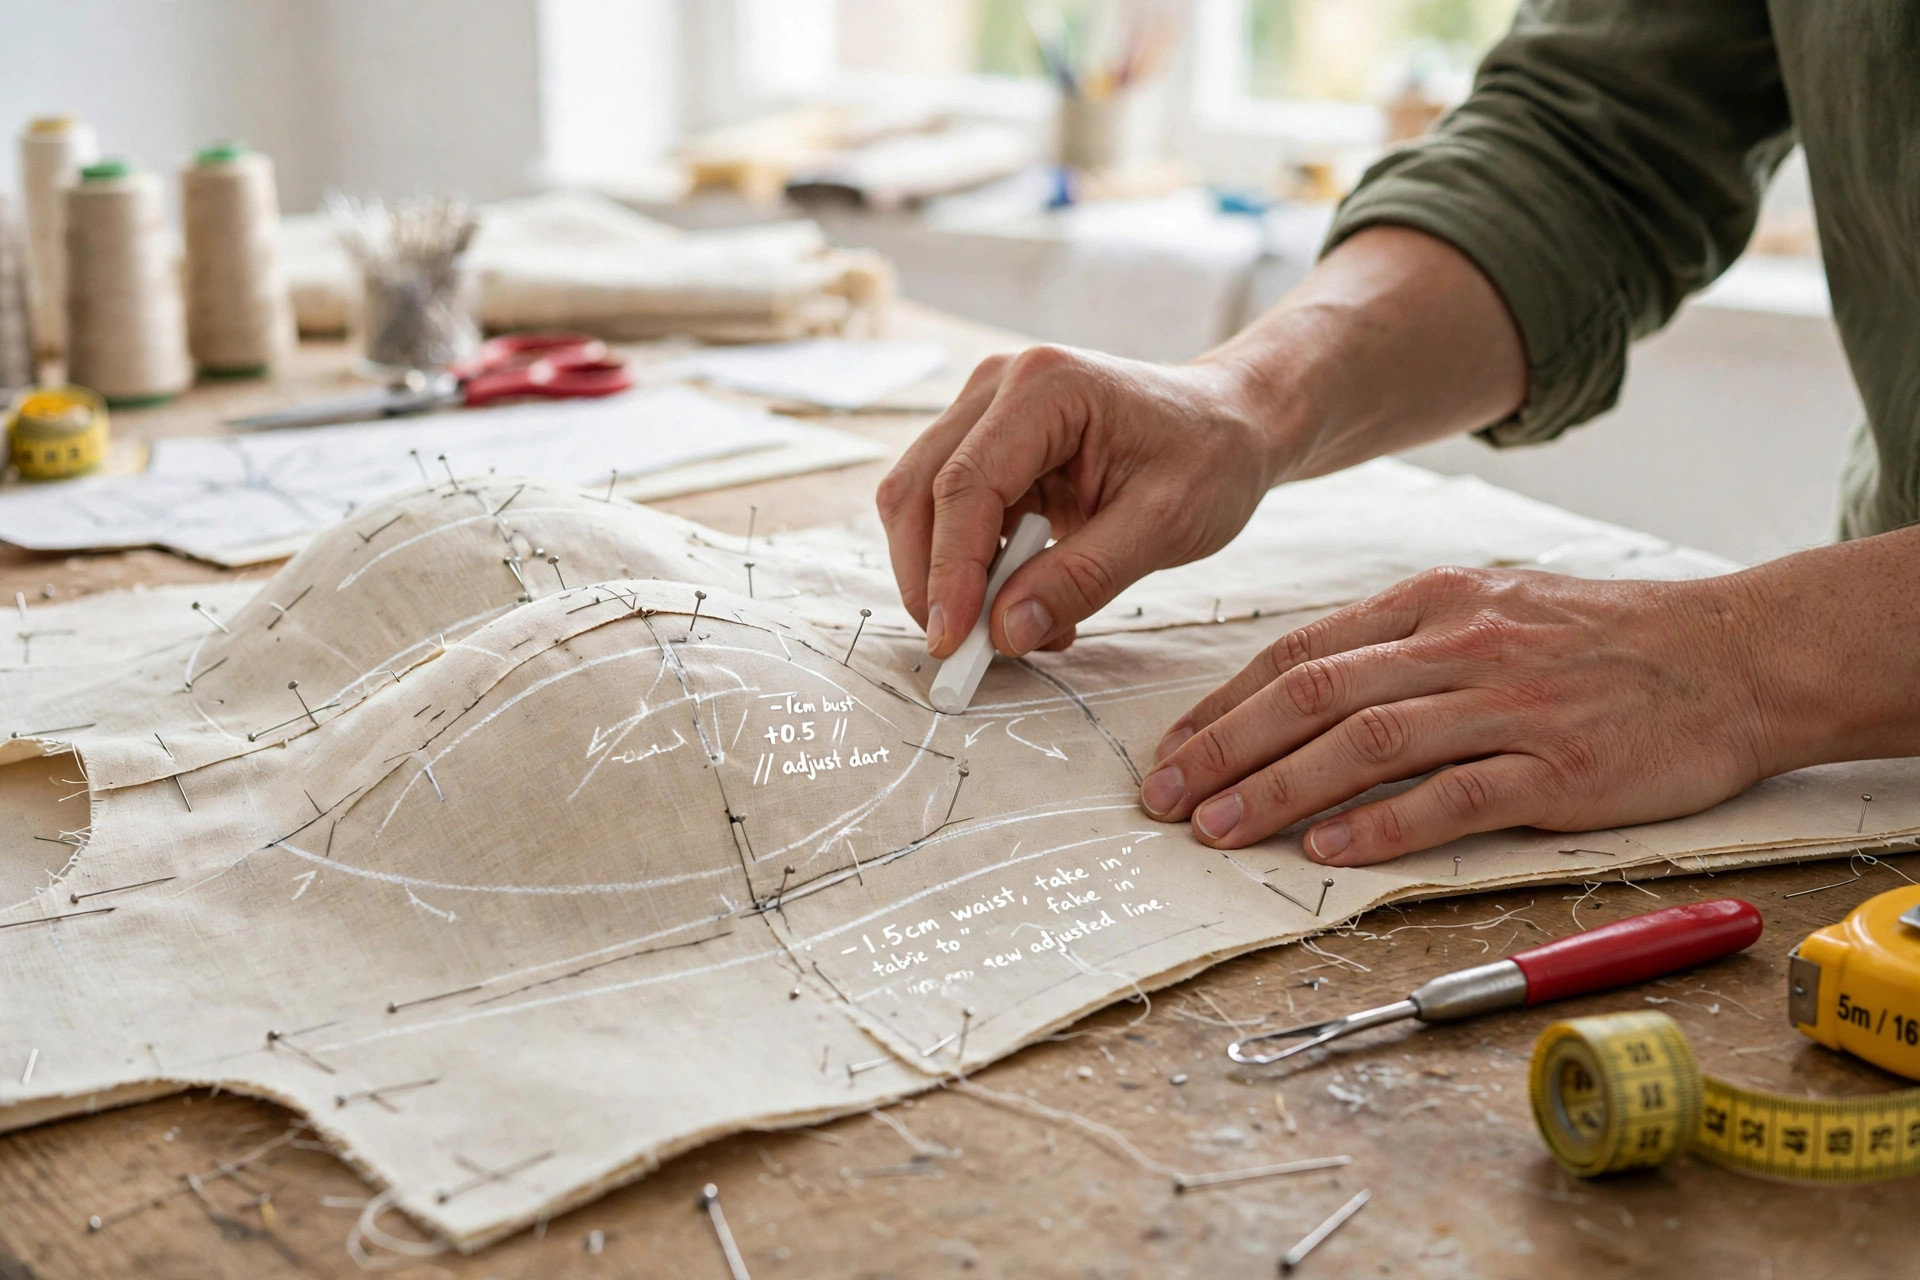
Adjust where the body differs — and only there. Each adjustment above is deliberately local: the FBA never touches the shoulder, the swayback wedge never reaches the side seam. Global changes made to fix local problems create new problems elsewhere. Length before width. Correct vertical errors first, because a garment that is the wrong length drags its circumference problems with it; many a “width” symptom disappears once the waistline actually sits at the waist.
These five are the core vocabulary, but the family is larger: square or sloping shoulders are corrected by raising or lowering the shoulder seam ends equally on front and back; broad or narrow backs by slashing and spreading or overlapping between the armholes; a full bicep by slashing the sleeve cap and spreading width while keeping cap height. All follow the same grammar — diagnose from the muslin, slash the paper, spread or overlap by the measured amount, re-true the seams — and all are verified by sewing the corrected pattern again, as the fitting process guide describes. How much room the corrected pattern should carry beyond the body's own measurements is a separate question, answered by Ease Explained in the Sizing cluster.
More in Pattern Making, Draping & Fitting
Common Questions
What is a full bust adjustment (FBA)?
A full bust adjustment alters a front bodice pattern to fit a bust that is fuller, relative to the frame, than the size the pattern was drafted for. Most patterns are drafted for a B cup; choosing the size by the smaller high-bust (upper chest) measurement keeps the neck, shoulders and armhole correct for the frame, and the FBA then adds the missing room exactly where it is needed — across and over the bust point — by slashing the front piece apart and spreading it, which adds both width and length and enlarges the waist dart.
How do I know if I need a swayback adjustment?
The classic sign is a puddle of horizontal folds and excess length across the back at waist level, often with the back hem kicking out or hanging lower than the front, while the front fits well. It happens when the wearer's center back waist length is shorter than the pattern's — usually from posture, a tilted pelvis or a flatter seat. The correction removes a horizontal wedge of length at the center back waist, deepest at center back and tapering to nothing at the side seams.
Should I adjust the pattern or just sew a bigger size?
Adjust the pattern. A bigger size adds room everywhere — neck, shoulders, armhole, back width — when the fitting problem is almost always local: one area of the body differs from the pattern's assumptions. Sewing a larger size to fix a full bust, for example, leaves the shoulders and neckline too big. The right approach is to choose the size that fits the frame (shoulders and upper chest) and then apply the named adjustment for the one area that differs.
In what order should fitting adjustments be made?
Work from length to width, and from the frame outward. First correct lengths (back waist length, high round back, swayback) because length errors distort everything below them; then correct the frame points (shoulder slope and position); then circumferences and local fullness such as an FBA. Make one adjustment at a time and re-check in muslin, because each correction can reveal — or resolve — the next symptom.
Back to Pattern Making, Draping & Fitting
The Pattern Making, Draping & Fitting hub maps the whole craft — drafting, draping, darts, fitting, muslins and finishes — with links to every guide in this cluster.