Digitizer (Embroidery) Job Description
The digitizing craft — converting artwork into stitch files with the right stitch types, densities and underlay
An embroidery digitizer is the craftsperson who translates artwork into stitches. A logo, crest or lettering design arrives as a picture; the digitizer rebuilds it, node by node, inside digitizing software, deciding where every stitch will fall, which type of stitch will form each shape, and how the design will behave when a machine sews it at speed onto real fabric. The output is not an image but a stitch file — a set of machine instructions. Done well, the design sews cleanly on the first test, with crisp edges and no puckering. Done badly, it breaks thread, distorts shapes and wastes garments, which is why digitizing is treated as a skilled trade of its own.
More Production Job Descriptions by Letter:
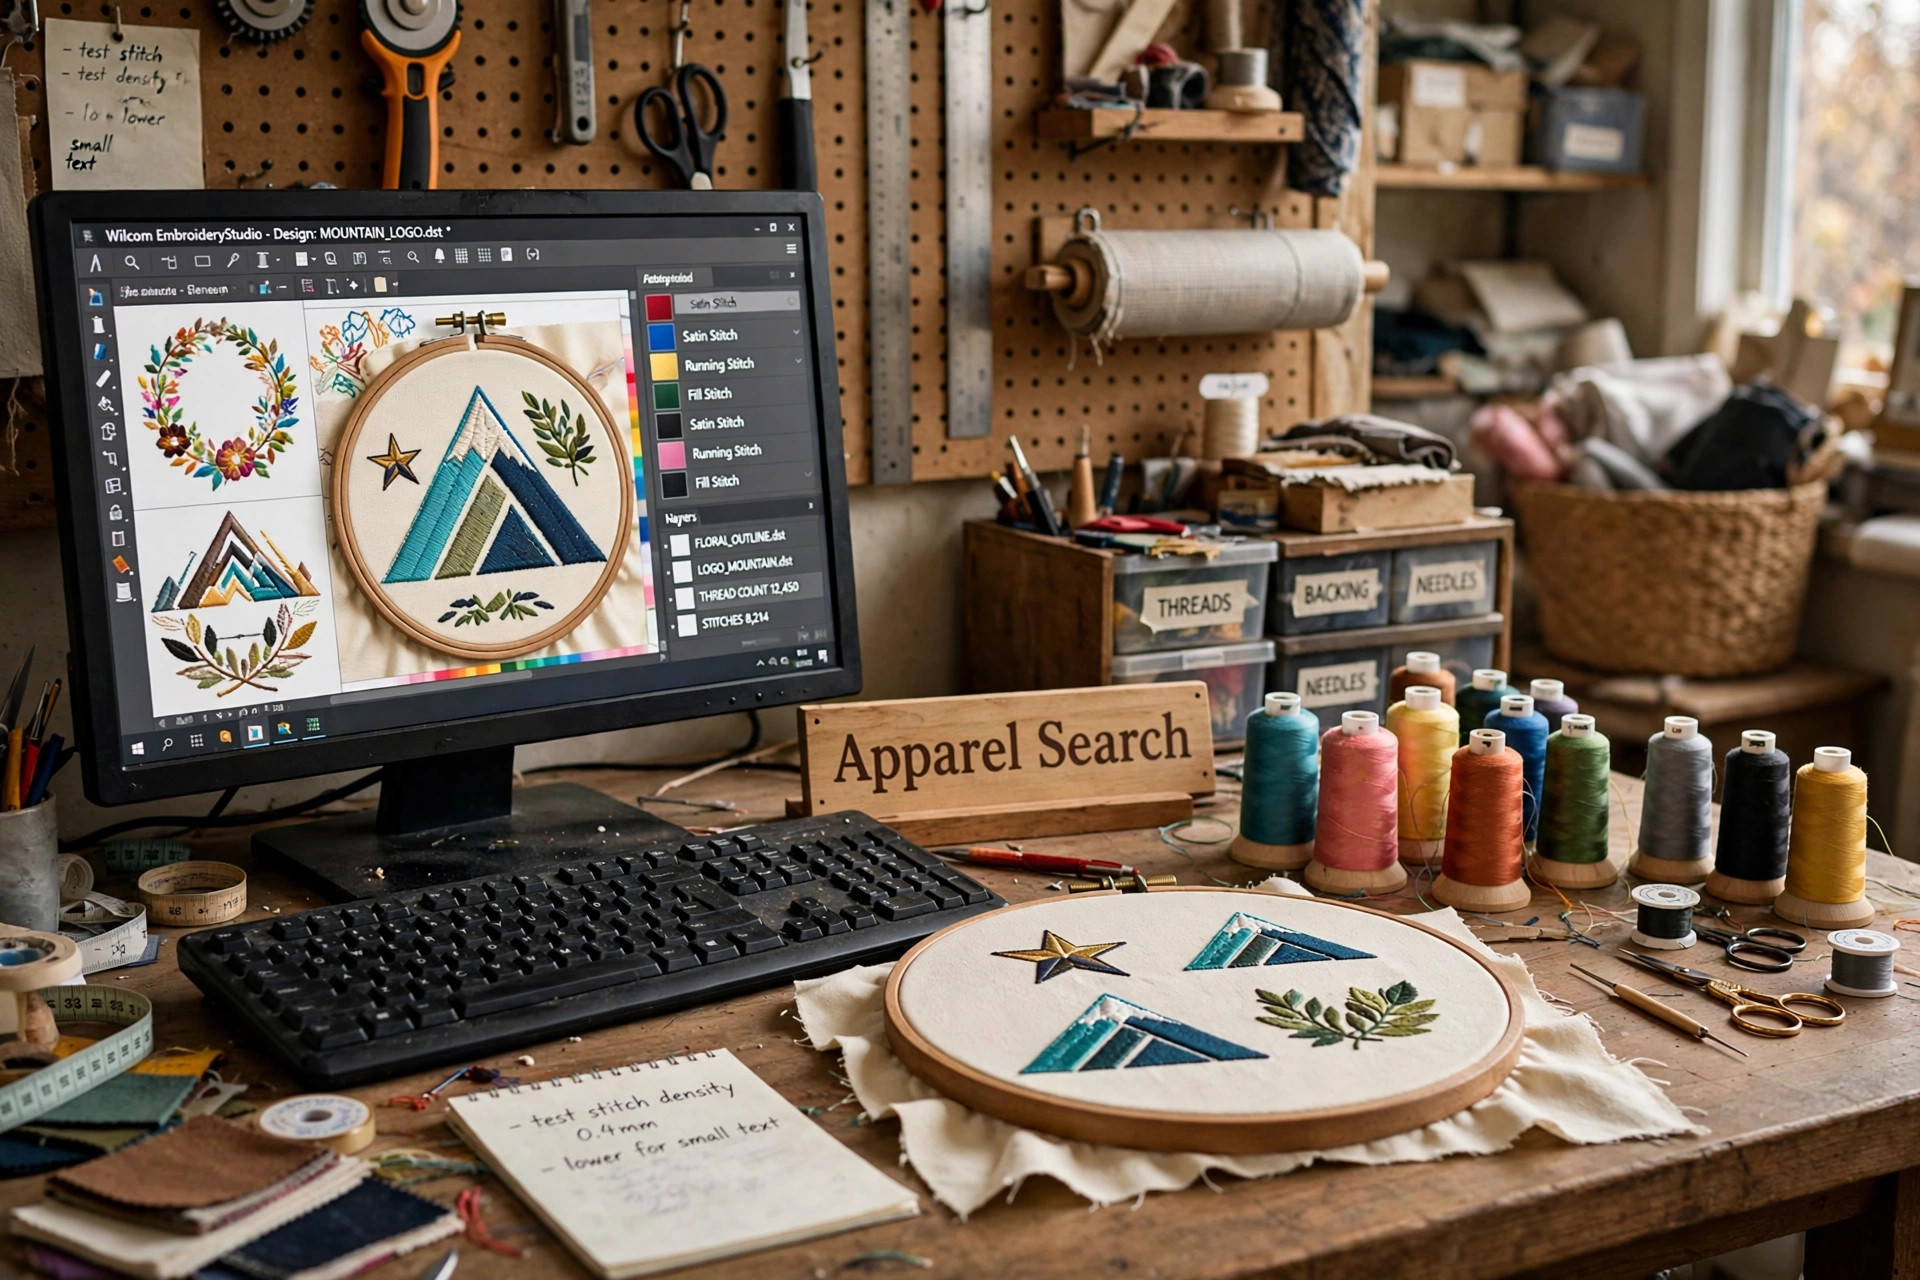
Rebuilding Artwork as a Stitch Plan
The digitizer starts by studying the artwork at the size it will actually be sewn. Detail that reads perfectly on screen may be impossible in thread: lettering under a few millimetres tall will clog, fine lines will vanish, and tight curves will sew as blobs. The first craft decision is therefore what to simplify, enlarge or drop, and an honest digitizer raises those limits with the client or designer before stitching begins, rather than letting the machine deliver the bad news.
Inside the software, each shape is plotted with nodes and given a stitch direction. The digitizer plans the sewing order — background elements first, foreground last, underlay beneath everything that needs a foundation — and thinks about how the design will travel across the garment, minimising jumps and trims that slow the machine and leave tails to be cleaned by hand. This planning stage, invisible in the finished piece, is where most of the quality is decided.
Stitch Types, Density and Underlay
Three stitch families do most of the work. Running stitch draws lines and detail; satin stitch forms smooth columns for lettering and borders, its stitches crossing the shape from edge to edge; fill or tatami stitch covers larger areas in offset rows. The digitizer sets the density of each — how tightly the rows are packed — balancing coverage against stiffness: too loose and fabric grins through, too dense and the design turns into a rigid badge that puckers the garment around it and breaks needles.
Underlay is the hidden scaffolding sewn first: a loose lattice that stabilises the fabric, gives top stitches something to sit on and keeps edges from sinking into pile or knit. Pull compensation is its partner adjustment — because stitches pull fabric inward as they sew, shapes are drawn slightly wider than the artwork so they finish at the intended width. Getting these settings right varies by fabric: a design that sews perfectly on a flat cap panel will distort on a stretchy polo shirt, and experienced digitizers maintain proven settings for each common garment type.
Files, Formats and the Test Sew-Out
The finished design is exported in the machine format the embroidery shop runs — formats such as DST are near-universal, with proprietary formats alongside — and saved with a disciplined naming and version habit so the right file reaches the machine every time. Working files stay editable in the software’s native format, because a client who returns asking for the same logo two centimetres wider needs the design re-digitised around its nodes, not merely stretched, which would distort stitch density throughout.
No design is finished until it has been sewn. The digitizer runs or reviews a test sew-out on fabric like the production garment, checks registration between colours, edge quality, lettering legibility and total stitch count, then corrects the file: a gap closed here, a density eased there, a sewing order changed to stop one colour trapping another. Stitch count is money — it sets machine time — so the craft also includes economising: removing needless stitches without thinning the design’s appearance.
Skills, Training and Career Path
Digitizing rewards a particular mix: the eye of a graphic artist, the patience of a craftsperson and a feel for how thread and fabric behave together. Software fluency in a professional digitizing package is essential, and it is learned fastest alongside real embroidery — many digitizers first ran machines, hooped garments and trimmed finished work, which taught them what a stitch file can and cannot ask a machine to do. Judging a sew-out honestly and iterating without defensiveness is the habit that separates senior digitizers from beginners.
Training routes include embroidery-company apprenticeships, software-vendor courses and self-teaching backed by relentless test sewing, with portfolios judged on actual stitched samples rather than screen pictures. Career paths lead to senior digitizer and design-studio roles, to running an embroidery department where digitizing and production are planned together, or to freelance digitizing for many shops at once — a well-regarded digitizer’s order book, built logo by logo, is a durable business of its own.
Common Questions
What does an embroidery digitizer do?
Converts artwork such as logos and lettering into stitch files: plotting shapes in digitizing software, assigning running, satin and fill stitches, setting density, underlay and pull compensation, exporting the machine format and correcting the design after a test sew-out.
Is digitizing the same as designing the artwork?
No. The artwork is the picture; digitizing is re-engineering that picture for thread and machine. A digitizer often simplifies artwork for sewability, but the core skill is stitch planning — types, directions, densities and sewing order — not illustration.
What software and formats do digitizers use?
Professional digitizing software such as Wilcom, Pulse or Hatch is used to plot the design in an editable working format, then export machine formats such as DST for production. The test sew-out on real fabric is the final check before release.
More to Explore
Embroidery Resources
- Embroidery Guide
- Embroidery Machines
- Embroidery Thread
- Embroidery Software
- Embroidery Terms
- Embroidery Design Services
- Embroidery Associations
- Interlining
- Embroidery Backcloth
- Embroidery Stabilizers
- Patches
- Heat Transfer
- Embroidery Hooping Equipment
- Embroidery Frames
- Embroidery Supply Holders
- Embroidery Magazines
References & Further Reading
More Job Description Categories
- Buying Job Descriptions
- Design Job Descriptions
- Marketing & PR Job Descriptions
- Miscellaneous Job Descriptions
- Planning & Allocation Job Descriptions
- Production & Sourcing Job Descriptions (current)
- Sales & Selling Job Descriptions
- Transportation & Warehouse Job Descriptions